Team 11:
- Ben Raymon
- Trevor Dolbow
- Michael Carr
- Gavin Morris
- Alex Sederquest
OK BLOOMER Gardening is a garden planner created as a final project for CISC 275. This gardening application can be used to build gardens that have a focus on native perennials and other native plants.
 The gardening application allows users to both create a new garden, and load a garden from a previous session. To create a new garden, simply click the new garden button.
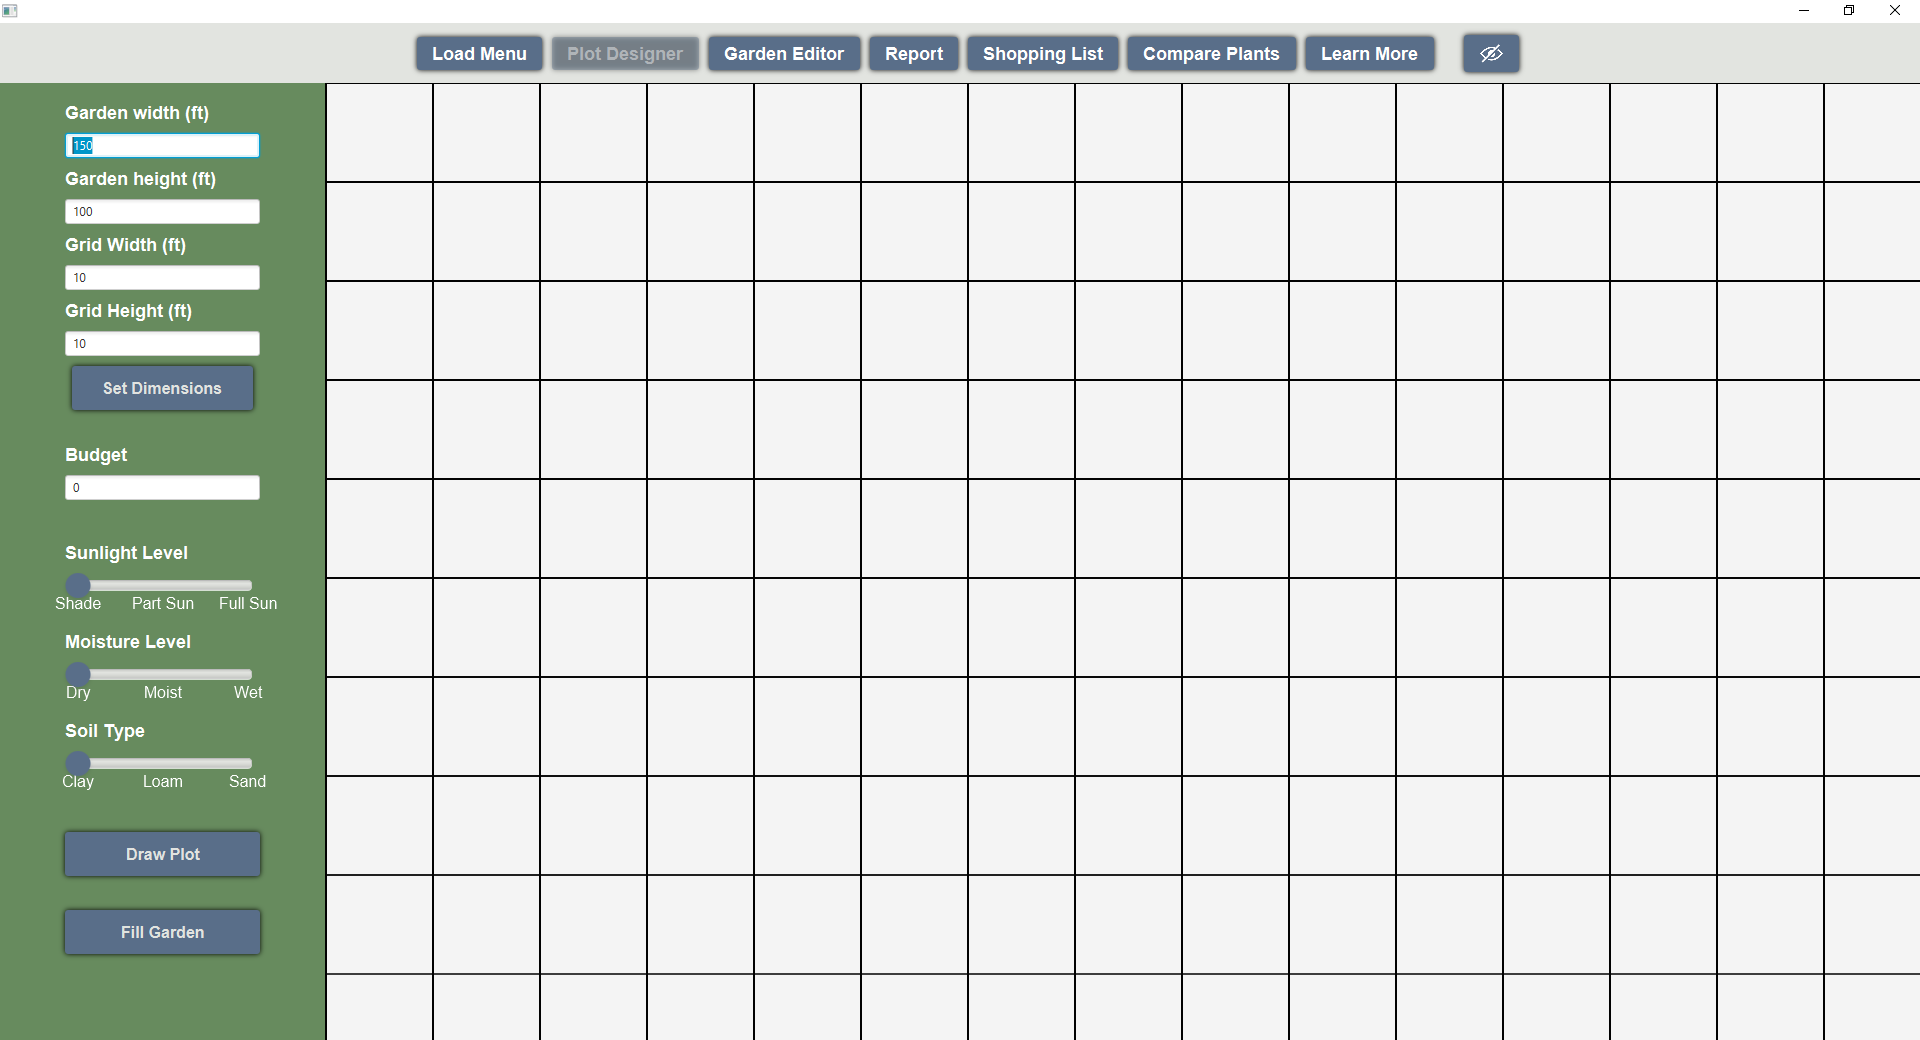
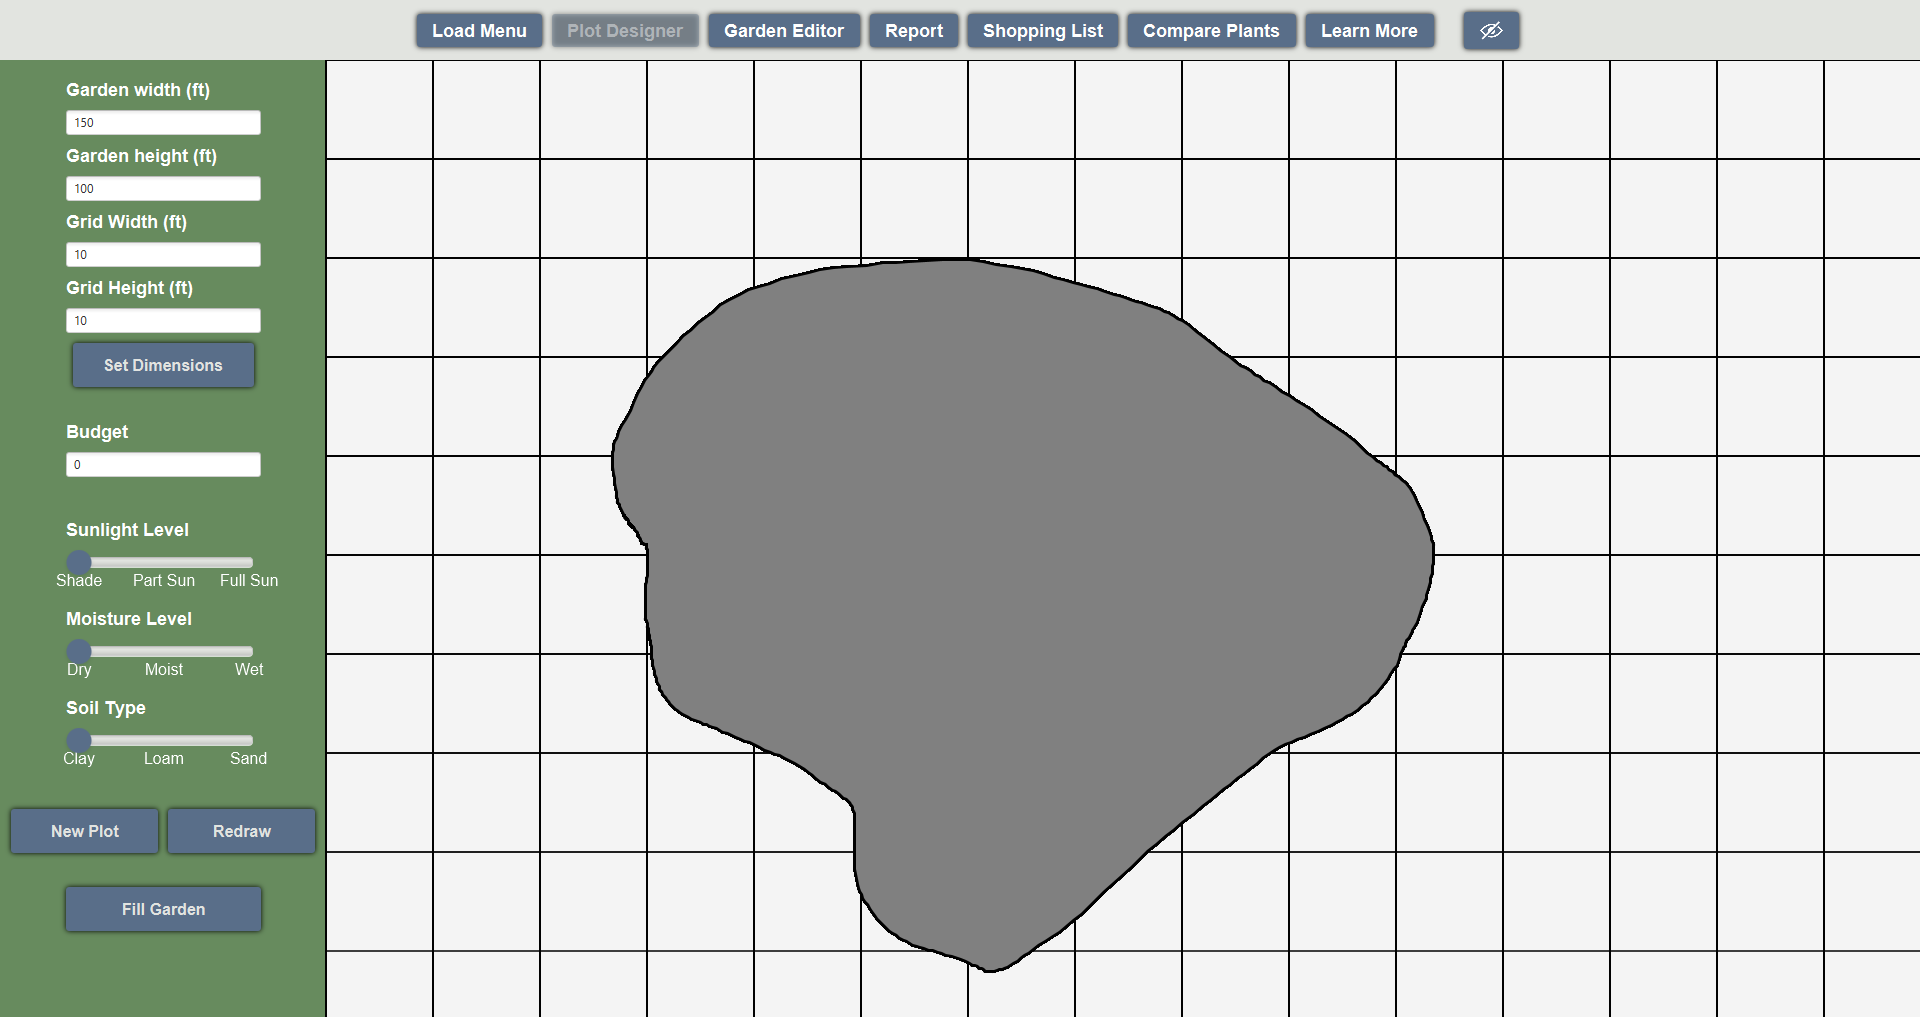
This will bring the user to the plot designer screen. This screen has an easy to use plot selection and free drawing system that makes it simple and easy to create garden plots of any size. Users can set their height and width dimensions in feet, pick their budget, and draw plots based on the settings used in the three sliders. Choosing different slider options will curate the plants that show up in the next screen. The color of the drawn plot will also change depending on which soil option the user selects. Allowing for the creation of multiple distinct plots in the garden. After creating a plot, users can click the fill garden button to complete the plot designer process and travel to the garden editor screen.
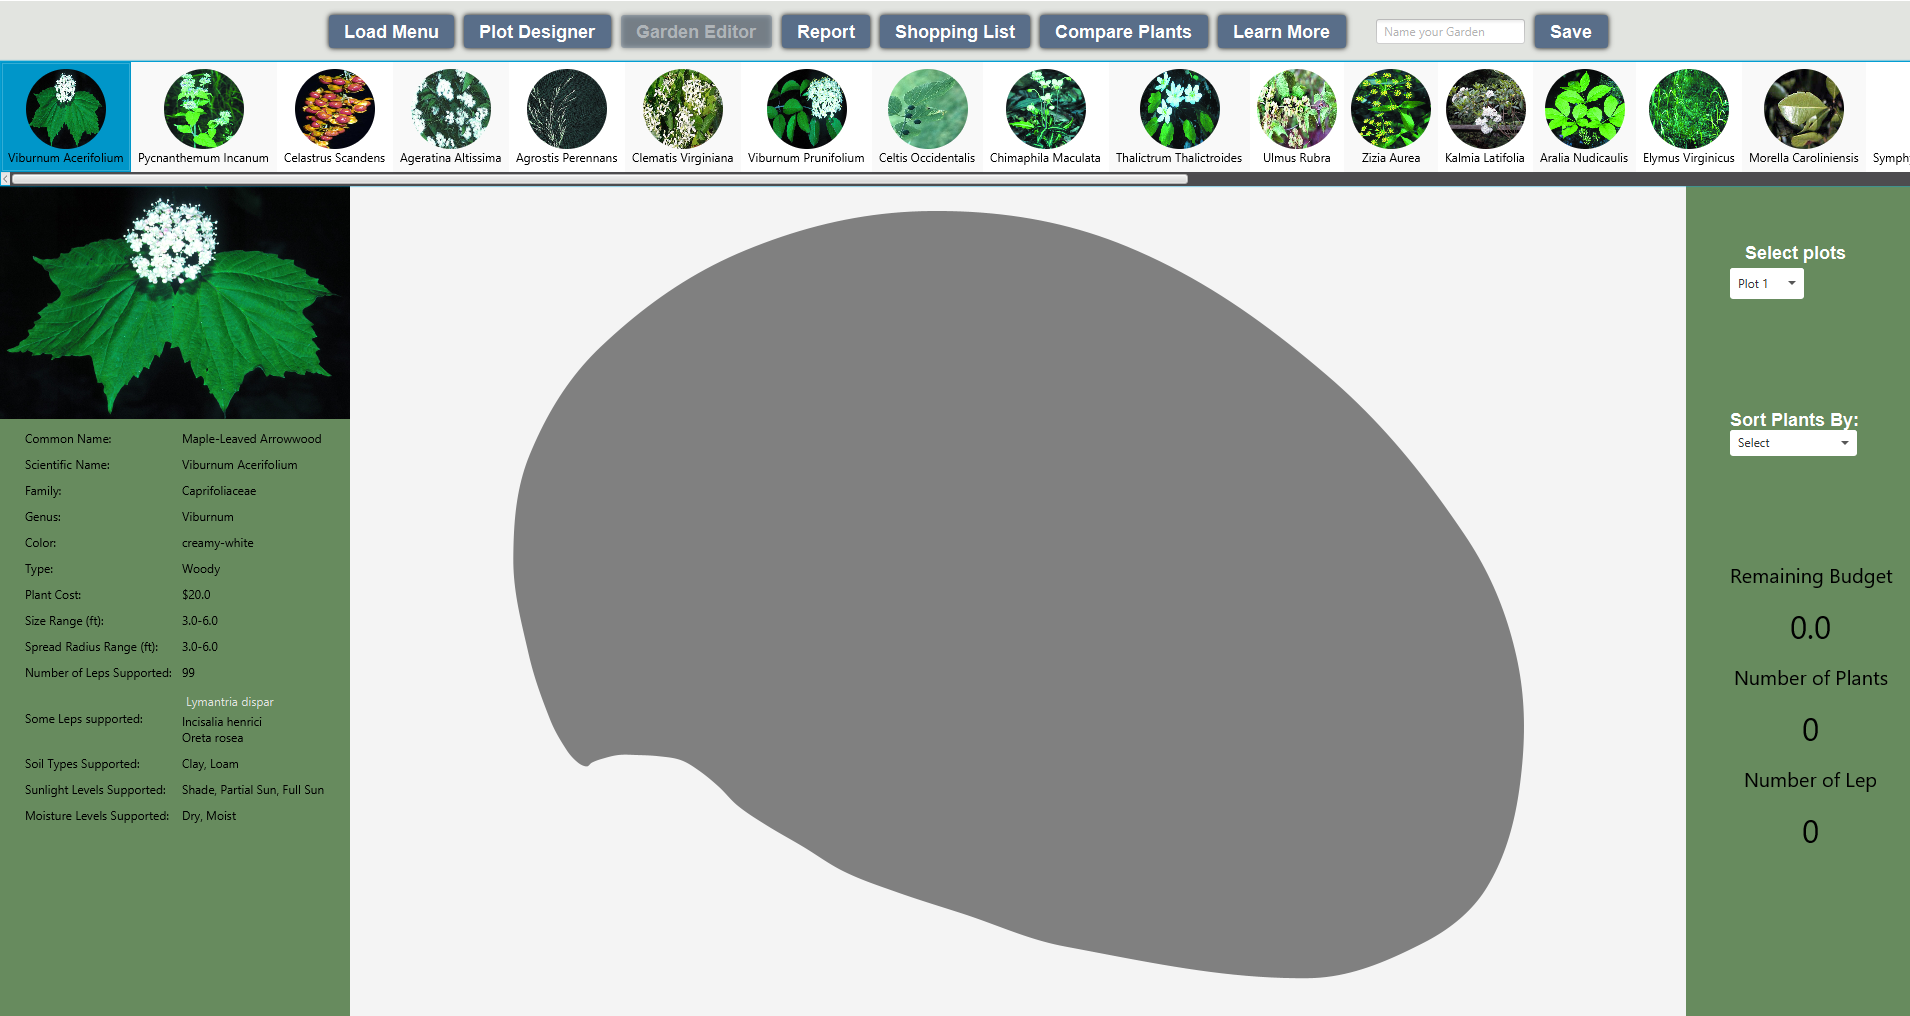
When entering the Garden Editor screen the user's plots are first scaled to fully fit the editor screen in the middle of the window. Along the top of the garden editing screen, a curated list of perennials and other plants are shown that are specially talored to work in the current plot's conditions.
By hovering over a plant in the top bar, additional information about that plant is shown on the left hand side of the screen.
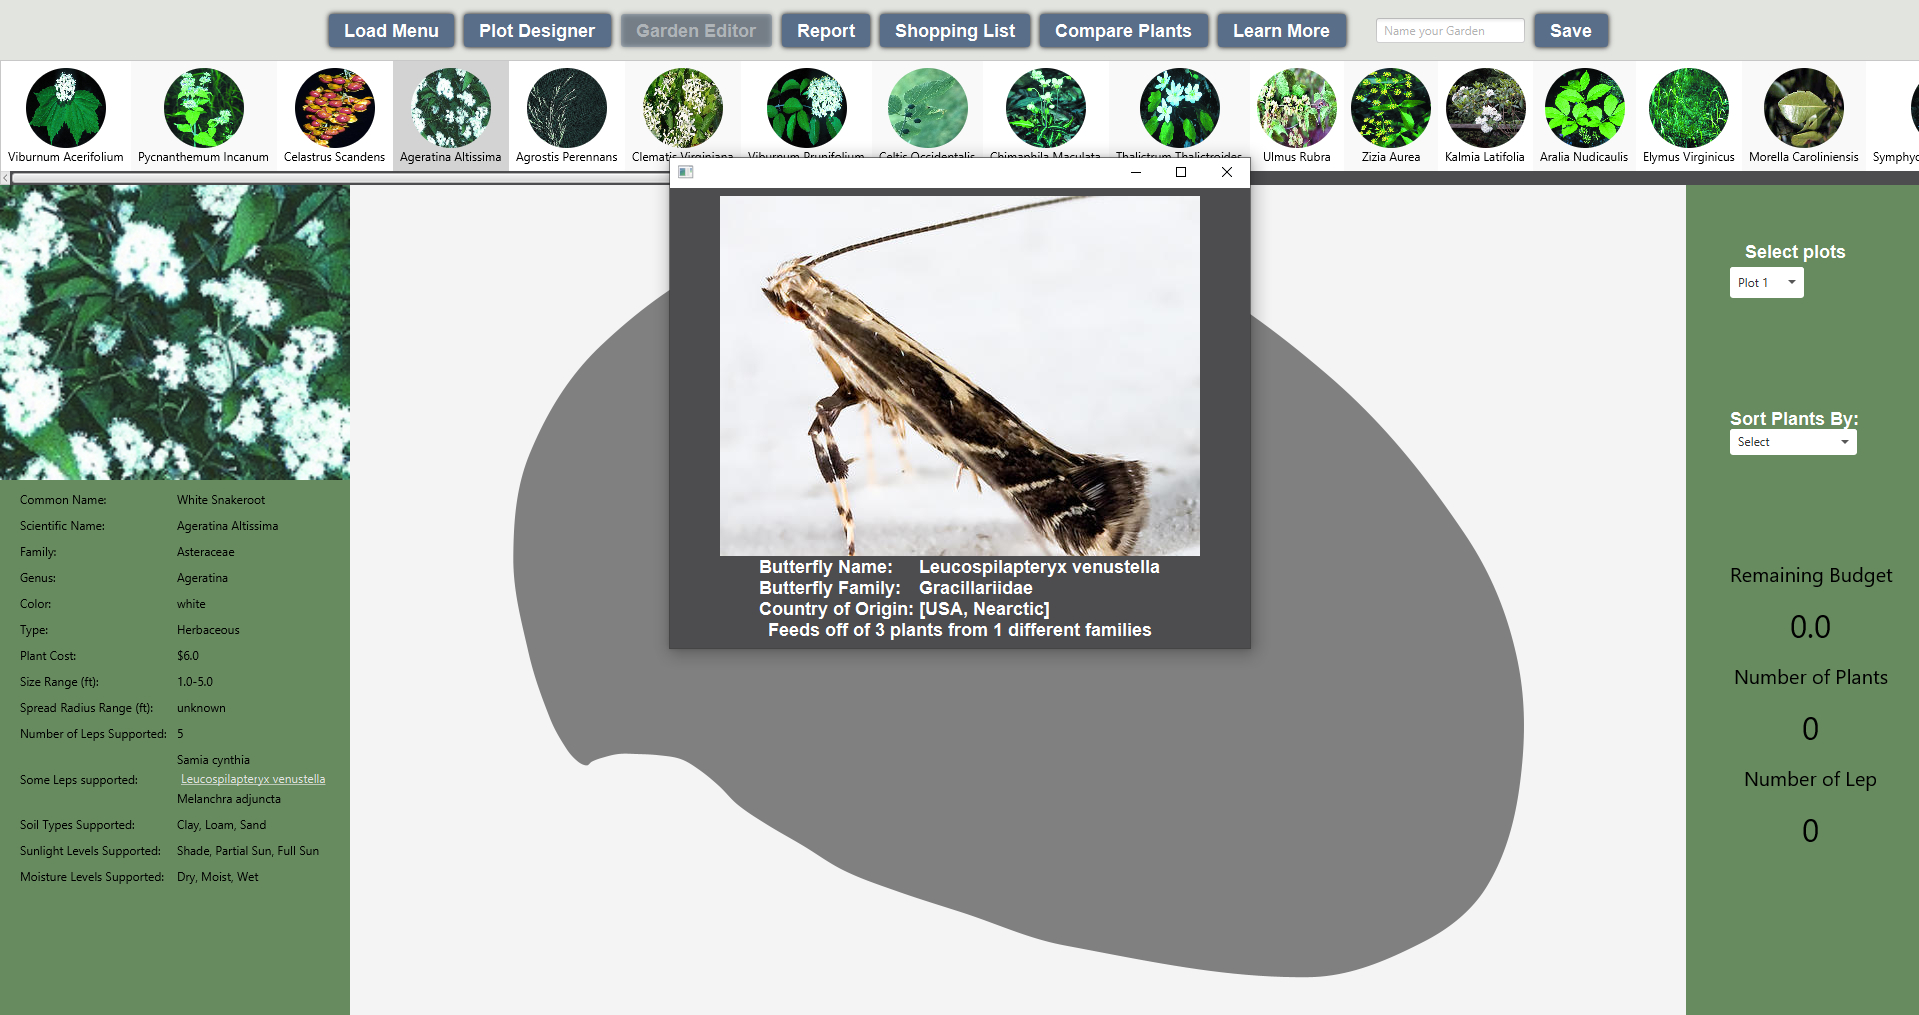
Under the ‘Some Leps Supported’ section on the left hand side of the screen, some lep names may be underlined and white. If this is the case, the user can click on the lep name to bring up a window with an image and additional lep information.
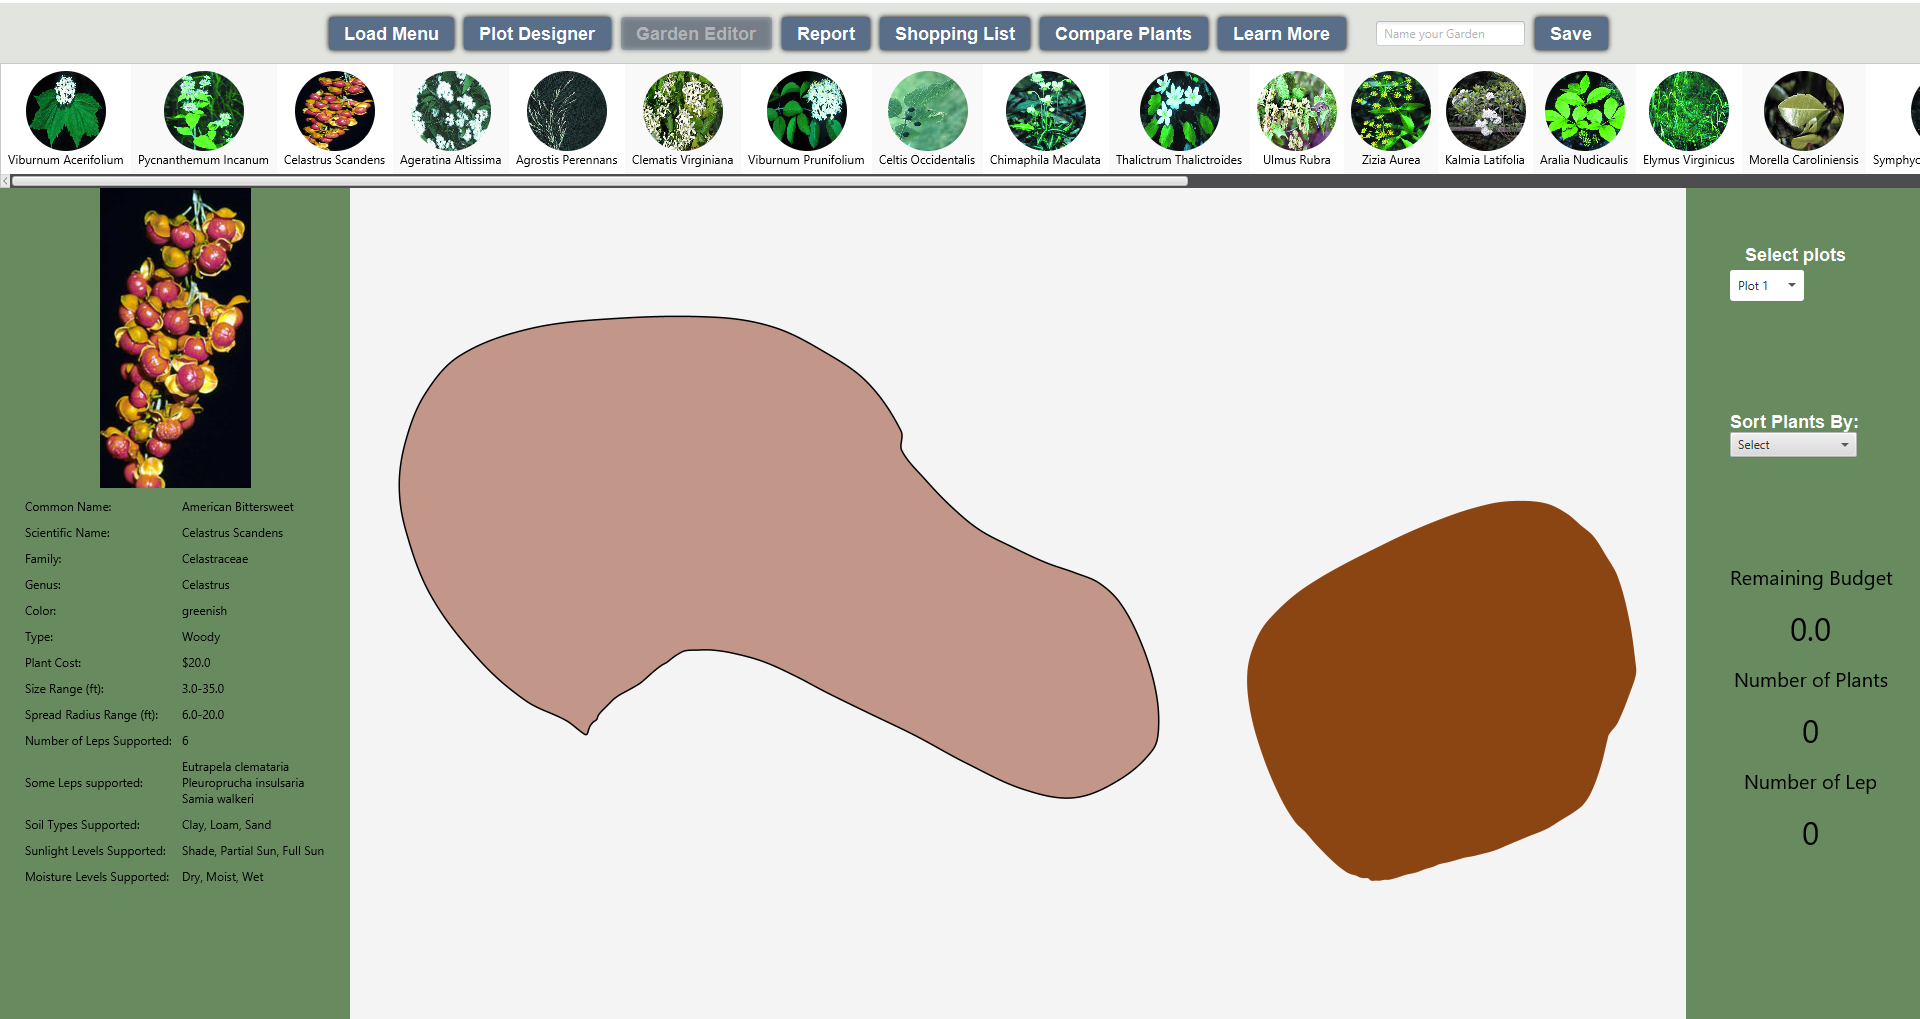
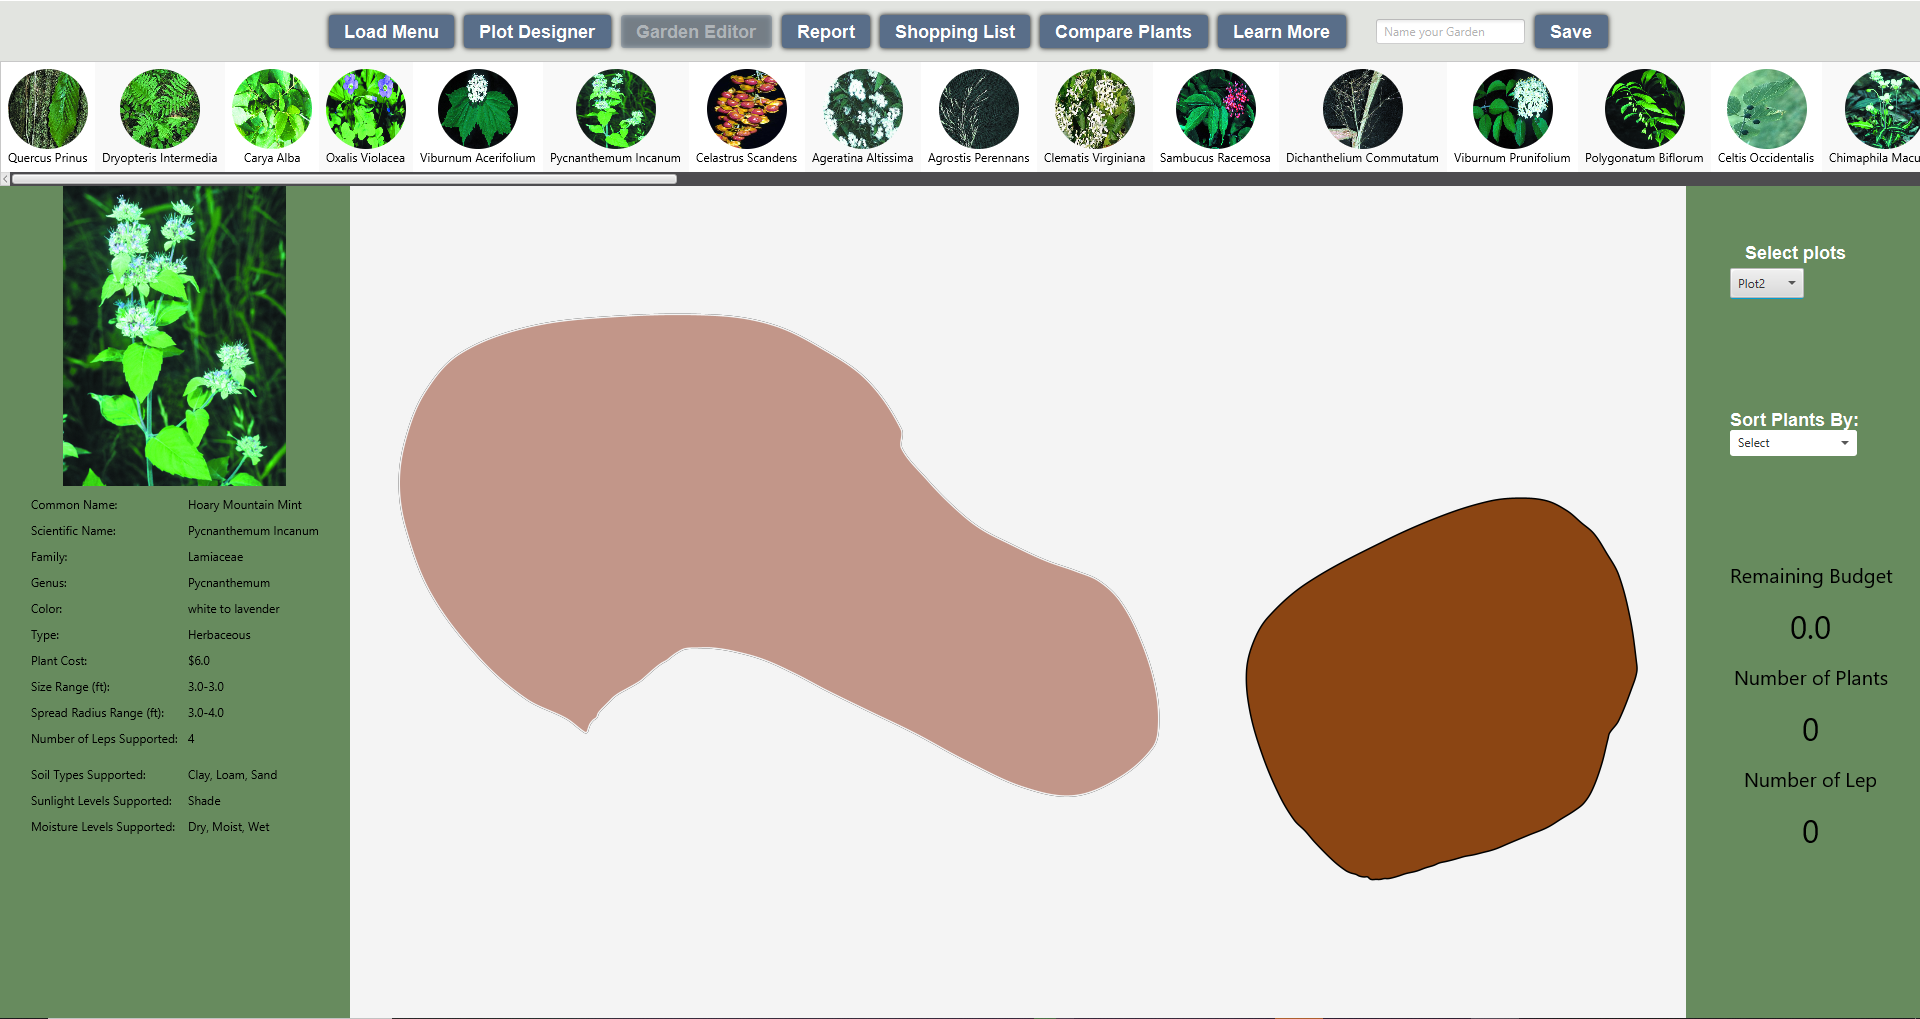
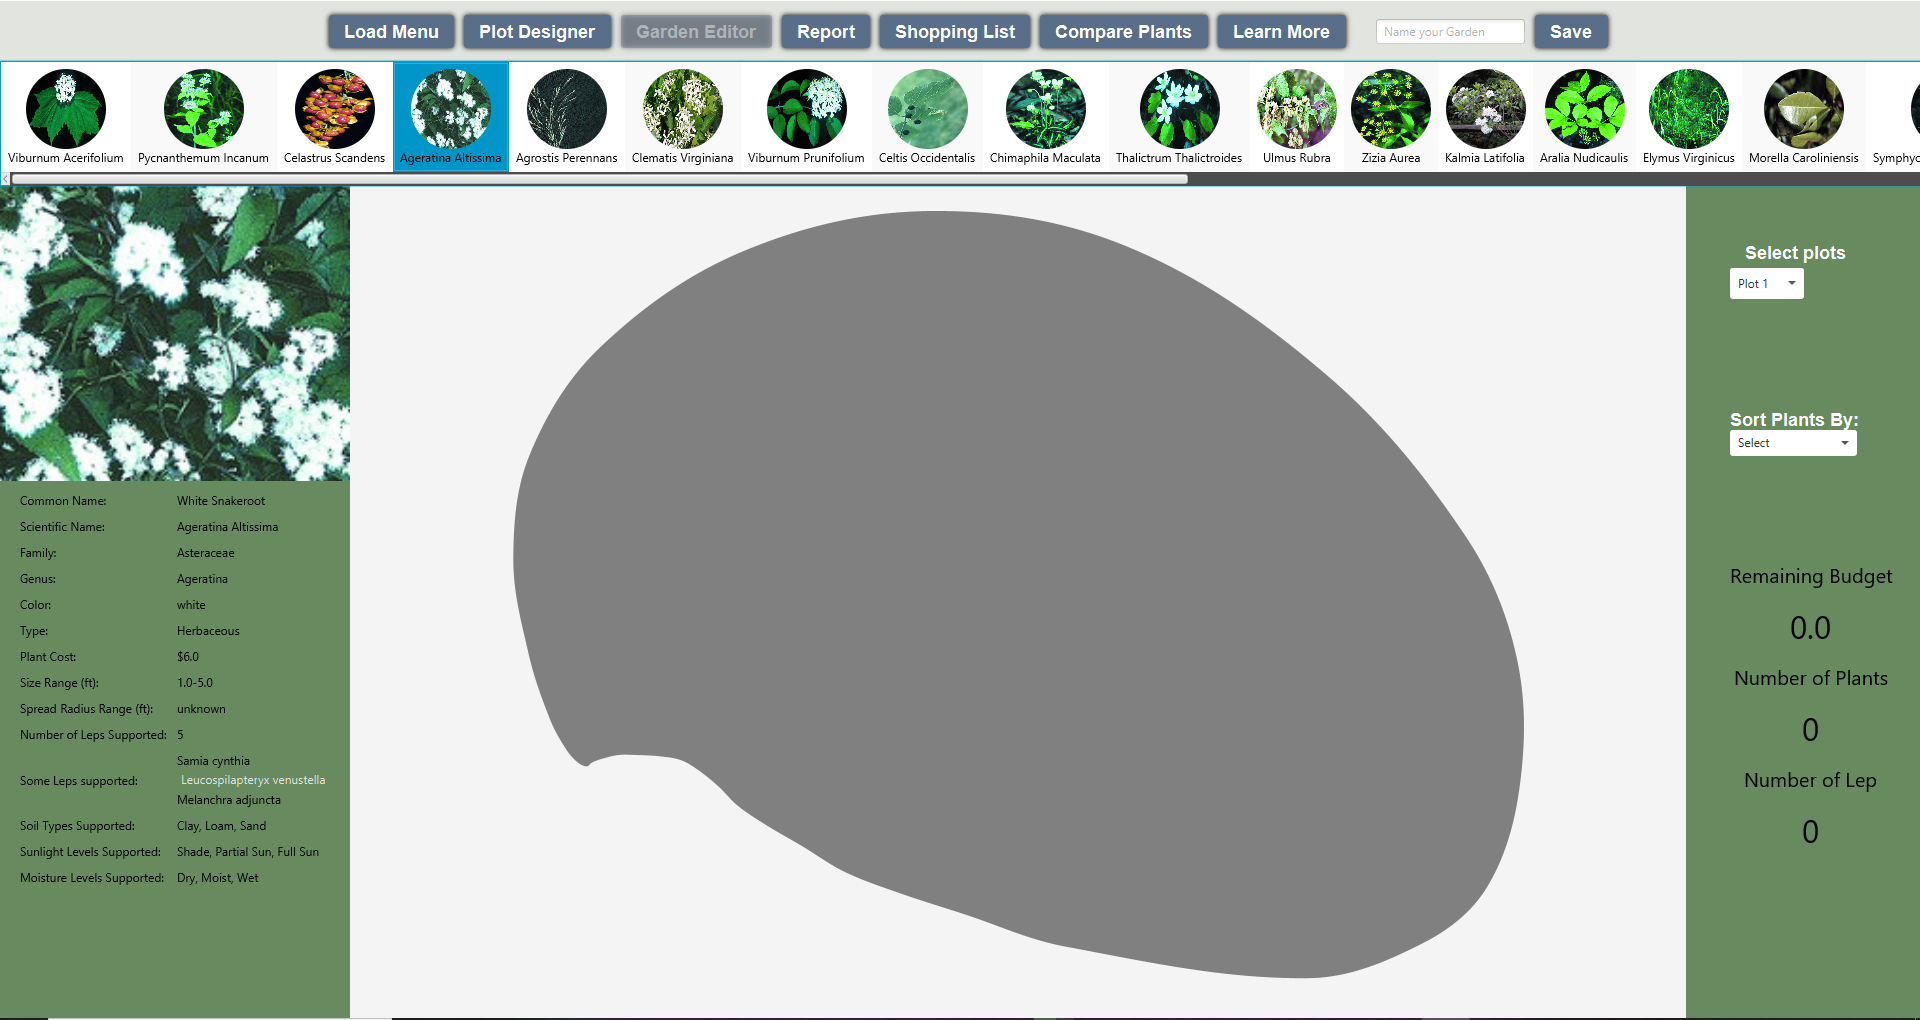
On the right hand side of the screen, the first drop down menu allows the user to choose which plot the recommended plants are based on. In the two images above, notice how the curated plants change when the selected plot changes. The currently selected plot is shown thrrough a black outline.
The sort plants by drop down menu can be used to sort the plants by number of leps supported, cost, spread radius, and plant size.
Below the two drop down menus, the ‘remaining budget’, ‘number of plants’, and ‘number of leps’ sections will update as plants are added to the garden.
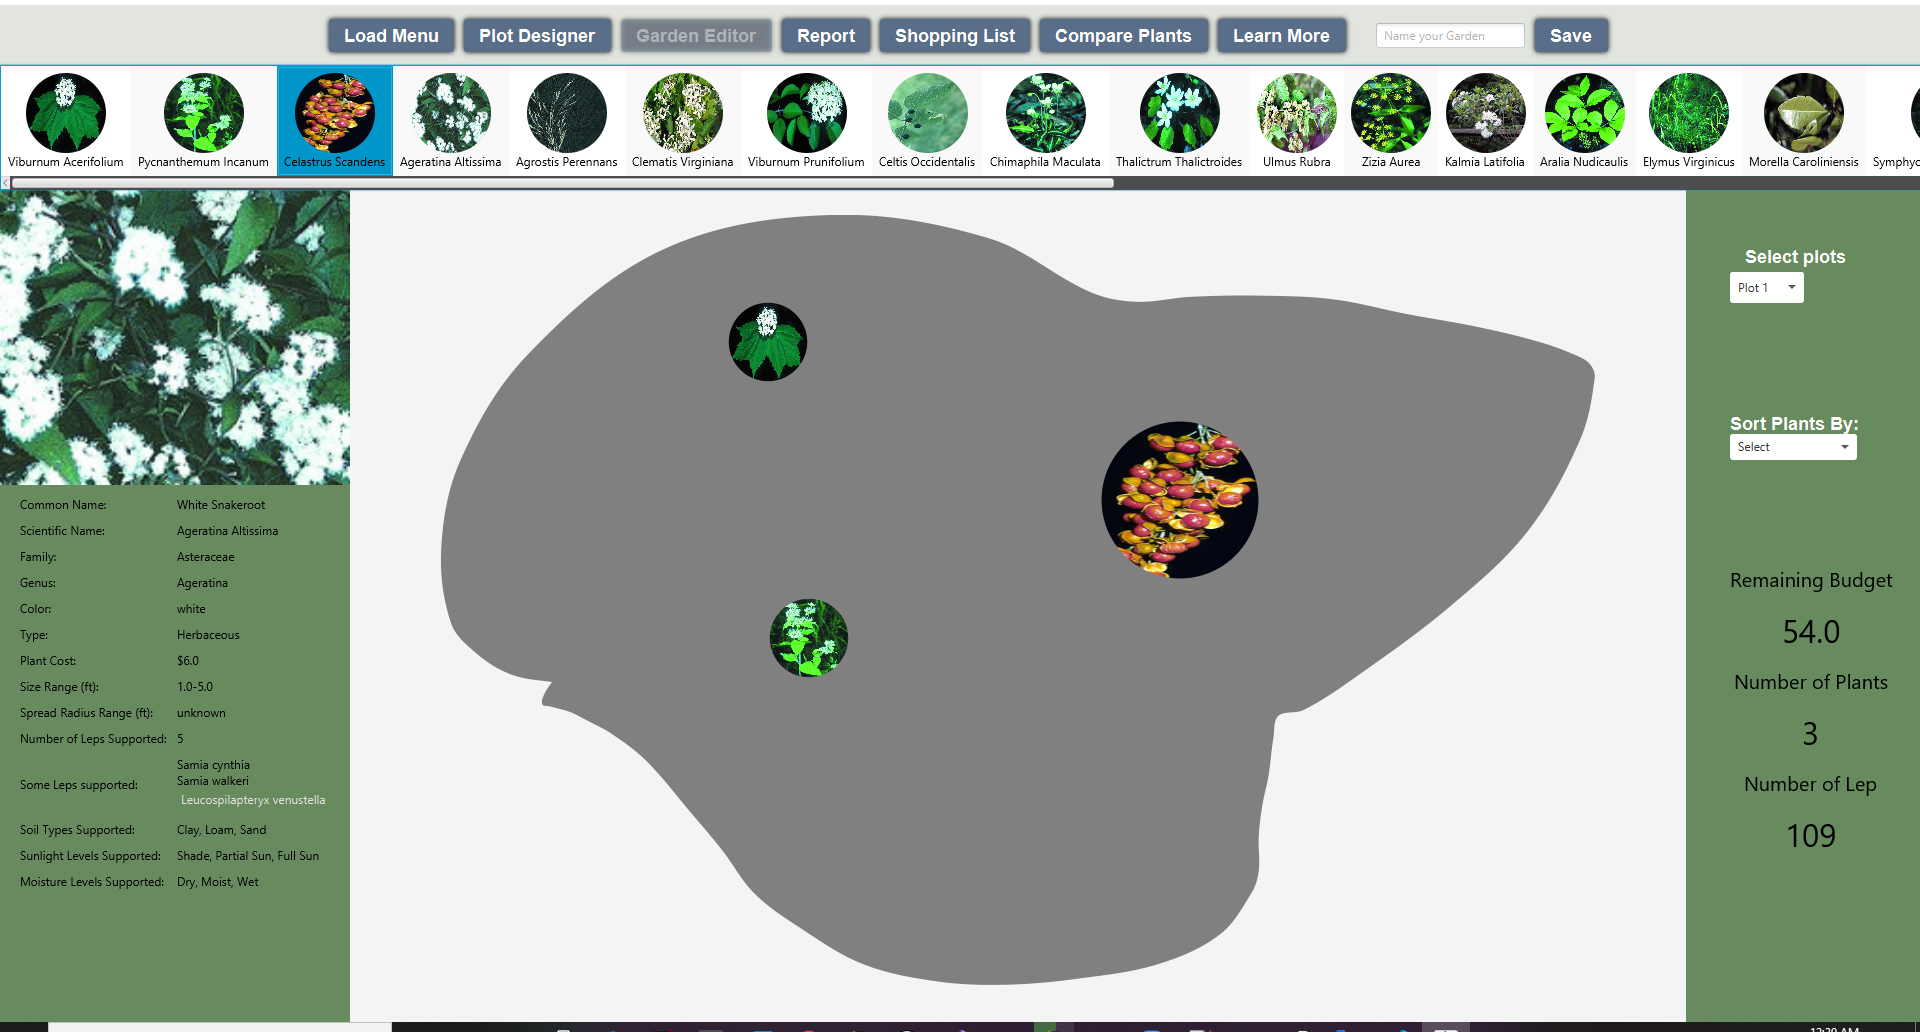
Plants can be dragged from the recommended plants list into a plot. A plant's lower spread radius will determine the size of the plant circle on the plot. Some plants have an unknown spread radius, in this case the lower size value is used for the circle radius.
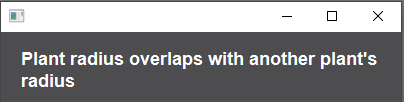
Note. Plants can only be placed on the plot, and can not overlap each other. If two plants overlap, a popup message with an error will be displayed.

Along the top of the window, a menu bar is displayed with several options.

The right most text box and button allows the user to name and save their work.

On program start, a garden can be loaded from the load garden menu.
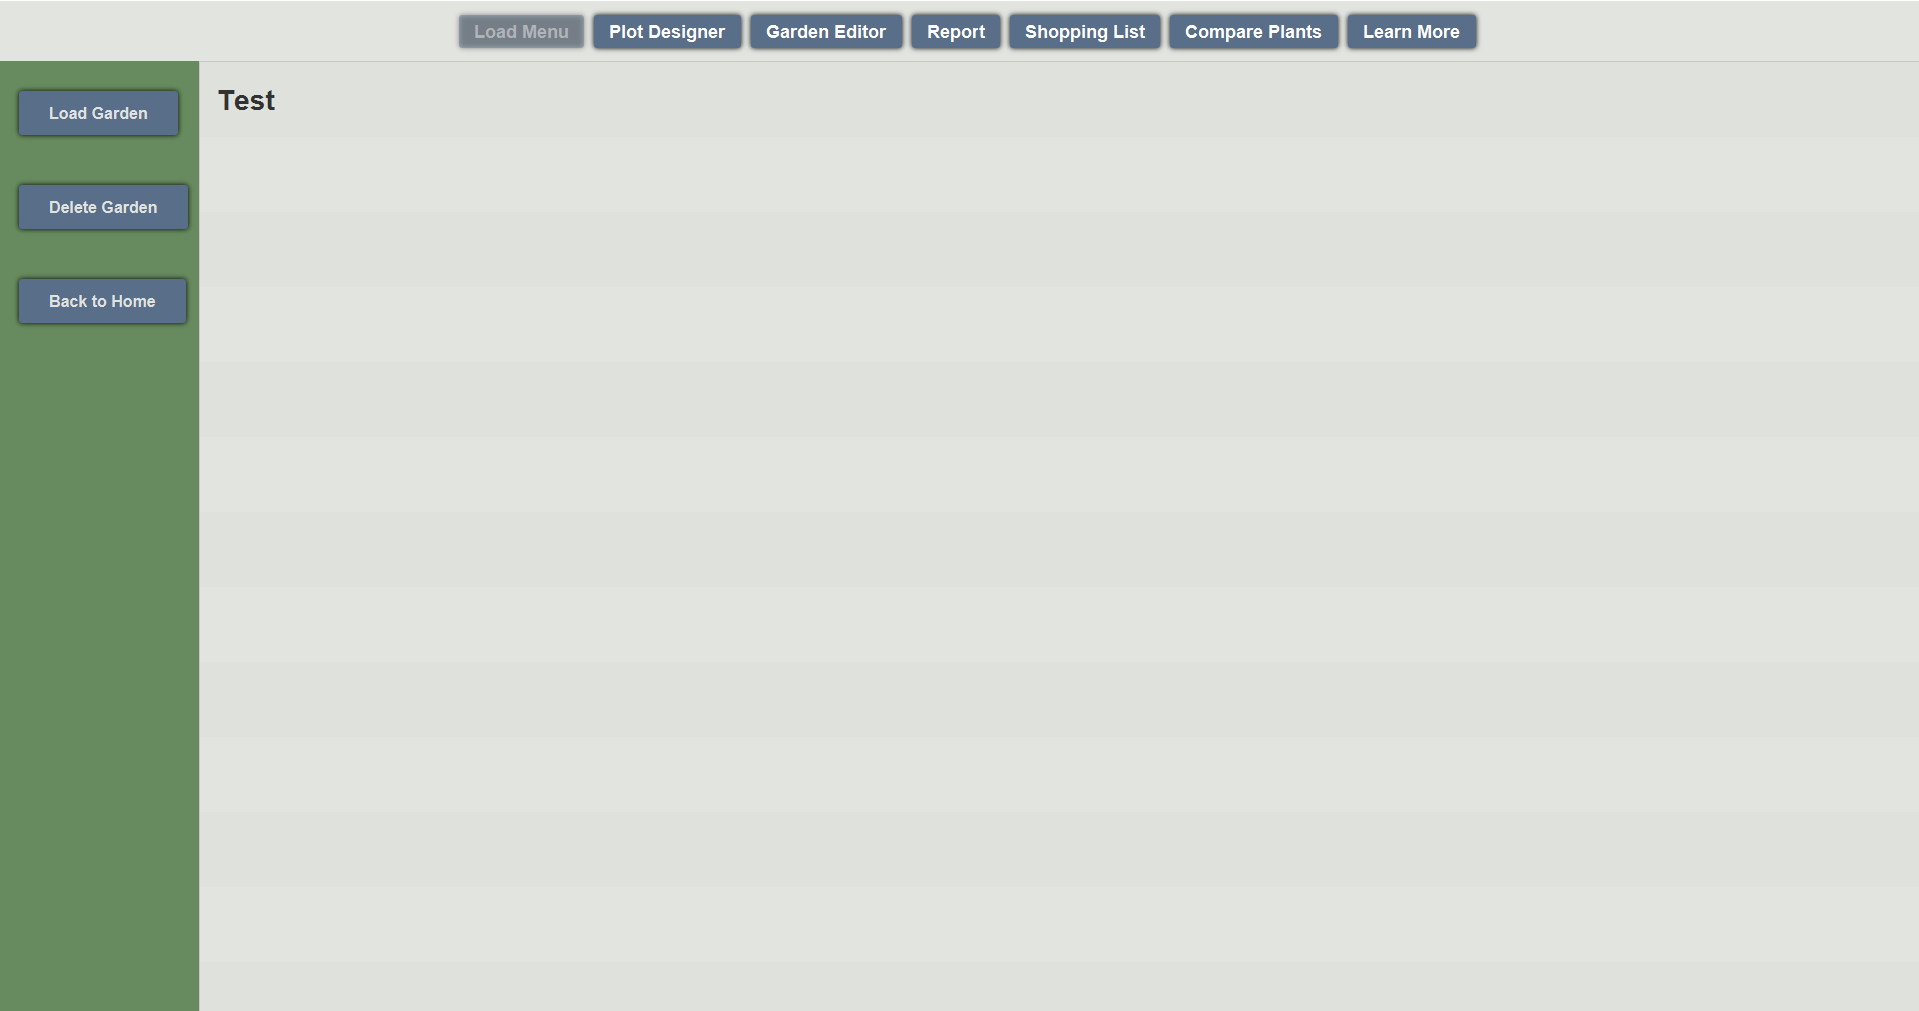
In the load garden menu, a list of saved gardens will be displayed. To load a garden, a user can select their desired garden, then press the load garden button. Gardens can also be deleted by using the delete garden option.
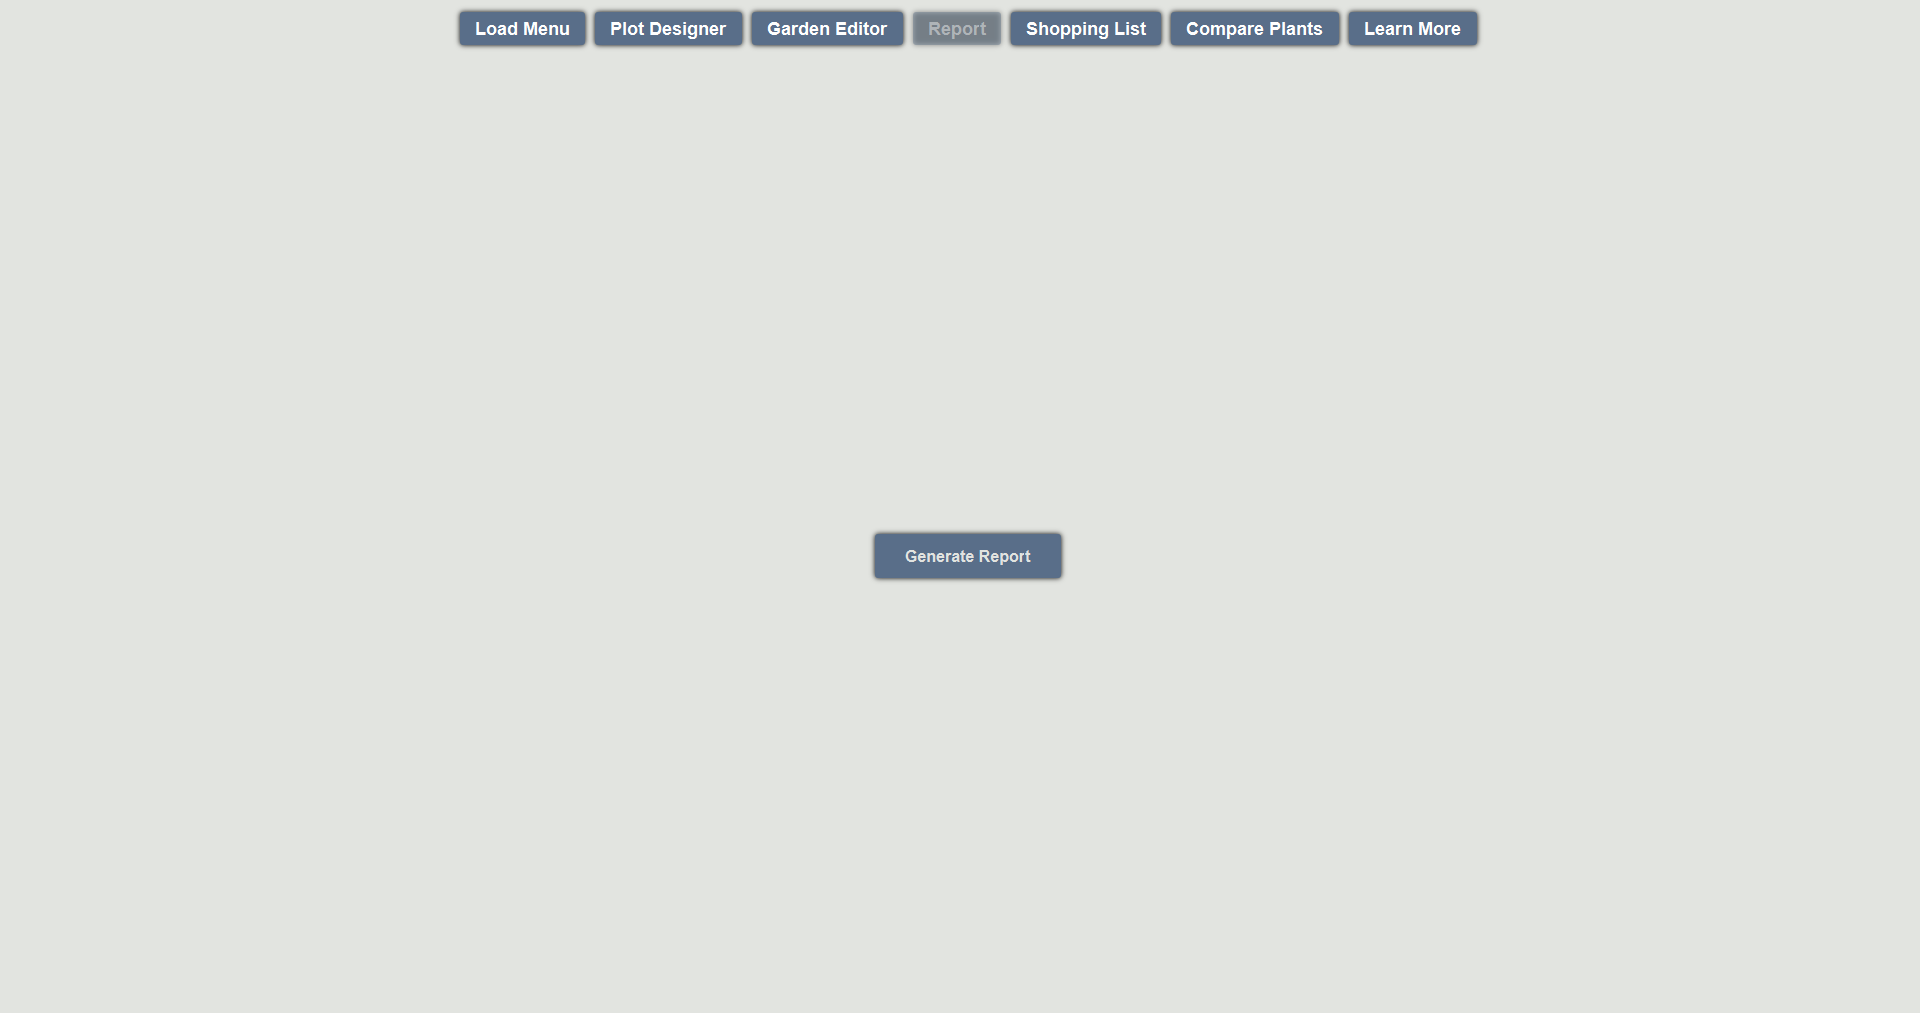
In the generate report section of the program, users can select the generate report button. After clicking the generate button, the program will create a report that contains specific garden information.

A generated report contains important information about the garden. This information includes the budget, along with plant and lep diversity information. On the left side of the lep diversity pie chart is a table containing all plants in the garden. On the right hand side of the lep diversity pie chart is a table containing all leps in the garden. By clicking on a specific lep or plant, a popup will appear containing an image and additional information.

Pop ups in the report view contain an image of a plant or lep if available, along with additional plant or lep information.
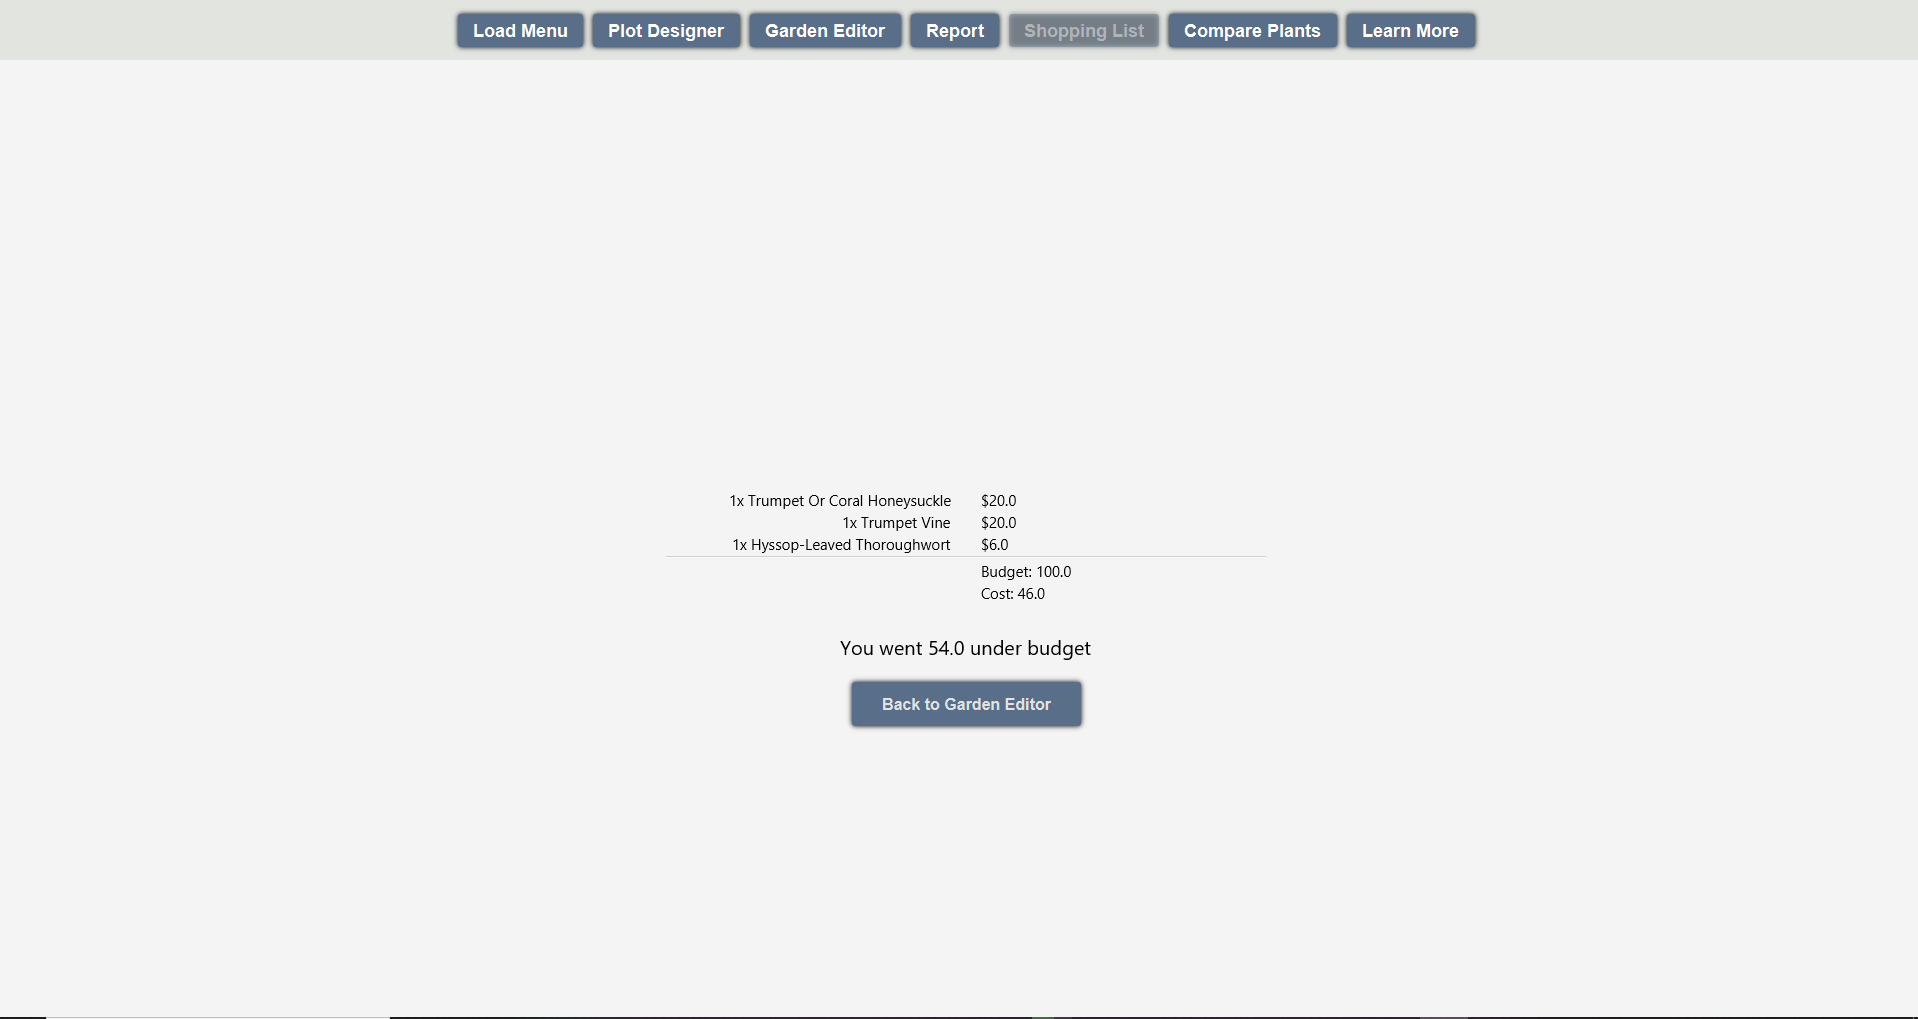
In the shopping list section of the program, a tally of all plants, and the total cost is displayed. The total amount over or under the budget is also displayed.
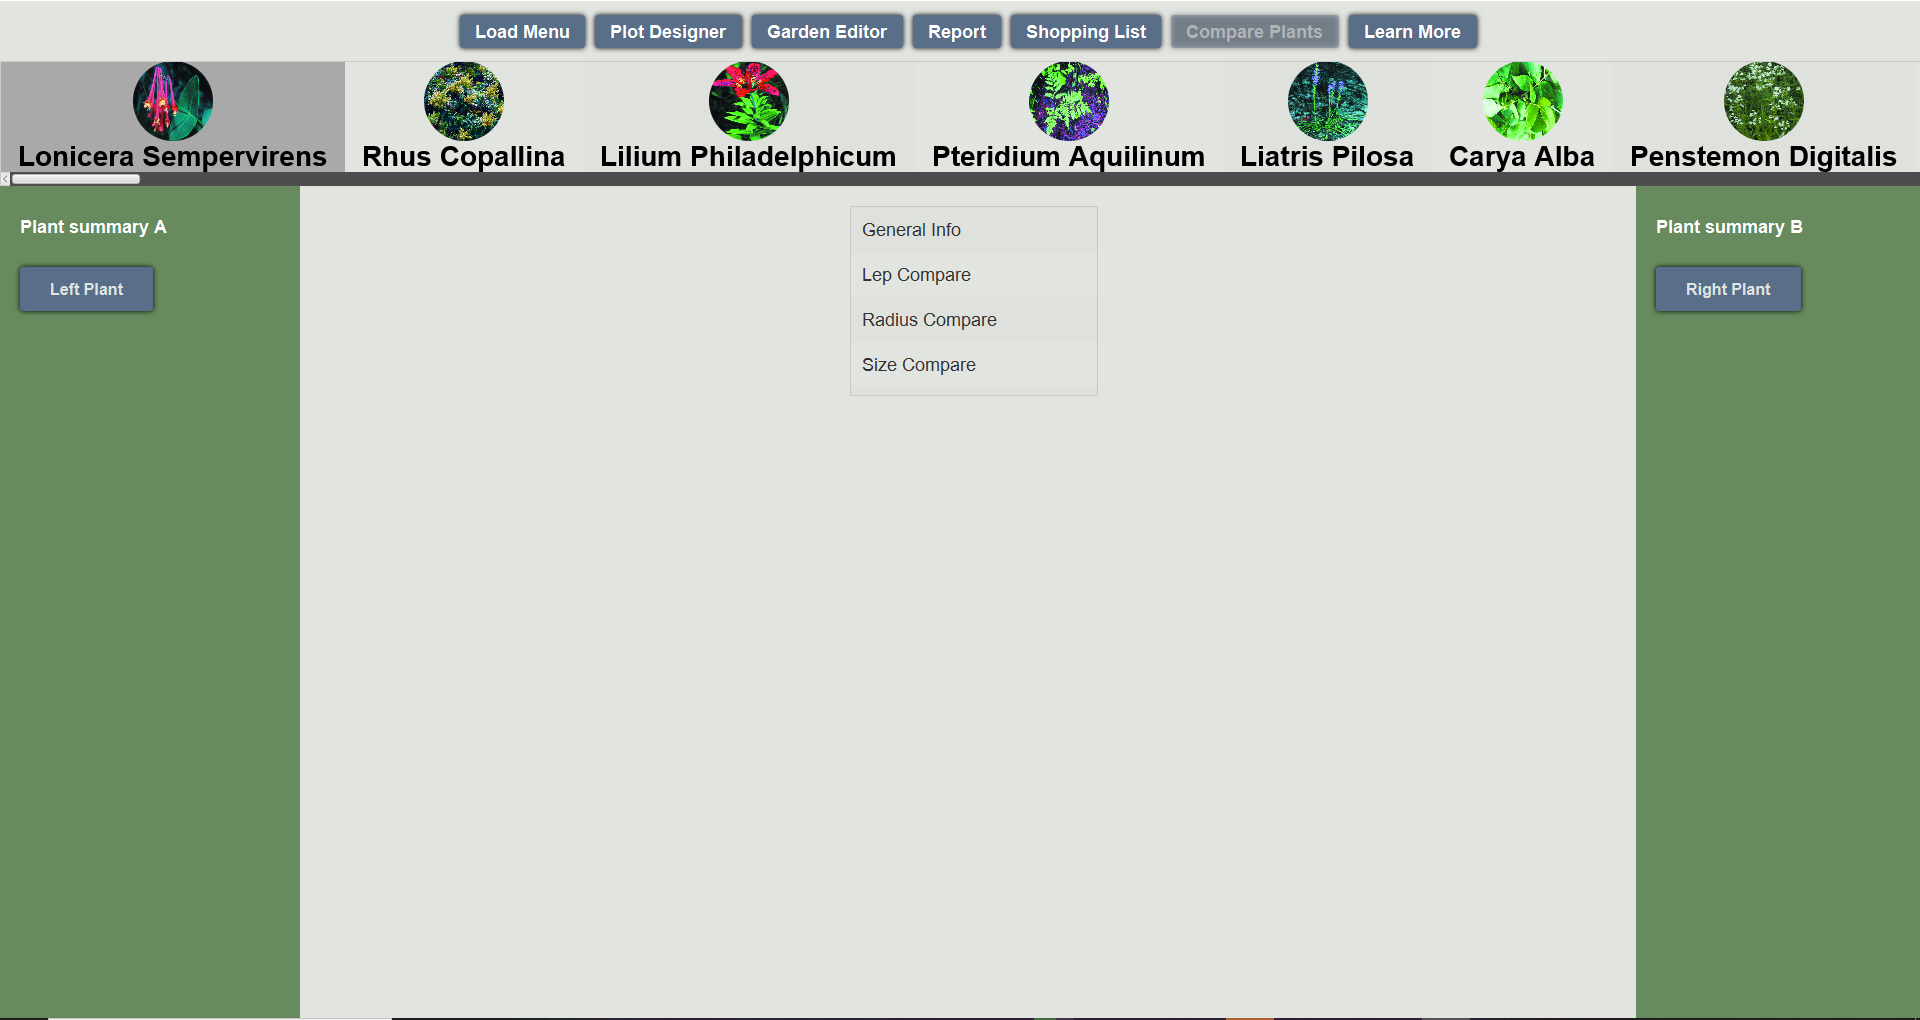
In the Compare Plants section of the program, two plants can be selected for comparison from the list of recommended plants on the top. When two plants are selected, one of four options can be chosen.
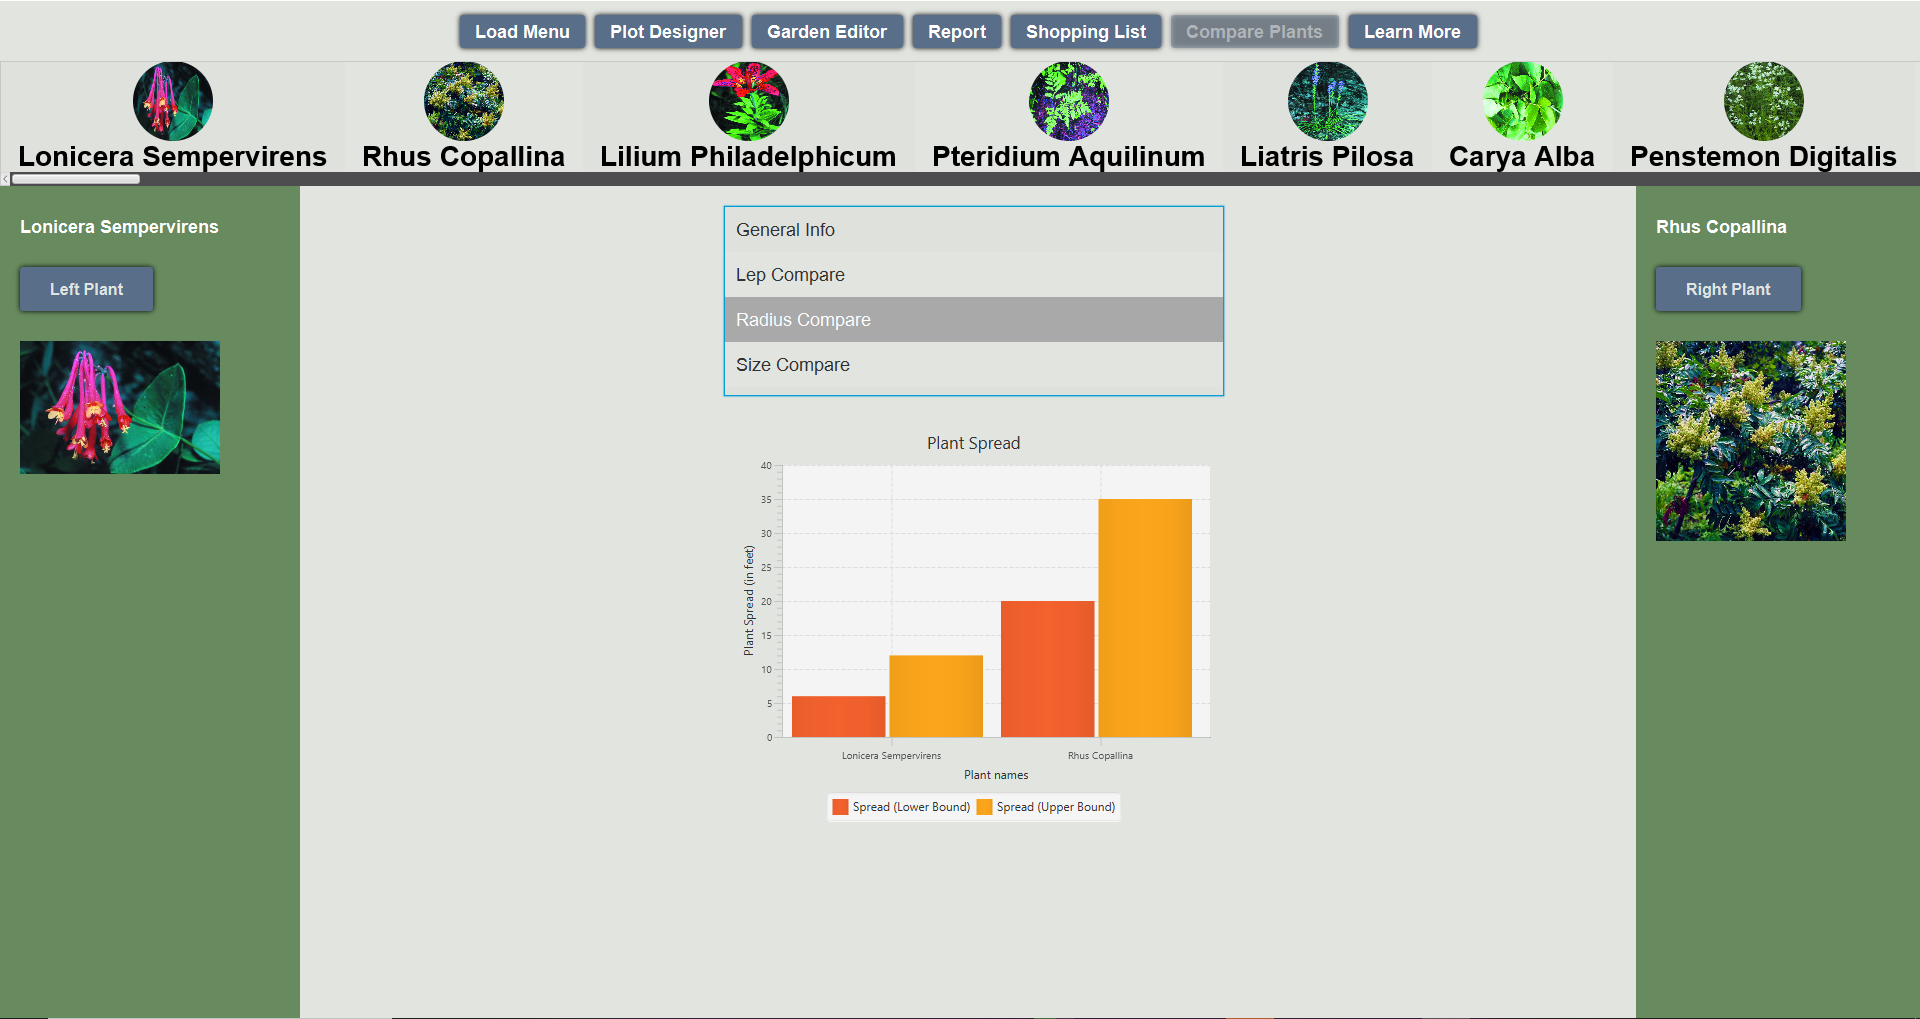
When selecting Radius compare, the upper and lower radius of each plant are compared.
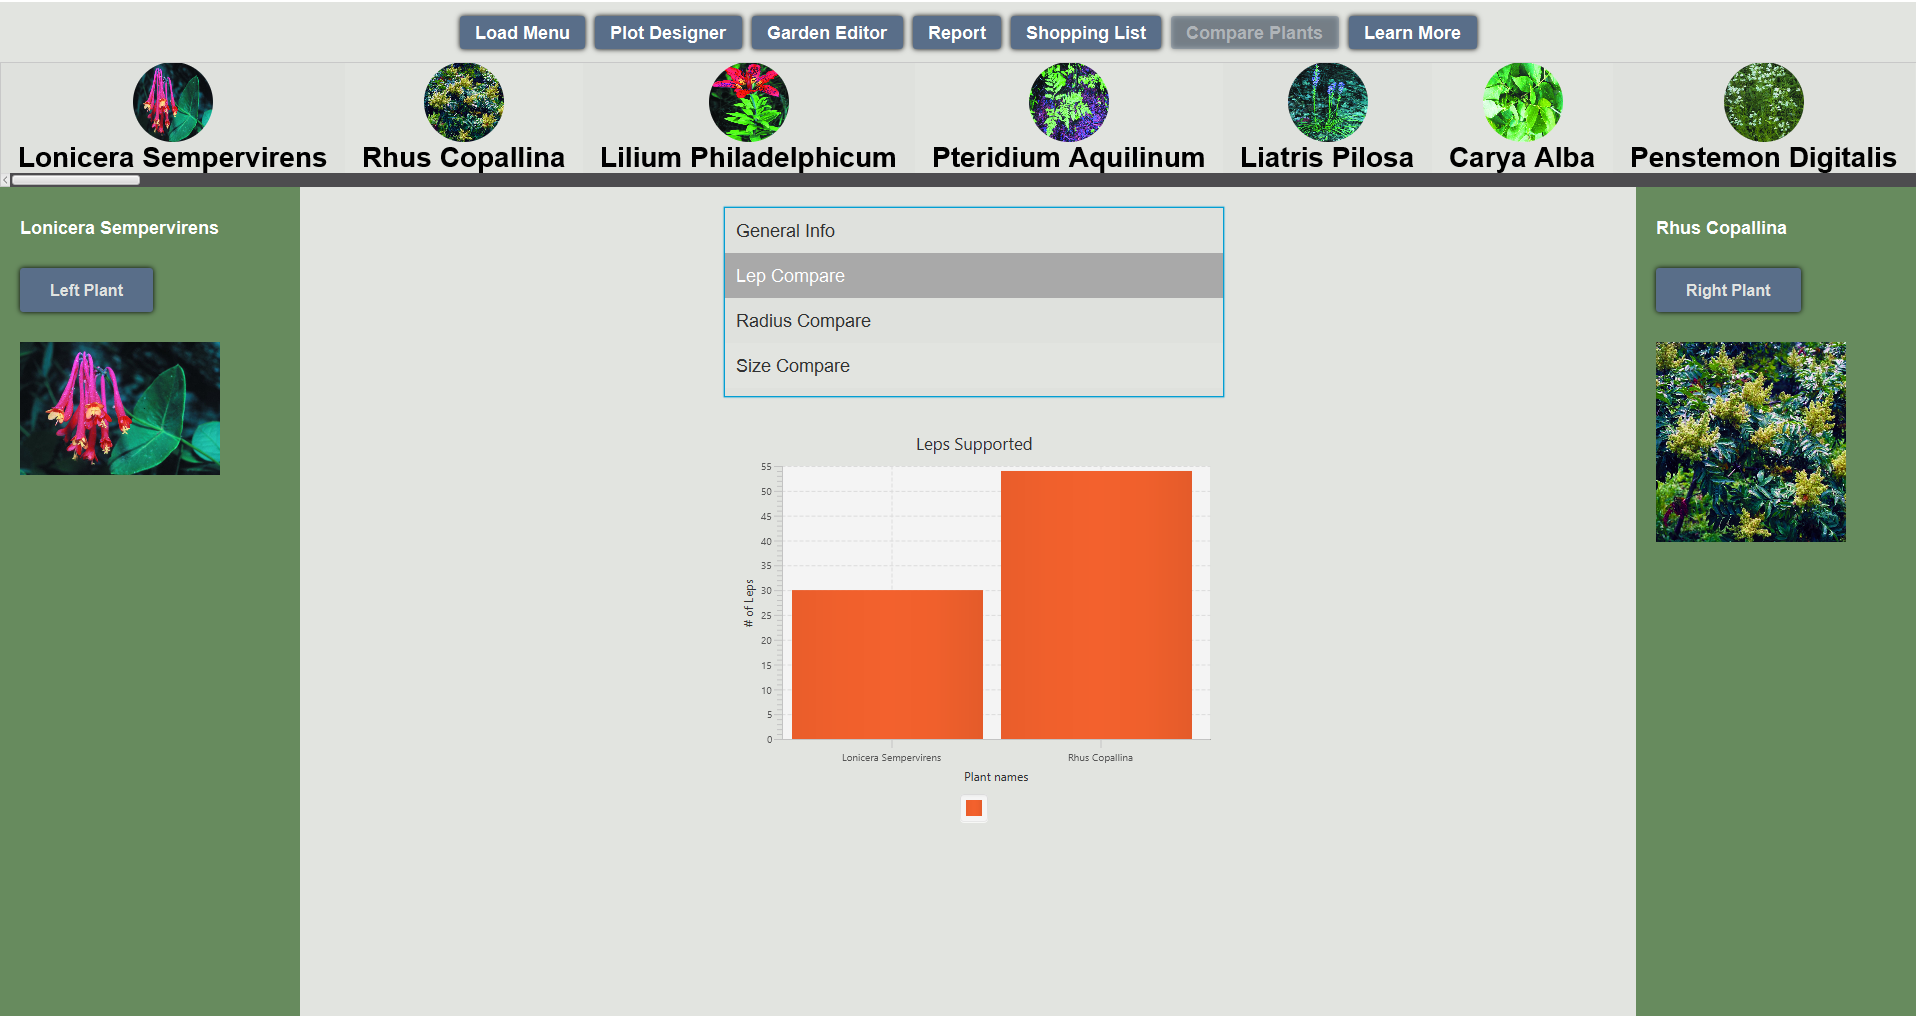
When selecting Lep compare, the number of leps supported by each plant are compared.
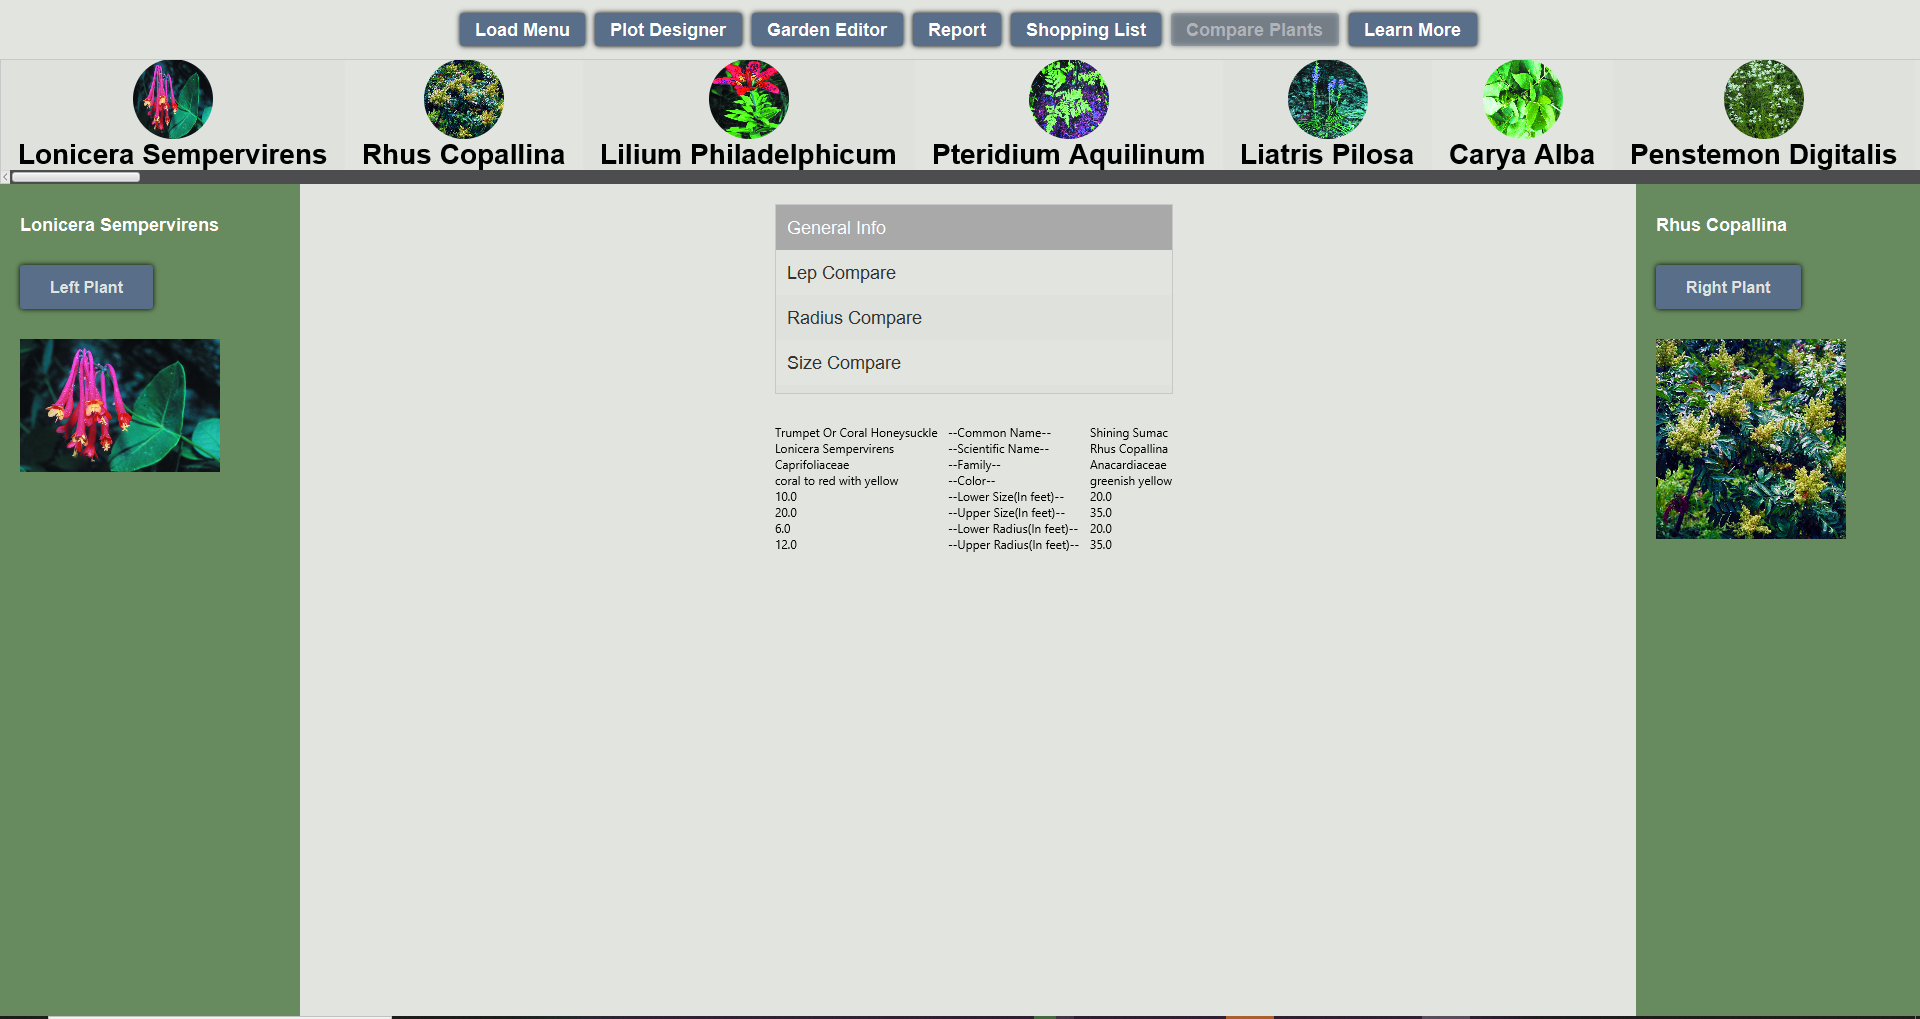
When selecting general info, basic information about each plant is compared.
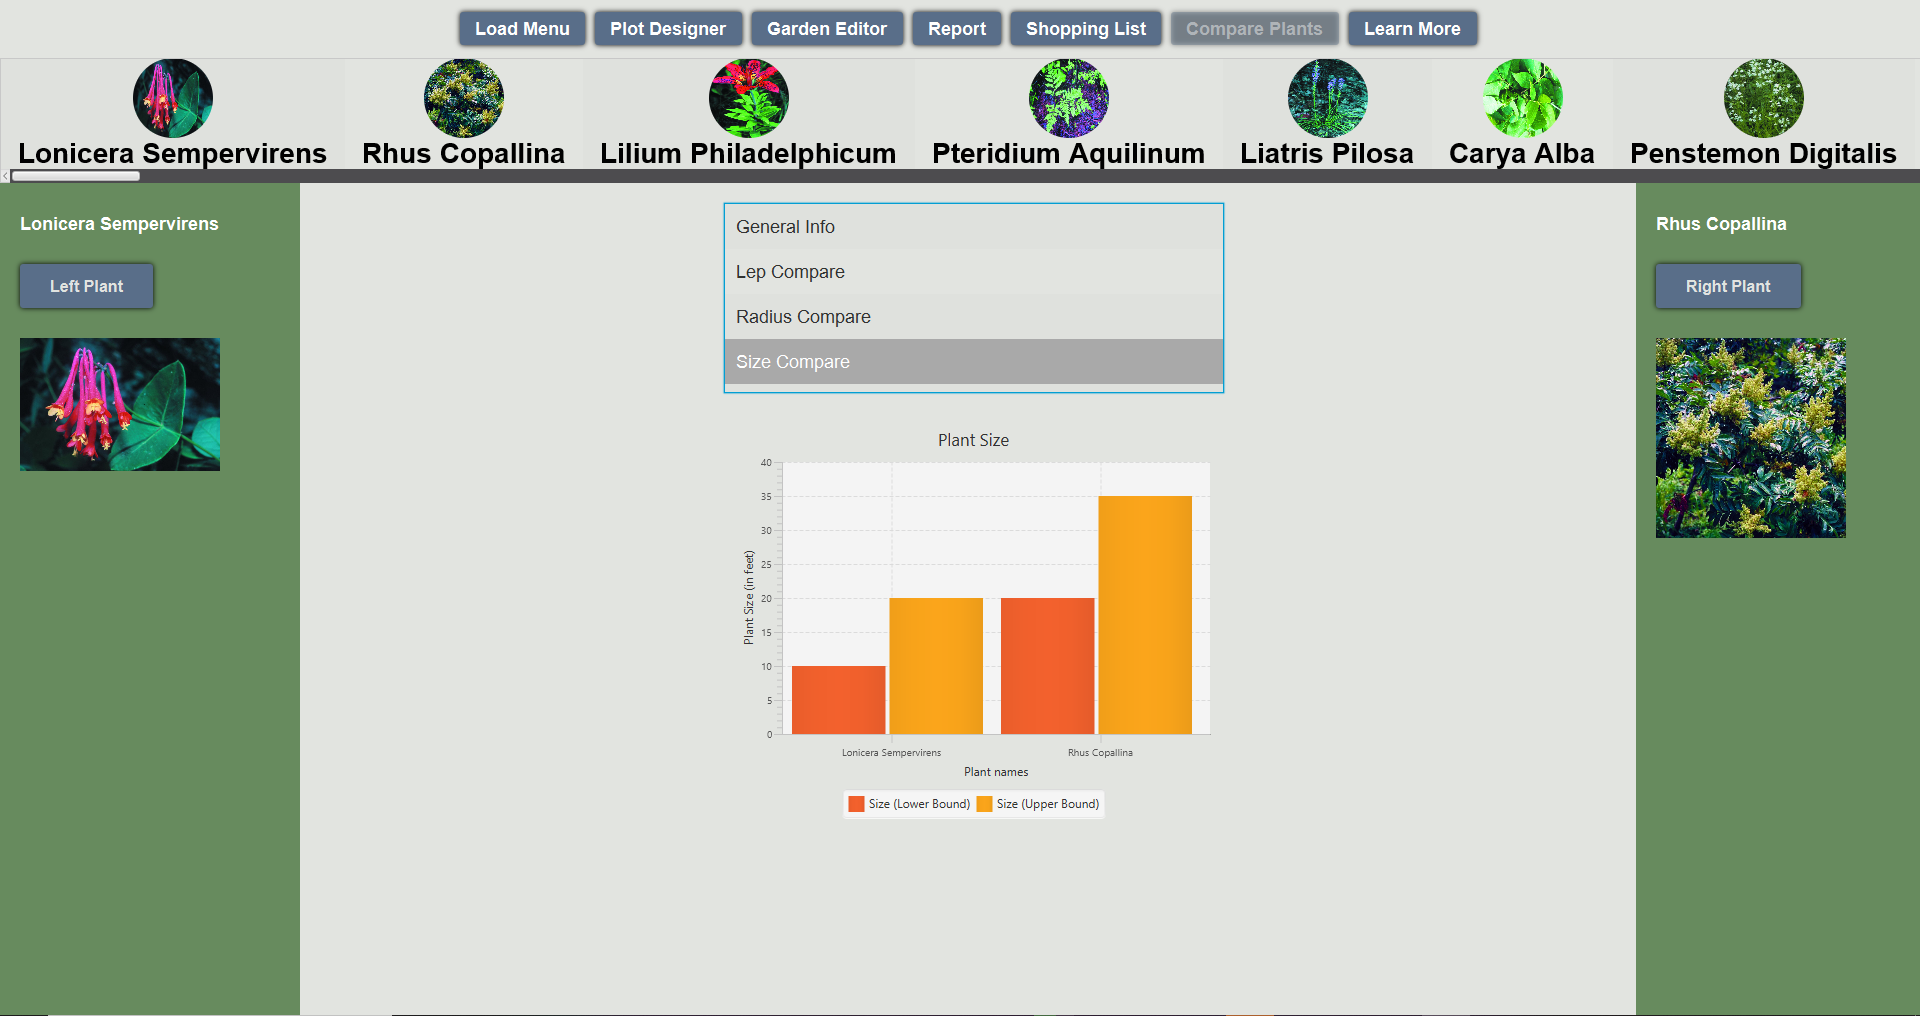
When selecting size compare, the upper and lower sizes of each plant are compared.
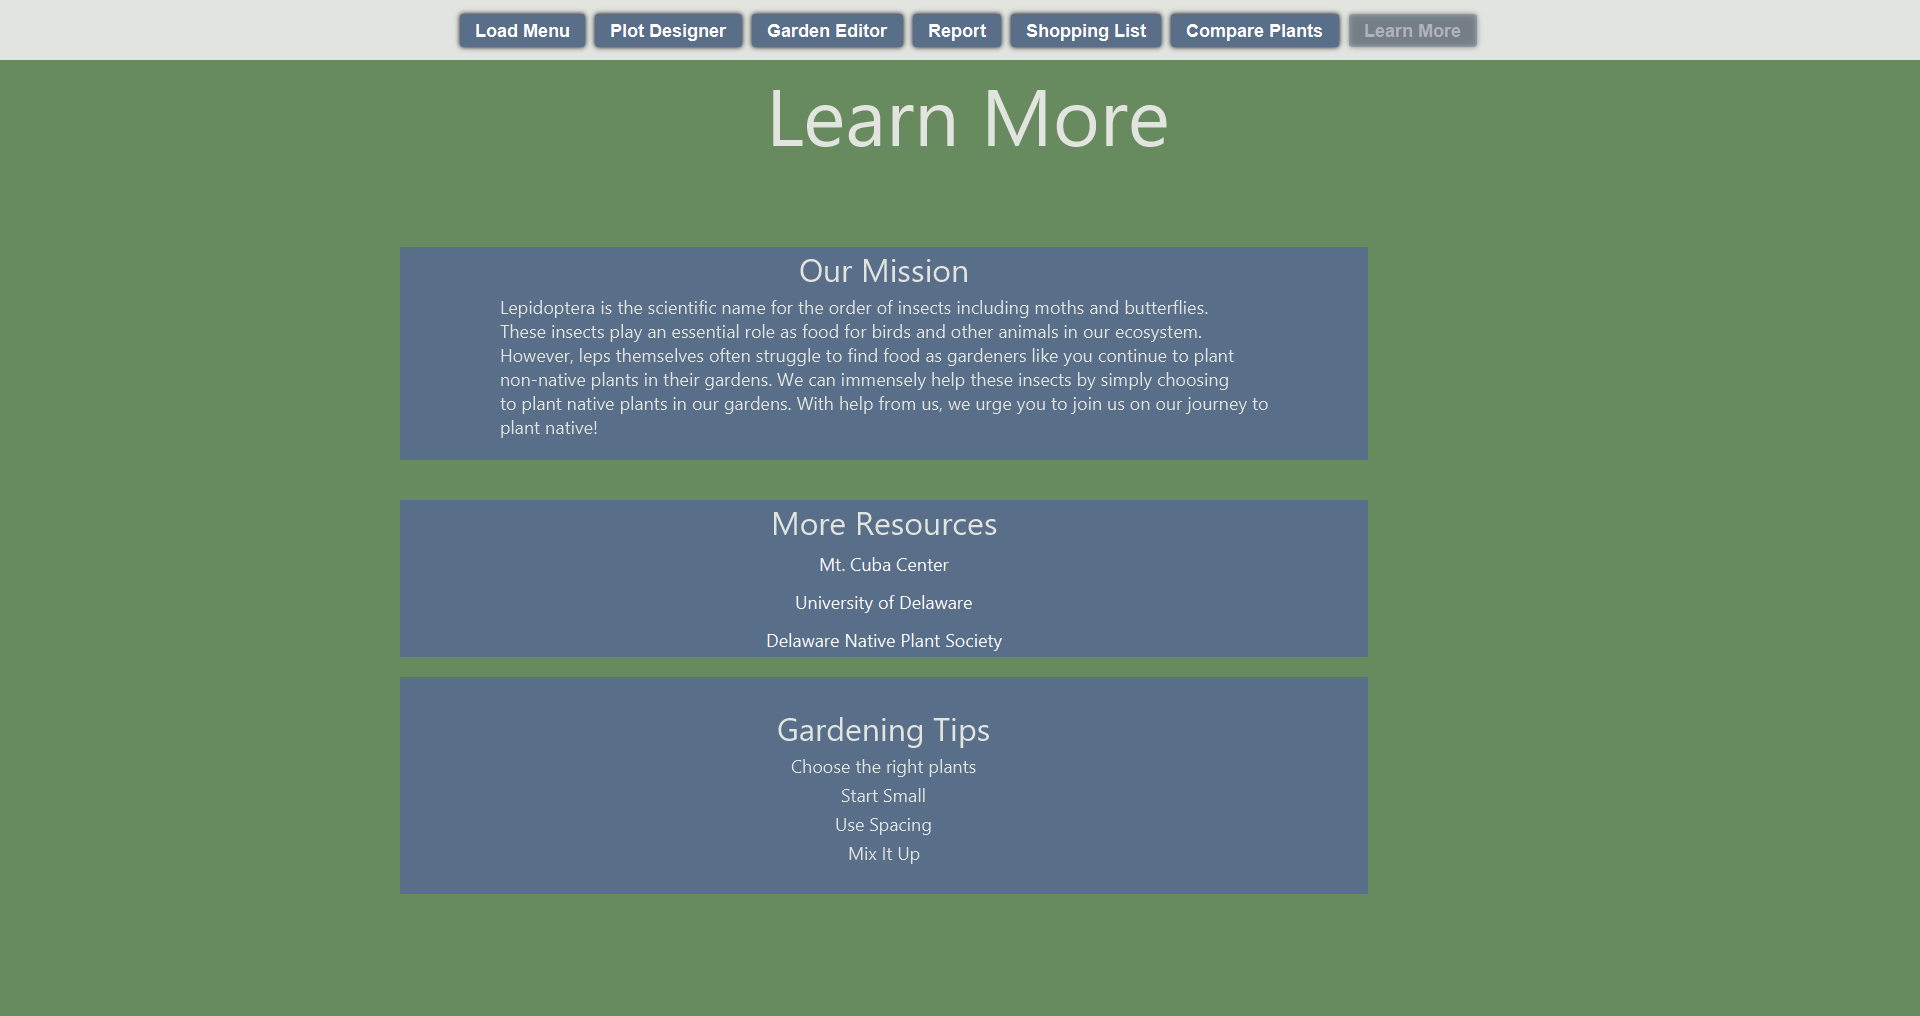
The learn more section of the program provides information about gardening, along with resources about local perennials, plants, and leps.
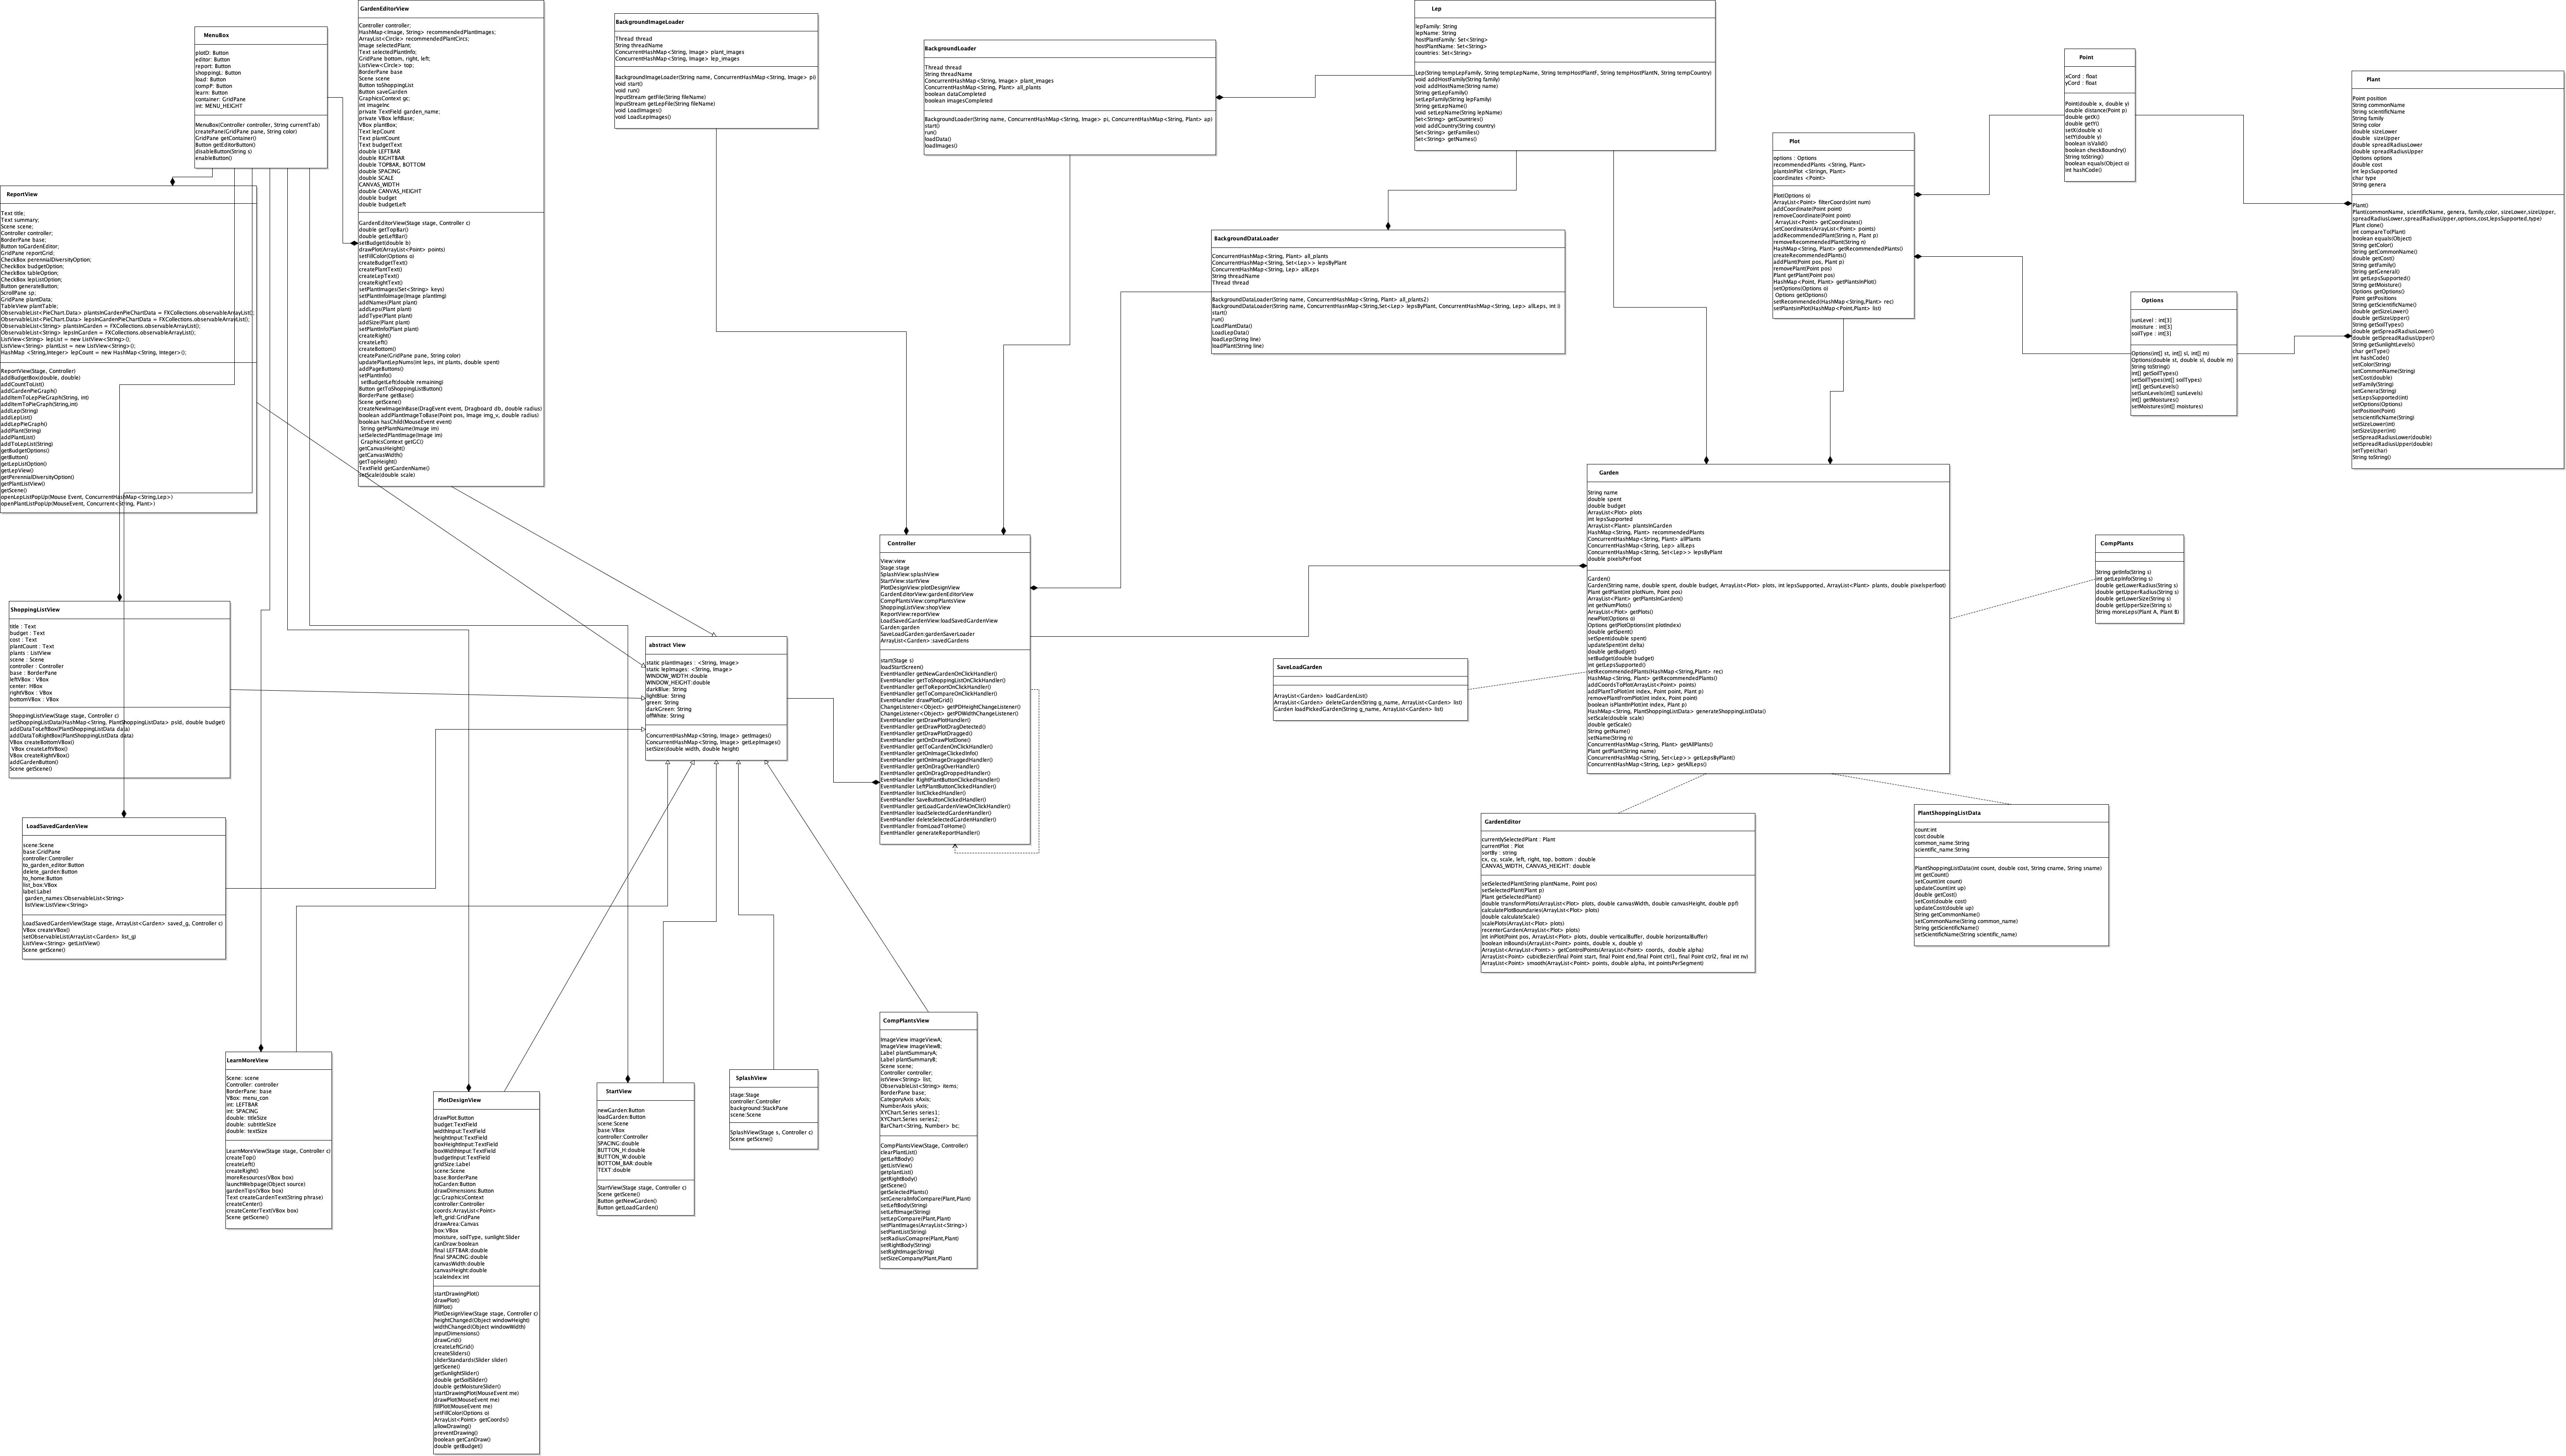
This program is intended to follow the model, view, controller (or mvc) style of programming.
The diagram below shows the coding structure of the program.
The following resources are used in the program for perennial, plant, and lep information.
https://www.wikimedia.org/
https://mtcubacenter.org/
https://www.udel.edu/academics/colleges/canr/cooperative-extension/fact-sheets/native-plants-for-delaware-landscapes/
https://delawarenativeplants.org/
http://www.nativeplantcenter.net/plants/