Recluse Centre is an interactive virtual space where you can roam, chat, customize spaces and host links.
This project is deployed and can be viewed on this website.
Table of Contents

With the emergence of COVID-19, students and professionals worldwide exchanged physical offices and classrooms for remote learning and online conferencing.
Recluse Centre simulates the experience of real-life social interactions and working environments with a 2-D virtual world to facilitate discussions and co-working.
- Have "world"-wide discussions with peers in your 2-D world
- Design social and co-working spaces by creating rooms with walls and colouring them, and assigning room names to said walls.
- Set meeting agendas, create video conferencing, or simply set up useful tools for your co-working peers with our build tool's external link creator.
- Explore the social spaces created by your peers in your 2-D world, and interact with the links and objects in the world.
You can find the deployed app here
- Starting from our landing page, log in or register for an account.
- Upon logging in, you should land in a world. The instructions for moving your character, opening the build tool and interacting with objects and links will be in the yellow alert below the top navigation bar.


- Standing next to a link (or a character, or an object), you can press E on your keyboard to interact with it. Interacting with it opens a tooltip with its description, and a link (if any). For external link objects, you can also open them in a new window by clicking on them.
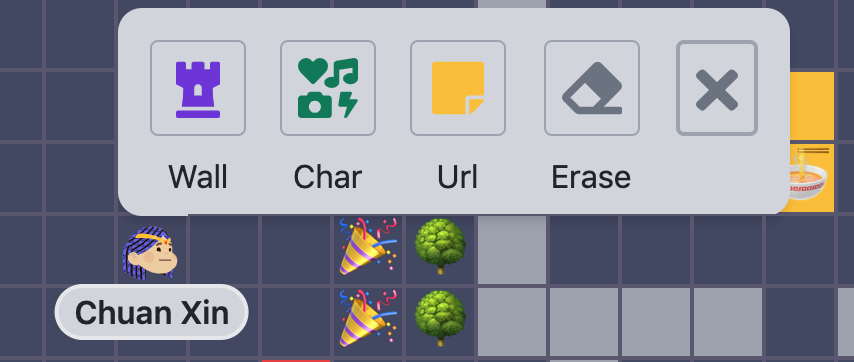
- Pressing B on your keyboard opens the build tool. There should be 4 options available. In this example, we will select the Wall tool.
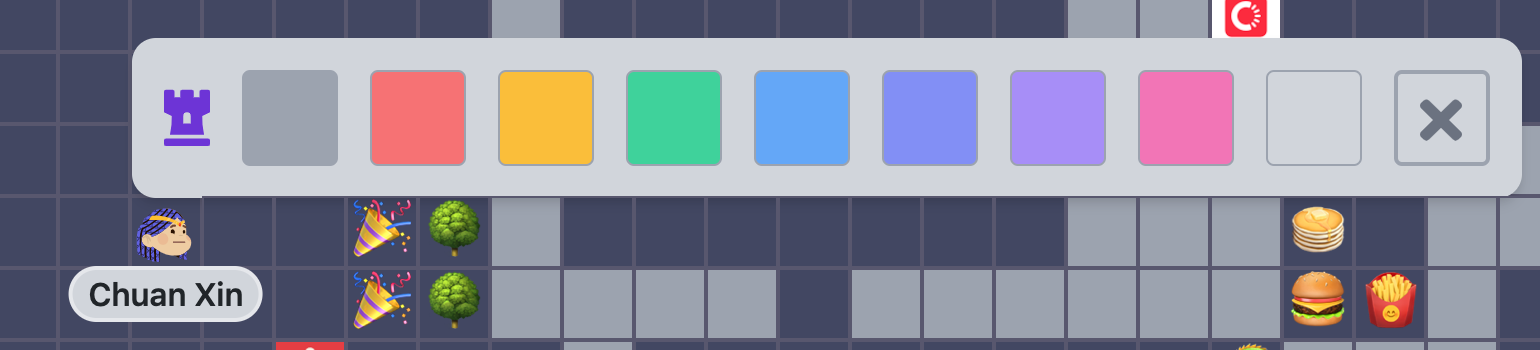
- Clicking on the Wall tool should open a palette of colours you can use for your wall. Click on any one you prefer. For this demo, we just clicked on the red colour.
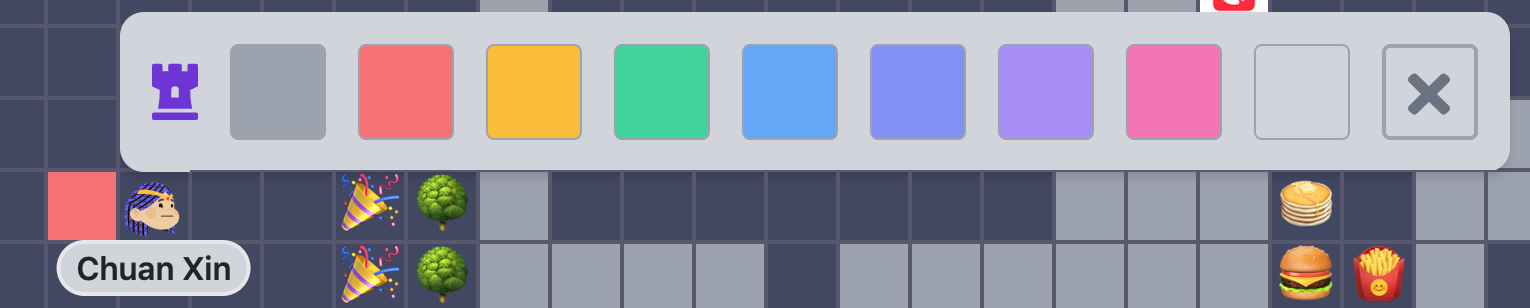
- Click any unoccupied tile on the grid map immediately after selecting your colour to add the wall. In the screenshot above, we just created a red wall to the left of the character Chuan Xin. This "click on a tile immediately after selecting and filling up the required information" interface is also used for the other 3 build tools: adding a character to a wall, adding a external link, erasing a wall or object. Press B again or click on the cross on the right-hand side of the build menus to exit from the interface.

- Click on the blue button in the bottom-right hand corner of the page to expand or collapse the chat interface. Scroll up or down to view the chat messages. The input box in the bottom-left hand corner of the page allows you to type out a message. Hitting Enter or clicking on the green button allows you to submit your typed message to broadcast to visitors of the world. Your messages will persist throughout the entire lifetime of the world.
- Missing username when user first enters the world. Username only appears after said user moves.
- Inability to press B to re-open Build tool immediately after user closes it by clicking the cross button on the Build menu. The user can press B to re-open it only after moving your character.
- User can create multiple worlds.
See the open issues for a full list of proposed features (and known issues).
The ERD is set up with the initial assumption that we will need the database to store various sessions and activities of the users, such as their last position in the world. This table is made redundant when the decision is made to restart the user's position everytime they return to the world.
Without the need of a sessions table, feature sets involving notifications and messaging in the world are reliant on Socket.io. The features that involve an interaction between the database and Socket.io include building objects and walls in the world, and chat messaging.
Additionally, tables are also set up with the vision of allowing users to create their own worlds. Unfortunately, this feature has not come to fruition at the time of writing due to the project deadline.
The initial setup of Socket.io on Express involves wrapping setting up the Socket.io instance around the Express app, but only having the Express app listen to our port.
Strangely, this worked on Jia En's Windows setup, but the Socket.io instance can never be found on Chuan Xin's MacOS setup. With guidance from this Youtube video tutorial on Socket.io, the initial setup was changed to have the Socket.io instance and the Express app listen to different ports.
However, we envisioned that we may have problems with deploying this application for the purposes of an interactive presentation for our project demonstration. This is because we cannot directly set the ports for our Socket.io instance and Express app to listen on Heroku; Heroku will configure the ports internally and forward traffic accordingly.
Changes were made again so that we can follow a single-port setup once more. This time, we learnt that the initial setup could be problematic because the Socket.io server instance wrapped around Express is not listening to the port; only Express is.
While it is never ever recommended to mix 2 UI libraries together due to the possibility of conflicting classes and styles, we decided to take the risk and do so. This is because of our dilemma: while we wanted to try a different CSS library (Tailwind), we also wanted to be able to reuse old UI templates (Bootstrap) for the navbar and authentication pages from previous projects.
Fortunately, there aren't too many conflicts on having 2 UI libraries together. The only prominent conflict is Tailwind seems to reset text and background colour styling on default tags, and we imported Tailwind after Bootstrap. However, this is mitigated by re-applying (albeit tediously) the colour classes provided by Tailwind on the background and texts that we did not want reset.
We tried importing the SCSS files for Tailwind and Bootstrap using 2 preliminary sources: importing through the JSX files, and then through the SCSS files. While both methods worked locally, Webpack had trouble compiling our modules for Heroku deployment, and we only had cryptic error messages from attempting to deploy.
Due to the lack of time to explore and re-configure our Webpack setup for production, we settled for importing the CSS of Tailwind and Bootstrap on index.html. This is with the knowledge that we aren't using any of Tailwind's features listed here, by only using their utility classes.
Contributions are what make the open source community such an amazing place to learn, inspire, and create. Any contributions you make are greatly appreciated.
If you have a suggestion that would make this better, please fork the repo and create a pull request. You can also simply open an issue with the tag "enhancement". Don't forget to give the project a star! Thanks again!
- Fork the Project
- Create your Feature Branch (
git checkout -b feature/AmazingFeature) - Commit your Changes (
git commit -m 'Add some AmazingFeature') - Push to the Branch (
git push origin feature/AmazingFeature) - Open a Pull Request
Distributed under the MIT License. See LICENSE.txt for more information.
Jia En - @ennnm_ - jiaen.1sc4@gmail.com
Chuan Xin - chuanxin.lee@gmail.com
Project Link: https://github.com/Ennnm/recluse-centre
- Recurse Center Virtual RC (primary inspiration)
- Gather (secondary inspiration)
- Build A Realtime Chat App In ReactJS and NodeJS | Socket.io Tutorial by PedroTech