The Our Members section of our website needs to be updated so the placeholder members are replaced with real members!
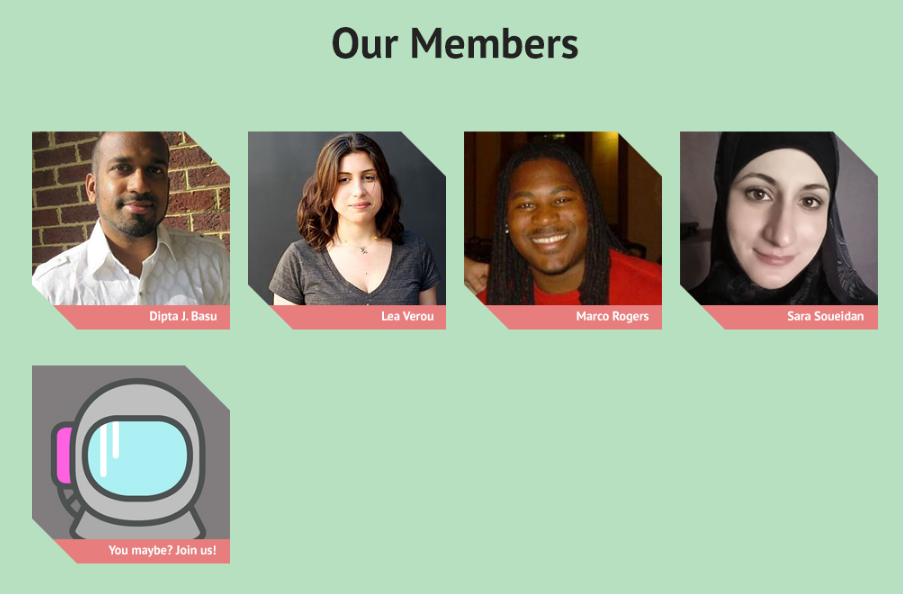
If you'd like to have your name & photo included on our upcoming website, please follow the instructions below.
If you're new to Git / GitHub, check out our recommended resources.
Please comment on this Facebook thread with your GitHub username.
In GitHub, fork the website project to your personal GitHub account.
Open your preferred Command Line Interface tool. Use Git BASH on Windows (included with Git for Windows). Terminal, iTerm2, etc. on OSX. Gnome, Terminator, Konsole, etc. on Linux.
Navigate to the directory in your file system where you want to store the project locally. For example, if you want to store a local copy of the project on your Desktop (on a mac):
$ cd ~/Desktop
Clone the forked repository to your local machine. Note: Be sure to copy the web URL (or SSH key / passphrase) from your personal forked copy of the repo. The link will contain your personal GitHub username in place of diptajbasu in the example link below.
$ git clone https://github.com/diptajbasu/website.git
Enter your local copy of the project. The project folder you cloned onto your machine is called website.
$ cd website
Connect your local copy to the original repository. Group members (i.e., collaborators) will be making many updates to the project's main repo, which contains the master branch. You'll, in turn, want to pull in those updates to your local copy frequently to avoid merge conflicts. So, you should connect your local copy by adding the original repo as a remote.
It's a convention to call the original repository upstream.
$ git remote add upstream https://github.com/GermantownCodes/website.git
You should now have 2 remote repos: 1) upstream (the group's original repo) and 2) origin (your forked copy). Let's confirm this.
$ git remote
You should see 2 remotes printed to the command line: origin and upstream
Create a local feature branch (a branch is a complete copy of the project), prefixed with your initials. For example, (My initials are djb and I want to create a branch that adds member bio information):
$ git branch djb-add-member-bio
Switch from the default master branch (your local copy of the master branch) you started in, over to the branch you just created (i.e., your new feature branch). For example:
$ git checkout djb-add-member-bio
Create a directory, named with your initials, within the src/data/members directory. For example:
$ mkdir src/data/members/djb
Create a JSON file, named with your initials, within the new directory you just created.
Add any information you'd like to share publicly on our website. The only required field is name, the rest are up to you. Our current UI design only displays your name, but we may decide to update the design in the future. It's perfectly acceptable to just include your name only.
Create the JSON file:
$ touch src/data/members/djb/djb.json
Add whatever data you'd like to share. Please follow guidelines from the Google JSON Style Guide for JSON data formatting. You may want to run your JSON through a linter like JSON Generator.
Here's JSON from an example file (djb.json):
{
  "name": "Dipta J. Basu",
  "location": "Germantown, Maryland",
  "bio": "I'm a data-driven web developer committed to advancing greater equality and opportunity.",
  "socialProfiles": {
    "freecodecamp": "https://www.freecodecamp.com/diptajbasu",
    "github": "https://github.com/diptajbasu",
    "codepen": "http://codepen.io/diptajbasu/",
    "facebook": "https://www.facebook.com/diptajbasu",
    "twitter": "https://twitter.com/DiptaJBasu",
    "dribbble": "https://dribbble.com/diptajbasu"
  },
  "professional": {
    "organization": "globalgiving.org",
    "role": "Front End Web Development"
  },
  "languages": [
    "HTML",
    "CSS",
    "JavaScript",
    "PHP",
    "SQL"
  ],
  "interests": [
    "nonprofits",
    "online fundraising",
    "online education",
    "learn to code movement",
    "writing",
    "screencasting",
    "vlogging",
    "teaching",
    "hiking",
    "travel",
    "minimalism",
    "cooking",
    "functional fitness training",
    "productivity",
    "fatherhood",
    "hackathons",
    "web development",
    "UI/UX"
  ]
}Add a photo of yourself, named with your intitials, within the same directory as the JSON file. Please use a square photo, at least 300 x 300, in .jpg or .jpeg format. For example: djb.jpg
$ git add -A .
$ git commit -m "Add bio information for Dipta J. Basu aka djb"
NOTE: If you made multiple commits on your feature branch instead of a single commit, be sure to squash all of your commits into a single commit using an interactive rebase.
In the time that has passed since you forked the repo in GitHub, it's certainly possible that other contributors have updated the main (i.e., master) branch. So, let's pull in any changes from master and merge them into our feature branch.
$ git checkout master
$ git pull upstream master
$ git checkout djb-add-member-bio
$ git merge master
$ git push origin djb-add-member-bio
Now that your fork reflects the changes you made (adding a JSON file and photo), when you visit your fork on GitHub (in my case: https://github.com/diptajbasu/website), you should see a green Compare & pull request button in the upper right-hand corner of the page. Clicking the green button takes you to an Open a pull request page which displays summary information detailing the differences between where you think changes should be applied (i.e., base branch) and what you think should be applied (i.e., head branch). You may leave a comment in the textarea (e.g., reference a blog post or collaborator that helped you out, etc.) or alert someone (e.g., Hey @diptajbasu, could you check this out?) if you wish. Click the green Create pull request button.
Now that you've submitted a pull request ("PR"), please alert the team by posting on our Facebook group, so a teammate can review. You should hear back within 48 hours with suggestions on what might need updating, or your PR may be accepted without the need for revision.
Now that your updates have been accepted and added to master, it's time to celebrate!
Once the party has calmed, you'll notice that both your fork and your local copy are now out of sync with master!
To fix this, we'll merge our bio info branch into master locally, delete the bio info branch as we'll no longer need it, pull from master, and then push to our forked copy on GitHub to get it synched as well.
$ git checkout master
$ git merge djb-add-member-bio
$ git branch -d djb-add-member-bio
$ git push origin --delete djb-add-member-bio
$ git pull upstream master
Now, upstream, origin and the local copy should all be in sync.