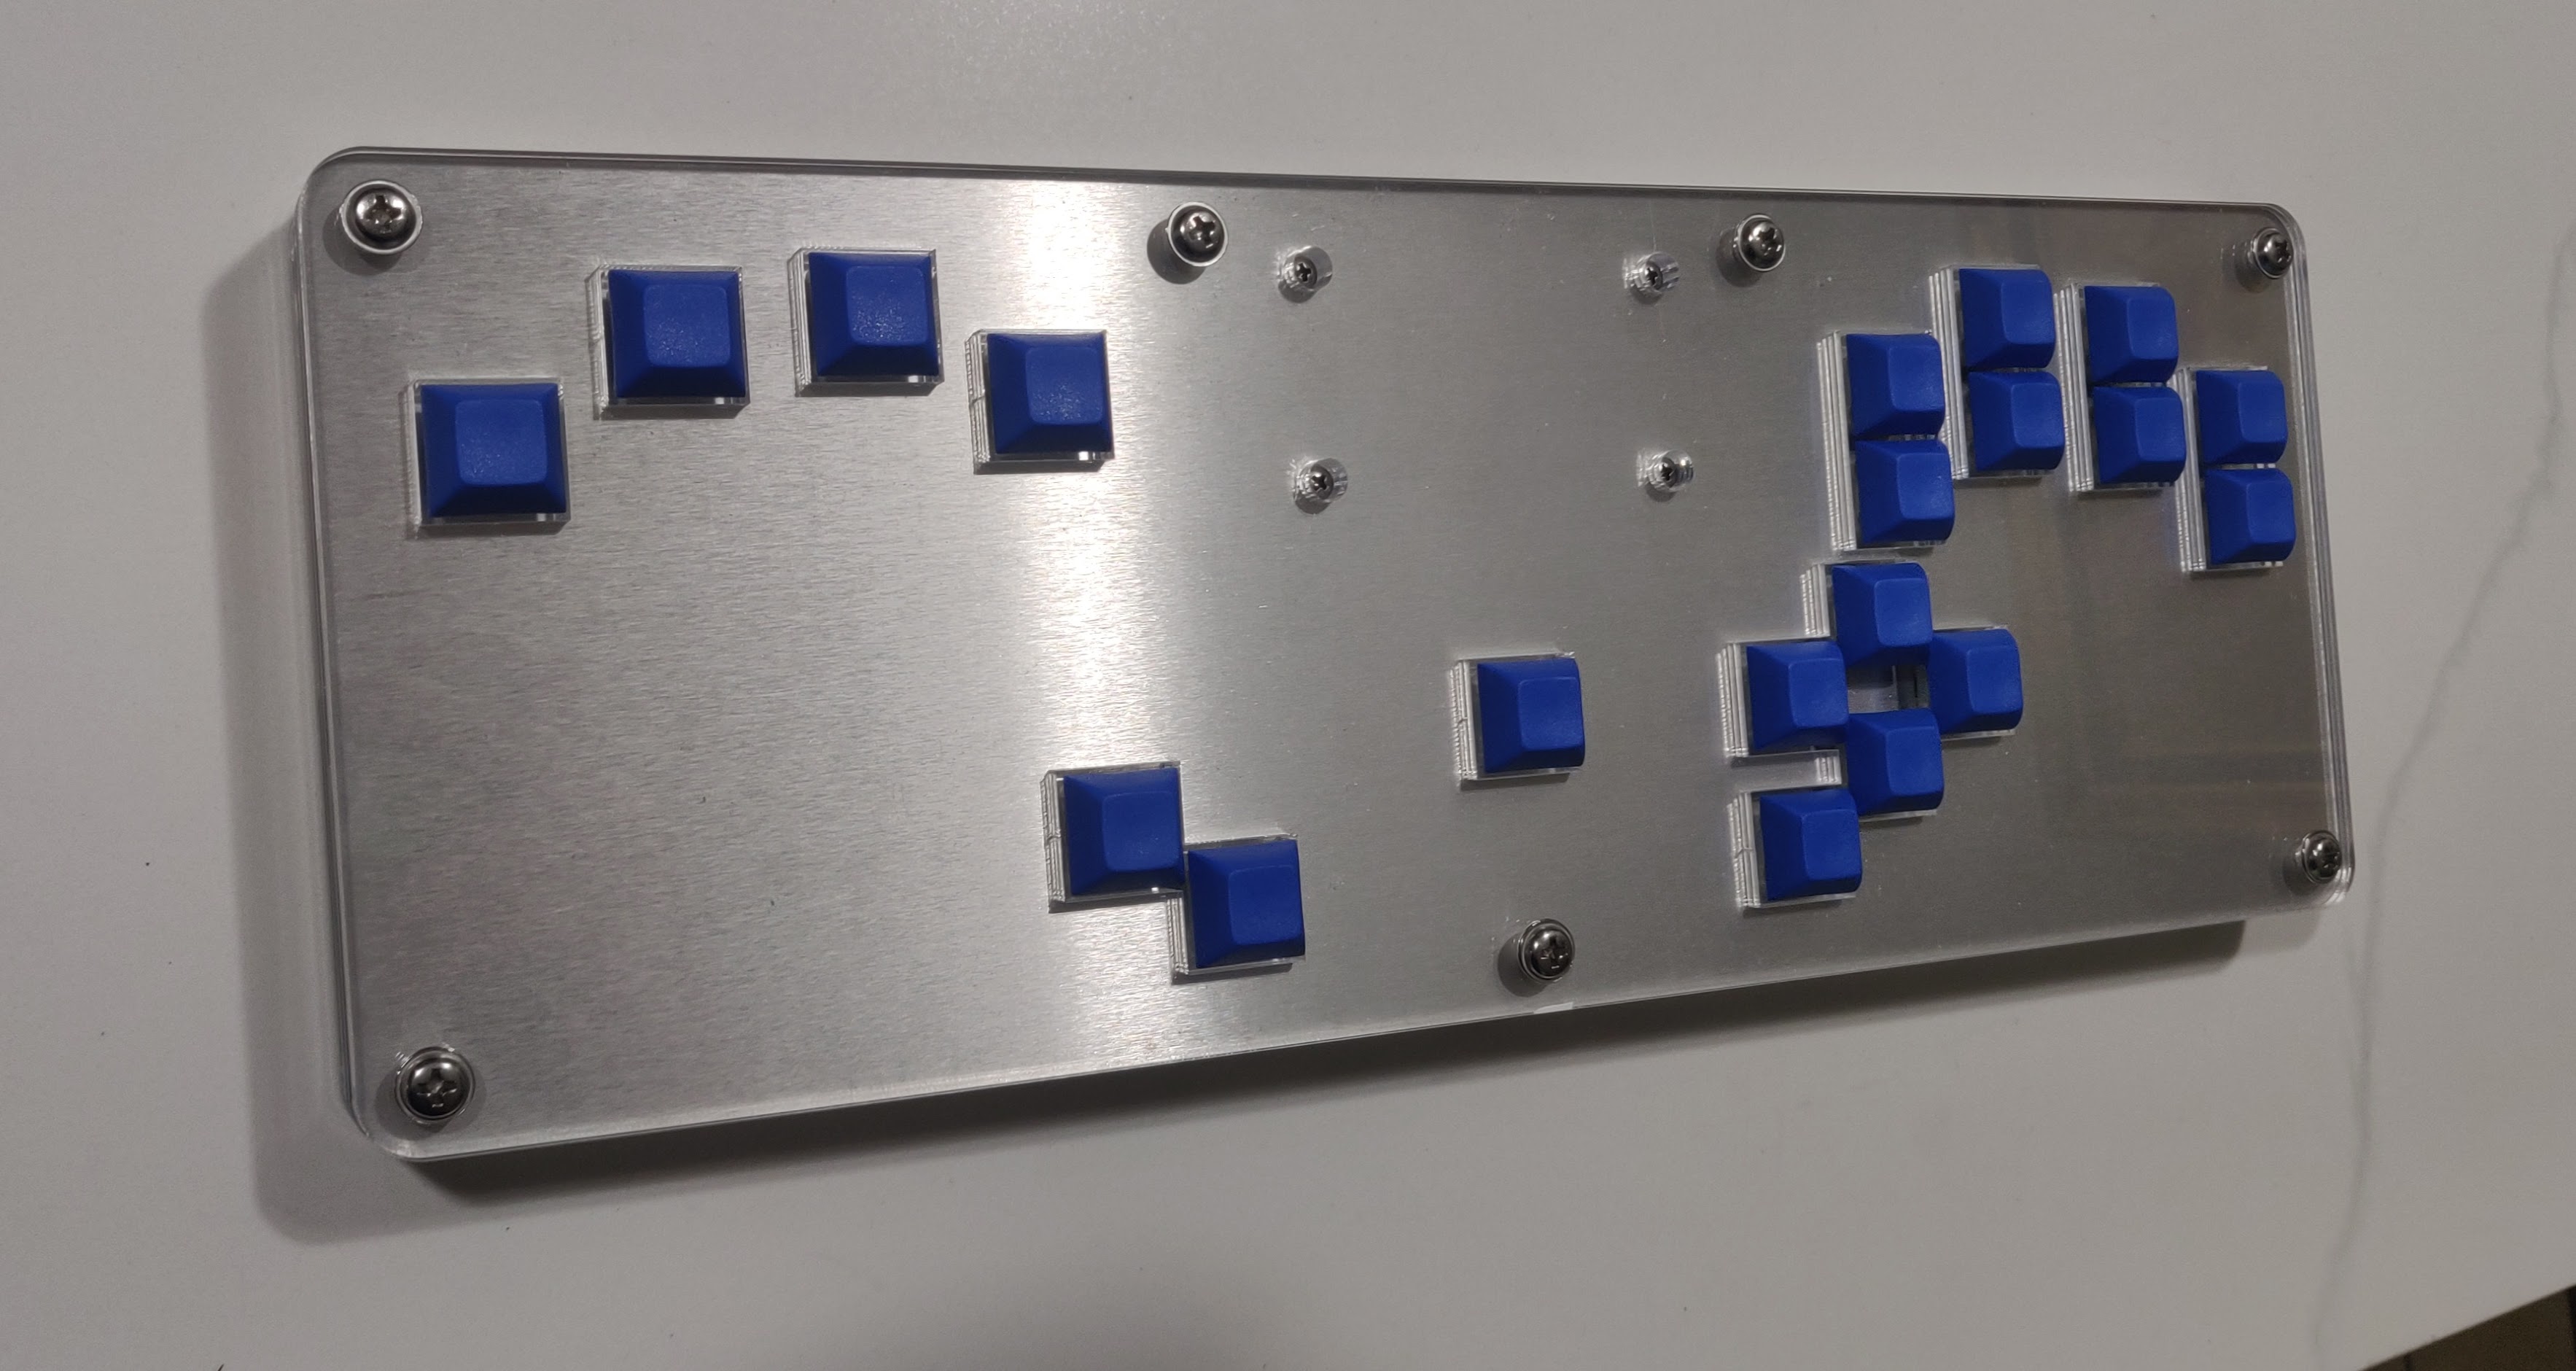
The DIDIY case is a case design specifically made for the DIDIY board. It uses the HTangl layout
For a video guide on how to assemble the layered version of the case please visit the HTangl YouTube channel.
Although this guide only shows the layered case the assembly is essentially the same for the 3D printable version, there are just less layers since the main part of the case is one big piece.
There are 2 versions of the case in this repository
You can use the DXF files to order all the panels needed from a laser cutting website like SendCutSend. There are other websites you can get the panels from, SCS is just the site I use. There is a guide on how to order the panels from SCS below.
If you would like to have 2 extra menu buttons for Select/Home make sure to use the DXF files in the "Select and Home buttons" folder. These replace the standard switch plate and top panel DXF files.
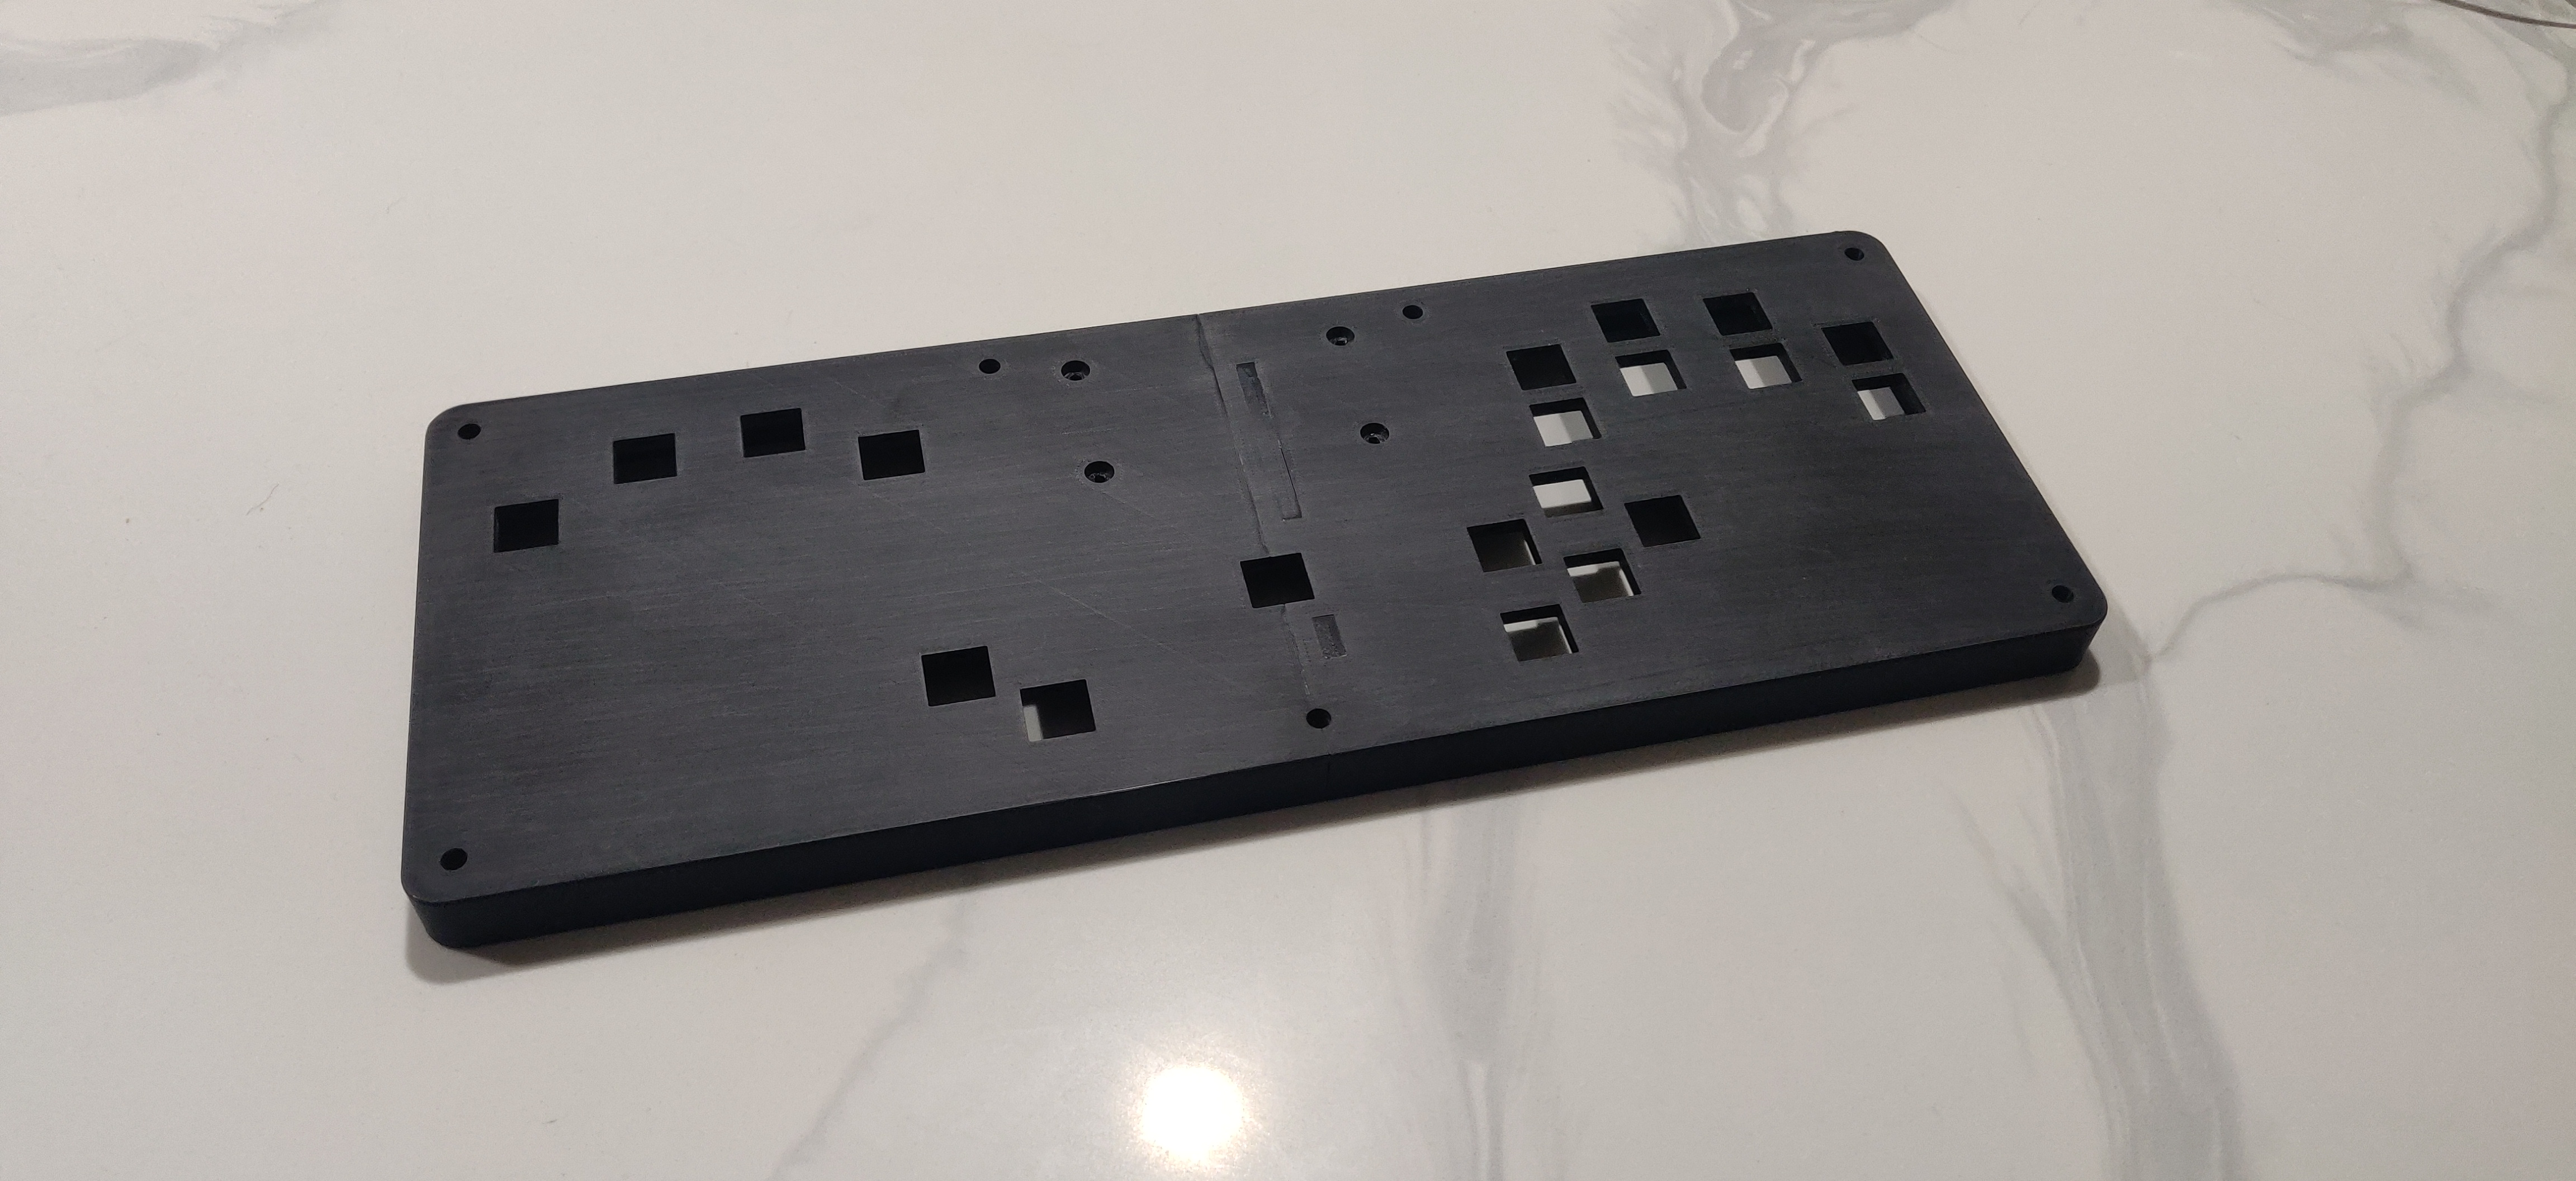
You can use the STL files to print a case yourself, this version of the case still requires the hardware listed below minus the 8 M3 washers.
The main body of the case is printed in 2 halves which then slot together and are glued in place, while you can use super glue I recommend using a strong 2 part epoxy such as JB weld. The surface area is somewhat limited so the stronger the glue the better.
There are a few different ways to print a case, below are some suggestions.
Fully Printed Option - Print the main case + bottom and top panel, make sure to use the files in the "Select and Home buttons" folder if you want those buttons. You can exclude the top panel if you want to save filament/time, if you do this you will need to use 18mm case screws instead of the default 25mm ones.
Print + Laser Cut Option - Print the main case then use the DXF files to order 2 3mm top panels and 1 3mm bottom panel from SendCutSend, I recommend clear acrylic but you can use any material you want. This method has the advantage of allowing you to easily add artwork to the case. It also adds a little bit of rigidity because the top and bottom panels will be one big piece instead of split.
If you want to add artwork to your case you can use the art template PDF's in this repository to design your own artwork and then either print it at home or at a print shop. I have a guide on youtube that goes over how to prepare the file for printing, it was made for the HTangl but all the principals still apply.
For hardware you will need the following:
7 - Case Screws - M5 x 0.80mm, 25mm Long
7 - Case Nuts - M5 x 0.8 mm Weld Nuts
4 - DIDIY Mounting Screws - M3 x 0.5mm, 8mm Long
4 - DIDIY Mounting Nuts - M3 x 0.5 mm
8 - Washers - M3 3.2 mm ID, 8 mm OD
You can buy this hardware from me in a pack on my Etsy shop but if you'd prefer to source everything yourself below are links to the needed hardware on both McMaster-Carr and Amazon. McMaster will be higher quality but more expensive.
McMaster-Carr
https://www.mcmaster.com/92467A438/ - Case Screws
https://www.mcmaster.com/90594A320/ - Case Nuts
https://www.mcmaster.com/92000A118/ - DIDIY Mounting Screws
https://www.mcmaster.com/91828A211/ - DIDIY Mounting Nuts
https://www.mcmaster.com/95610A330/ - Washers
Amazon
https://amazon.com/dp/B08QHP1JK1 - Case Screws
https://amazon.com/dp/B07H57TRN4 - Case Nuts
https://amazon.com/dp/B01BBOZGKC - DIDIY Mounting Screws
https://amazon.com/dp/B01IWUSDYY - DIDIY Mounting Nuts
https://amazon.com/dp/B07MX9BMXM - Washers
Here's a list of the material/thickness/quantity needed for each panel:
Bottom Panel - Clear Acrylic 3mm - 1
Middle Bottom Panel - Clear Acrylic 3mm - 2
Middle Top Panel - Clear Acrylic 3mm - 3
Switch Plate - 5052 Aluminum 1.6mm - 1
Top Panel - Clear Acrylic 3mm - 2
Step 1
Download this repository by clicking on the green "Code" button at the top right of the page and then click "Download ZIP". Unzip the folder once it finishes downloading.
Step 2
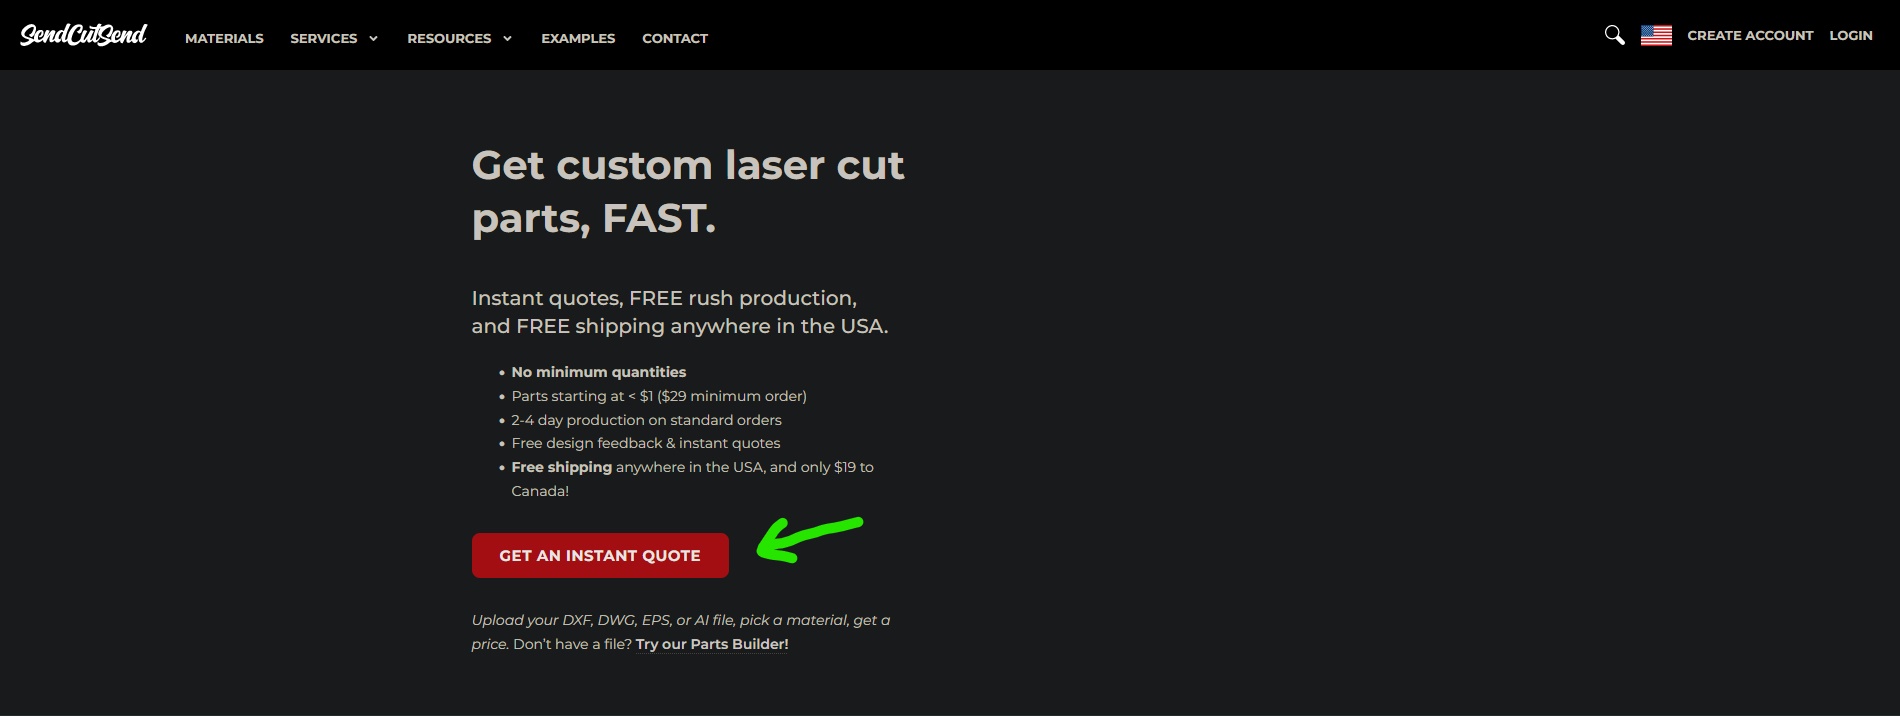
Go to SendCutSend and click on "Get and instant quote"
Step 3
Open the DXF folder you downloaded in step 1 and drag one of the files onto the page to begin the ordering process, I started with the bottom panel.

Step 4
Click on the "Add to cart" button next to the file you just uploaded.

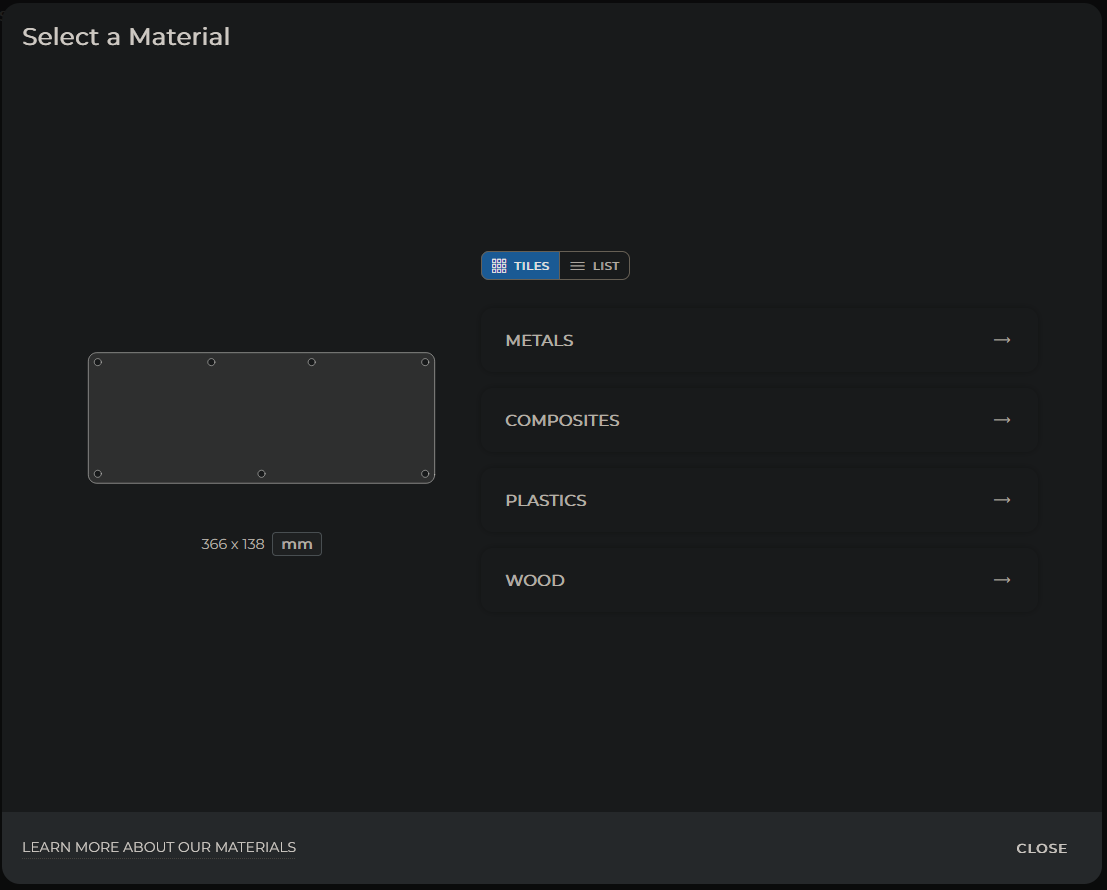
Step 5
We now need to select what material to use for this panel, reference the list at the start of this guide to determine which material/thickness/quantity to select.
Step 6
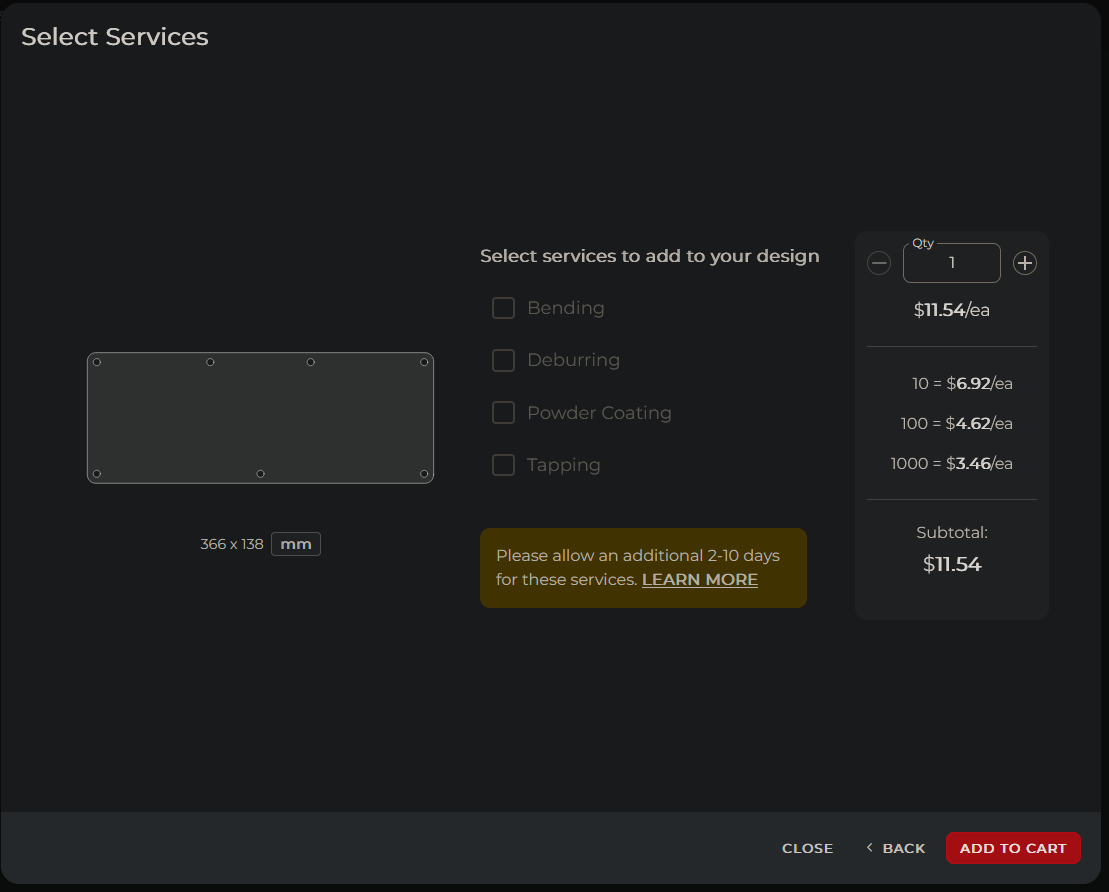
Once you reach this screen click "ADD TO CART", you will then get a notification that the item was added to your cart. You'll then need to click on "ADD MORE DRAWINGS", this will take you back to the screen you were at in step 4. All you need to do now is drag another DXF file onto the window and repeat the process for all the remaining panels.
Please keep in mind that if you choose to deviate from the recommended material/thickness/quantity of any of these parts the case may not work with the recommended hardware or might not have enough space for the components/wiring to fit inside. Generally it's okay to change the type of material but I recommend sticking to the listed thickness/quantity for each panel.
This repository is licensed under the CERN Open Hardware License Version 2 - Strongly Reciprocal. Please read the license in this repository and visit https://ohwr.org/cernohl for more information. This license allows you to make a modified or unmodified version of the case for yourself or to sell provided you follow the guidelines of the license. The strongly reciprocal version of the license I have chosen requires that you use this same license if you decide to make modifications to any of the files in this repository.