Cybertruck related notes, specs, dimensions, mods, references and maybe some code even...
|
|
|
|


Couldn't find dimensions on the interwebs that were priced at a point I was willing to pay (e.g. saw prices in $1k range for detailed scans). So... Decided to burn cash and time buying and learning to use a 3D scanner, littering the panels with reflective marker dots... Removing the dots will be a PITA. Previously used, and still have a PC connected Kinect 3D scanner. Hardware/software has advanced. My current setup...
- $320 3D scanner
- Came with ~400 dots
- Dancing with the Wired Scanner is PITA. Note there's a $160 Creality 3D Scanner CR-Scan Ferret Wireless Scanning Kit, WiFi6 Wireless Bridge, consider using if do lots of large scans.
- $17 Qty 600, 6.0mm 3D Scanning Marker dot reference points
- Adhesive on these retroreflective dots is really sticky, much harder to remove than the dots that came with the Creality Ferret SE scanner. Very time consuming to remove!
|
|
|
|
|
|


Panel Names from Tesla Service > Cybertruck US > 10 - BODY > 1010 - Body Panels > Closure Panels
|
| |
|
|
TODO: Add Fusion file if/when someone asks |
|
| |
|
| |
|
| |
|
| |
|
| |
|
| |
|
| |
|
|


TODO:
- Rename Panels to match Tesla Service manual.
- TODO: Remove Markers from 3D Scanned Mesh
- Fix rear right passenger mirror dimensions...


- $1200 kit, limited colors https://cybertruckco.com/product/cybertruckco-precut-ppf-wrap-kits-made-in-the-usa
- $2300 kit, https://tesbros.com/products/diy-protection-ppf-kit-for-cybertruck?variant=45118499848410
- $xxxx kit, https://tsportline.com/collections/tesla-cybertruck-stainless-steel-protection-film-sspf-car-wraps-ceramic-treatment/products/tesla-cybertruck-diy-color-change-vinyl-wrap-kit?utm_medium=product_shelf&utm_source=youtube
- Great selection of info, prep and videos for installing vinyl wrap or installing ppf wrap.
- https://www.youtube.com/watch?v=s9qFswHlw1M&t=16s
- surface prep solution, remove dirt/wax/oil/polish/containemants
- claybar microfinishing compound
- microfiber towels
- Torx 40 for side mirror removal
- Slip solution (green) Soap with distilled water
- Stick solution (red) 25% Alcohol with distilled water
- Squidgee
- Knives and syringes
- Install in 70 degree, clean dust free, well lit garage, stool.
- CLEAN EVERYTHING, INSIDE and OUTSIDE, CLEANS NOOKS AND CRANNYS.
- Removing Fender flares.
-
Fender flares are attached to Wheel Arch Liners using [RVT PUSH - PULL 8X18X20.0 0M1M 1006521-00-A] fasteners.
-
NOTE: Observed some Wrappers go so far as to remove the [FORE FENDER FLARE CARRIERS] attached ([M6 x24](BLT,HF,M6X24[88],G1009,NJ,TU01 1946638-00-A) ) to the stainless steel closure panels.
- TODO: Decide whether to do the same. 24/5/19, currently just been sketching assuming just Fender Flare cover is being removed.
- Java Kim visits TSportLine https://www.youtube.com/watch?v=csHHjPKi18g
- Inozetek film


-


Rolling edges of [Bed Side Outer Panels] requires either tucking film into some tight spots. Or, alternatively, you can burn time and maybe break/lose some parts like me and remove some of the trim pieces to help roll film edges large enough to not worry about peeling later...
-
- Cybertruck Parts > 12 - EXTERIOR FITTINGS > 1220 - Exterior Trim > Truck Bed Exterior Trim
- Remove BED SIDE APPLIQUE ASSEMBLY by pulling up starting near tail gate.
- Follow service docs, additionally, AVOID overly bending the easy to snap/break Bed Side Applique.
- Left and right sides each use 10x "DGE CLIP,6MM,1.5-2.5GRP,POM,WH 1496105-00-B". Mentioning, because I 8/10 dropped into bed side voids during disassembly. Retrieving requires removing more panels, nope... They're just $1 each.
- Remove BED SIDE APPLIQUE ASSEMBLY by pulling up starting near tail gate.
- Cybertruck Parts > 12 - EXTERIOR FITTINGS
1220 - Exterior Trim > Exterior Trim Fittings
- Remove couple of the trim pieces between rear doors and bed side outer panels to help expose enough panel edge for rolling the film.
- Remove BED SIDE BAFFLE APPLIQUE ( 1776409-00-D, 1776410-00-D), see Remove/install "Sail Baffle Applique"
- Remove SAIL BAFFLE CLOSEOUT (1848587-00-D, 1848588-00-D), see Remove/install "Saile Baffle Closeout
- Remove couple of the trim pieces between rear doors and bed side outer panels to help expose enough panel edge for rolling the film.
- Cybertruck Parts > 12 - EXTERIOR FITTINGS > 1220 - Exterior Trim > Truck Bed Exterior Trim
-
$15 (1776410-00-D) BED SIDE BAFFLE APPLIQUE - RIGHT HAND
- Broke 2/3 clip mounts during disassembly, so I replaced the part.
-
$1 each (lost ~8), (1496105-00-B) EDGE CLIP,6MM,1.5-2.5GRP,POM,WH
-
How to remove/assemble side mirrors Exterior Mirrors - Exterior Mirror Assembly - Electromechanical - LH (Remove and Install)
- Tesla's Cybertruck Service Manual
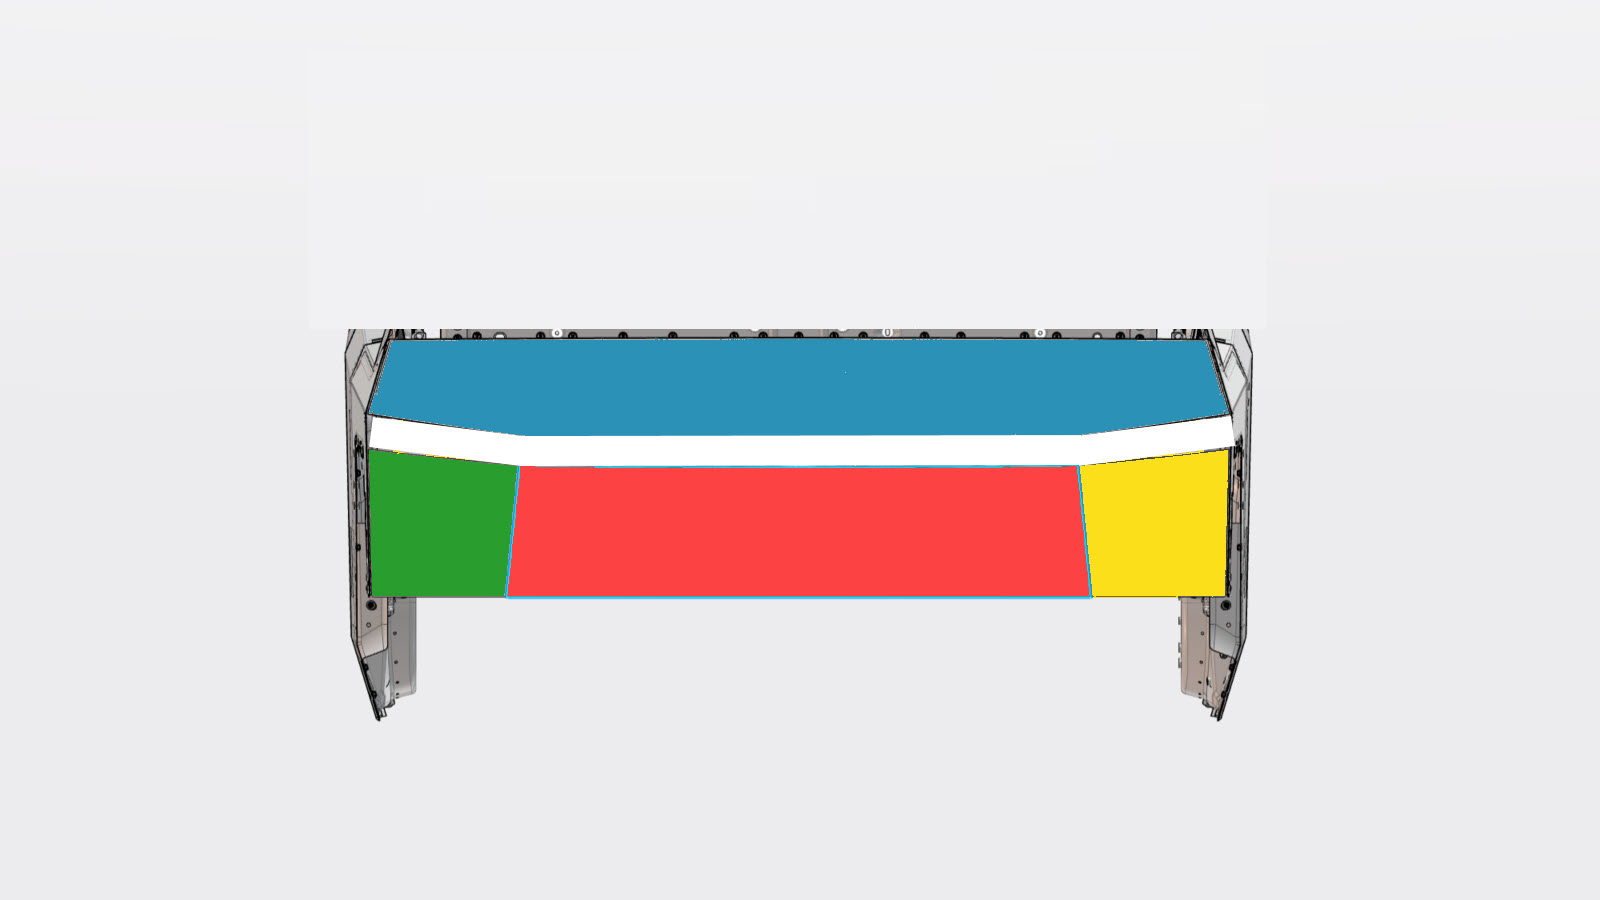
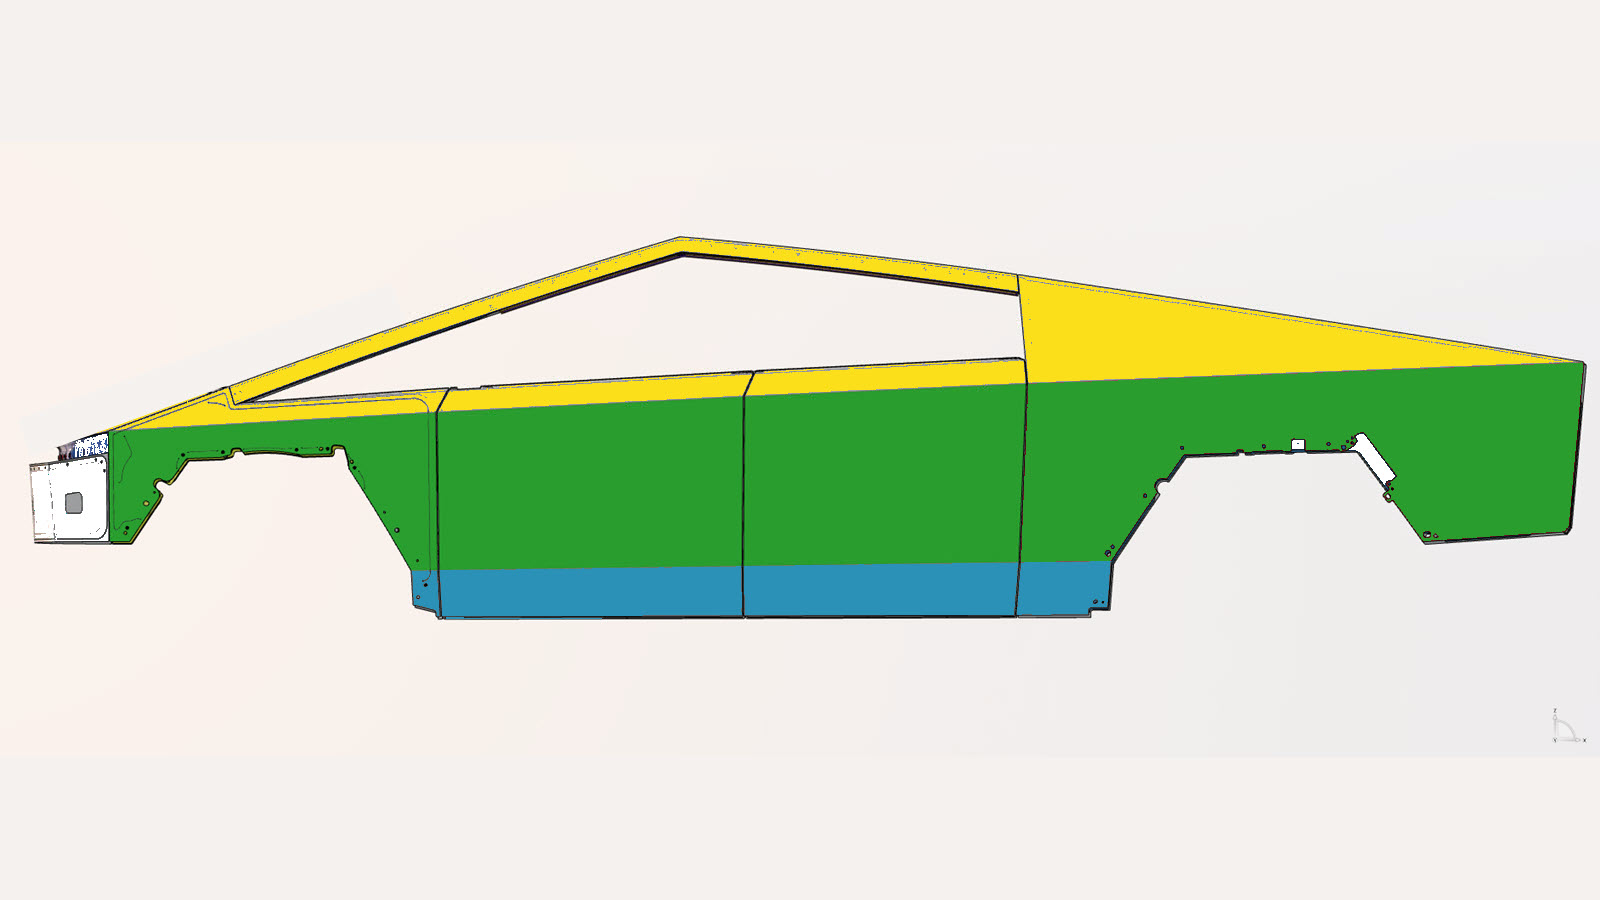
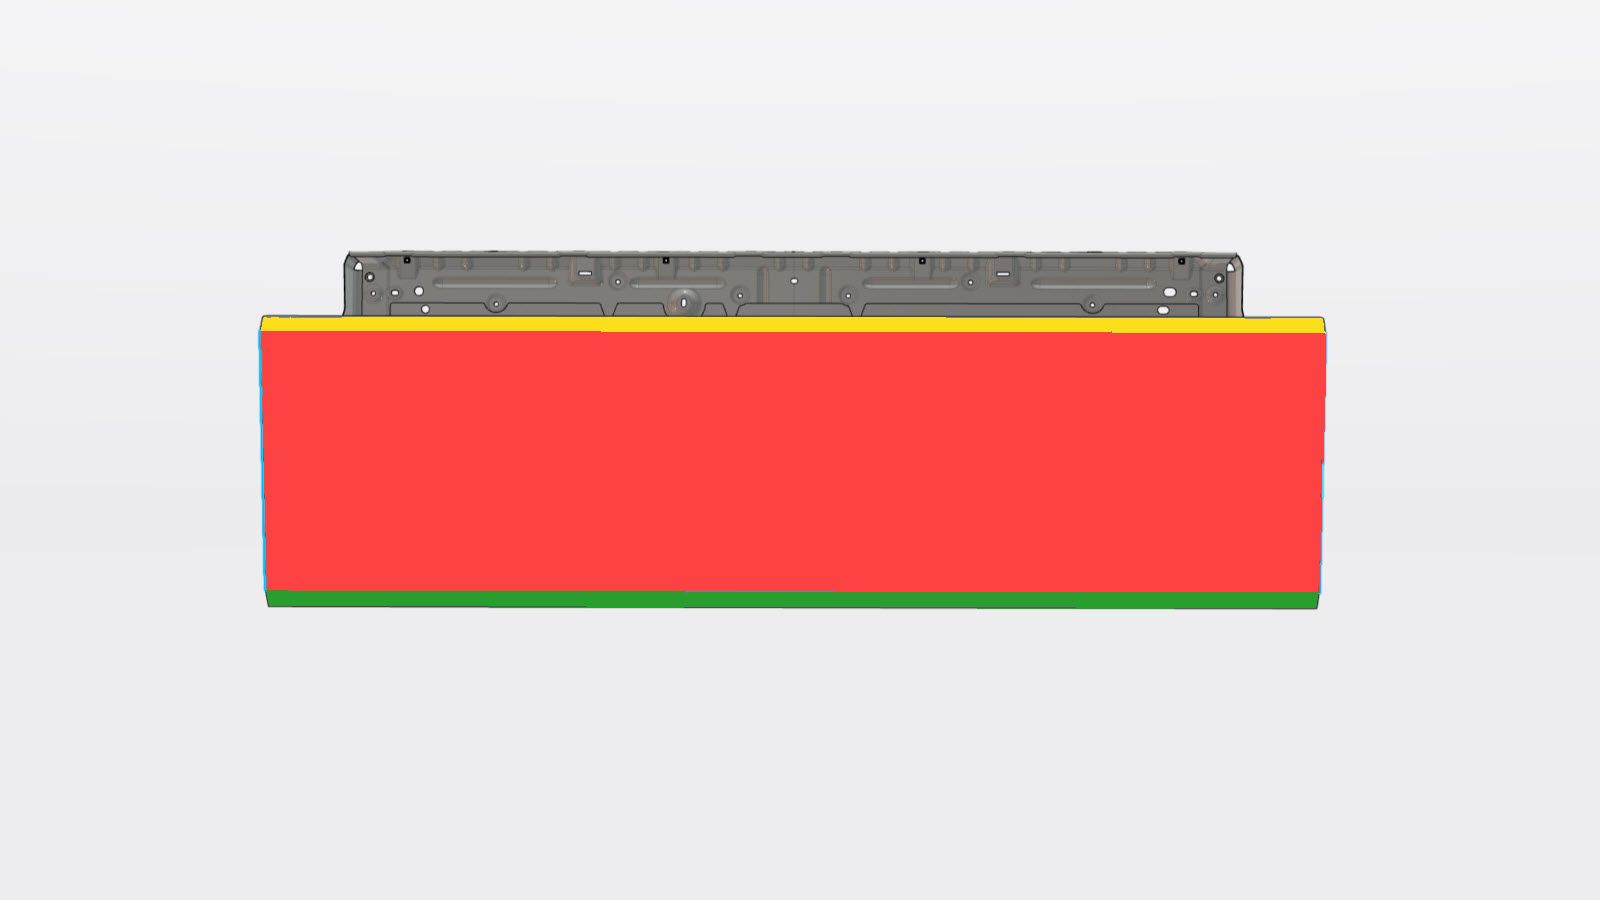
- "10 - Body" >> "1010 - Body Panels" >> "Body Panel (Refinish)" links to Exterior Stainless Steel Panel Refinishing, which contains the following helpful profile images. Assuming (?) actual dimensions haven't changed, maybe these can be used to help calibrate/refine/validate 3D scanned models.


