Optimized printability or new functions for printable parts of the BigBrain3D Swapper3D Upgrade.
Note: The STLs in the ZIP archives are oriented for best printability, they should not need supports or brims if not noted. The STEP files are oriented in the original mounting position. Keep this in mind before slicing the parts!
| Parts | Description |
|---|---|
| Einsy Base Fan Holder | https://github.com/cvengels/Swapper3D_Part-Mods/releases/tag/Einsy_Base_Fan_Holder_v1.1 |
| Switch Bracket Modded | https://github.com/cvengels/Swapper3D_Part-Mods/releases/tag/Switch_Bracket_modded_v1 |
| Cutter Guard Stiffener for Prusa MMU | https://github.com/cvengels/Swapper3D_Part-Mods/releases/tag/Cutter_Guard_Stiffener_for_Prusa_MMU_v1 |
Additional Parts:
- 4x M3x25mm screws (If you are using a fan that has a different height than the original one: screw length = fan height + 5mm)
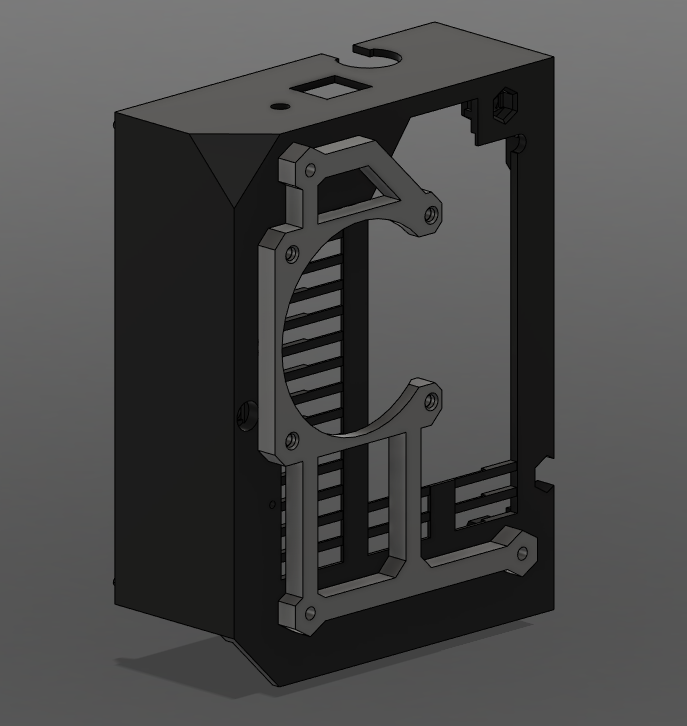
Before making any modifications insert a screw into each hole of the fan bracket. This will preform the threads and help mounting everything in the next steps!
Unscrew the 3 long screws that hold your Einsy Board from the inside of the electronics box that correspond to the fan bracket. Do not remove the screws, just push out the hex nuts with them. Push the fan holder bracket into the hex inserts of the base as shown and tighten the screws again. Do not tighten them to firm as this could damage your Einsy Board! Add the fan with the additional 4 screws to the bracket and insert the cable into the Einsy Base case. Connect it as shown in the original Swapper3D manual.

Additional Parts:
- 1x cable tie (optional)
Nothing special to pay attention here. Just replace the existing two parts or just the switch cover. Both new parts are compatible with the original parts and are interchangeable. If you want to fix the switch cable you can add a cable tie, but it's not necessary.

Additional Parts: none
If your Swapper3D filament cutter case vibrates or moves with your MMU version of assembly, then this stiffener is for you. The Palette version has an additional stiffener part, but it didn't satisfy me. Just add this part as an subsequent addition or follow the Palette assembly instruction and substitute the Palette version of the stiffener with this part.