This repository contains a demo application showcasing the powerful combination of Espressif's ESP32-P4 microcontroller and TARA Systems' Embedded Wizard GUI framework.
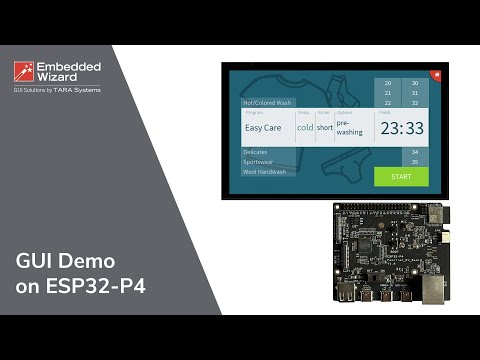
Click the image above to watch the demo video
This demo demonstrates the synergy between two technologies:
- High Performance: 400 MHz dual-core RISC-V processor
- Graphics Capabilities: Hardware-accelerated 2D graphics with support for up to 1024x600 displays
- Memory: PSRAM support for complex UI applications
- Connectivity: Provided by ESP32-C6 on the board
- Optimized for UI: Dedicated graphics processing unit and display controller
- Professional UI Development: Industry-grade framework for creating sophisticated user interfaces
- Visual Design Tools: WYSIWYG editor for rapid prototyping and development
- Object-Oriented Architecture: Clean, maintainable code generation
- Multi-Platform Support: Generate code for various embedded targets
- Rich Graphics: Support for animations, effects, and complex visual elements
- High-resolution display support (1024x600)
- Smooth animations and transitions
- Touch input handling
- Efficient memory management with PSRAM utilization
- Professional-grade UI components
- Real-time performance optimization
For the quickest installation, use our web-based installer (Chrome/Edge browsers recommended):

- Connect your ESP32-P4-Function-EV-Board via USB
- Click the button above to open the web installer
- Click "Connect" and select your board's serial port
- Choose "EmbeddedWizardDemo" and your board type
- Click "Flash" and wait for completion
python -m esptool --chip esp32p4 -b 460800 --before default_reset --after hard_reset write_flash --flash_mode dio --flash_size 16MB --flash_freq 40m 0x2000 build\bootloader\bootloader.bin 0x8000 build\partition_table\partition-table.bin 0x10000 build\EmbeddedWizard-ESP32-P4-Function-EV-Board.binIf you prefer to flash the firmware manually or want to build from source:
# Build the project (assuming ESP-IDF is configured)
idf.py build

# Flash individual components
esptool.py --chip esp32p4 --no-stub write_flash 0x2000 build/bootloader/bootloader.bin
esptool.py --chip esp32p4 --no-stub write_flash 0x8000 build/partition_table/partition-table.bin
esptool.py --chip esp32p4 --no-stub write_flash 0x10000 build/your-app-name.binTo create a single merged binary compatible with ESP Launchpad:
# After building with idf.py build
cd build

# Create merged binary using ESP-IDF's flash arguments
esptool.py --chip esp32p4 merge_bin -o ../esp32-p4-embedded-wizard-merged.bin "@flash_args"Note: The @flash_args file is automatically generated by ESP-IDF during the build process and contains the correct flash layout and addresses for all components (bootloader, partition table, application, etc.).
If you need to manually specify addresses:
esptool.py --chip esp32p4 merge_bin -o esp32-p4-embedded-wizard-merged.bin \
  0x2000 build/bootloader/bootloader.bin \
  0x8000 build/partition_table/partition-table.bin \
0x10000 build/your-app-name.binFor detailed information about developing UI applications for the ESP32-P4, refer to:
- Tutorial Article: How to Easily Develop UI Applications for the ESP32-P4
- Official Documentation: Getting Started with ESP32-P4-Function-EV-Board
- Espressif Developer Portal: Embedded Wizard Resources
- ESP32-P4-Function-EV-Board
- Compatible display (up to 1024x600 resolution)
- Power supply and connection cables
This demo showcases how the ESP32-P4's powerful graphics capabilities can be leveraged through the Embedded Wizard framework to create professional, responsive user interfaces for embedded applications. The combination enables developers to build sophisticated IoT devices with desktop-quality user experiences.