


Create a new neo.mjs app (workspace) using the 1-liner:
npx neo-app
npx neo-app works on macOS, Linux and Windows 10+.
If errors occur for your local environment, please file an issue.
Please ensure you have node & npm installed.
You do not need to clone this repository or globally install the neo-app npm package.
Please take a couple of minutes to read this README.md file first.
- Quick Overview
- Script Options
- AI Tooling & MCP Servers
- Starting a local web-server
- Viewing your app in development mode
- Viewing your app in dist modes
- Workspace Content
- package.json Scripts
- Working on your new neo.mjs App
- Learning neo.mjs
- Feedback and Questions
- Alternative options to create an App
- Kudos
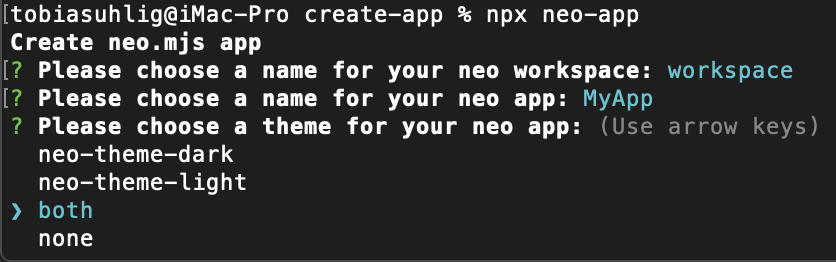
npx neo-app
Running the script will prompt 3 questions:
- Choose a workspace folder name. This folder will get created inside the terminal / CMD folder you are in.
You can rename it later on if needed.

- Choose an app name (Pascal Case)

- Choose the themes you want to use (you can change this later on inside the neo-config.json)
You can pass additional params to the script:

Choose a workspace folder name:
npx neo-app -w workspace
Choose an app name:
npx neo-app -n MyApp
Choose the themes:
npx neo-app -t all
Of course, you can combine the options, e.g.:
npx neo-app -w workspace -n MyApp -t all
The created workspace comes pre-configured with Model Context Protocol (MCP) servers for advanced AI integration (e.g., with Gemini or Claude).
Important: These servers rely on the neo.mjs framework being fully installed.
A postinstall script is included in your workspace package.json to automatically ensure the neo.mjs node module is correctly set up:
"postinstall": "cd node_modules/neo.mjs && npm i"
If you run into issues with the AI scripts, try running npm install in your workspace root to trigger this hook.
To use the AI features, you must create a .env file in your workspace root. This file is git-ignored by default to keep your credentials safe.
Add the following keys:
GEMINI_API_KEY=your_api_key_here
GH_TOKEN=your_github_token_hereGEMINI_API_KEY: Required for the generative AI agents.GH_TOKEN: Required for the GitHub Workflow MCP server to interact with your repository.
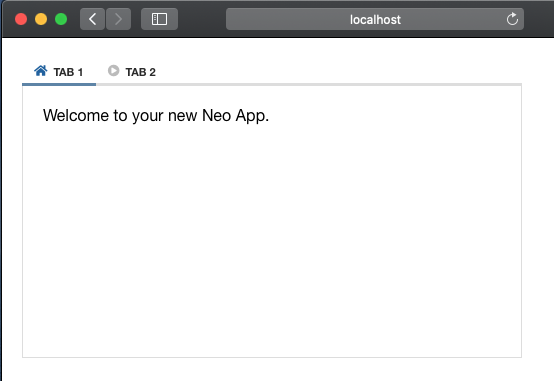
By default, npx neo-app will start a webpack dev-server right after the build.
A new browser tab should open right away:
In case you do not want to start the dev-server automatically, you can use the -s option:
npx neo-app -s false
You can use a different web-server of your choice (e.g. webstorm) or you can start the default one manually later:
cd workspace
npm run server-start
The dev mode works in all major browsers (Chromium, Firefox & Safari).
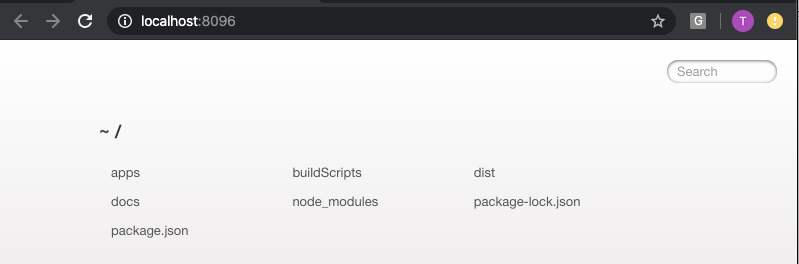
To view your new app, you can navigate to:

The beauty inside this screen is:
- You can see 4 threads inside the bottom left edge of the console
- Your app as well as most parts of neo.mjs run within the App thread
- You get the real JS modules directly into your browser
- No need to transpile JS code in this mode
- No need for source-maps
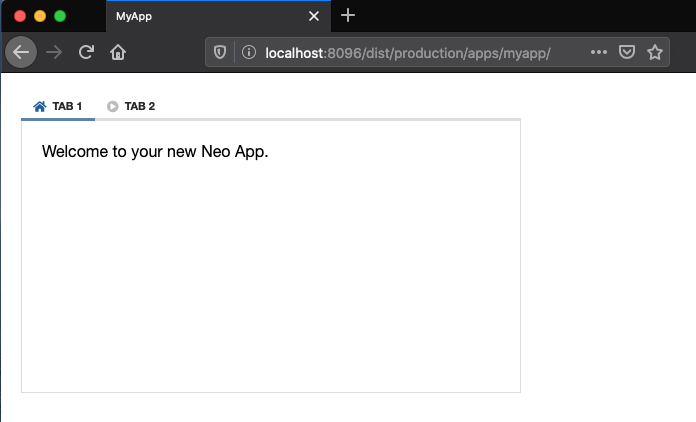
dist/development is using webpack based builds (source-maps, not minified)
dist/production is using webpack based builds (no source-maps, minified)
Using the script will create the following content:

- .gitignore has a basic setup excluding IDE related files, the dist folder & the package-lock.json
- apps contains the source files of your new app. You can create multiple apps as needed.
- buildScripts contains meta-infos (in theory this could get stored inside the neo.mjs node_module, but then every framework version update would require to re-create it)
- dist contains the development & production builds of your app, as well as the docs app
- docs contains a copy of the neo.mjs non dist version of the docs app. This version does show documentation views of your app as well as all neo.mjs examples
- node_modules => all related dependencies which are required for the build scripts & the dev-server
- package.json => defines scripts and dependencies.
- .gemini => contains configuration for the Gemini CLI and MCP servers.
You need to enter the workspace folder inside your terminal / CMD.
cd workspace
You can run each script via
npm run <script-name>
server-start: Starts the webpack dev-serverbuild-all: npm install & builds literally everything.build-all-questions: same as build all, but you can choose what to build using the inquirer interface.build-themes: builds the themes for dev and / or prod and lets you choose if want to use CSS variables.build-threads: builds main, data & vdom (or any combinations) for dev and / or prod.create-app: add an additional app to your project. You can also trigger npx neo-app multiple times.generate-docs-json: When you change your app code (e.g. adding new files) and want to see those changes inside the Docs app, you need to run this script to update the content.
ai:mcp-client: Starts the MCP CLI client.ai:mcp-server-github-workflow: Starts the MCP server for GitHub interactions (requires config).ai:mcp-server-knowledge-base: Starts the MCP server for Knowledge Base access (requires config).ai:mcp-server-memory-core: Starts the MCP server for persistent memory (requires config).ai:server: Starts the ChromaDB server for the knowledge base (default port).ai:server-memory: Starts the ChromaDB server for memory core (port 8001).
It is recommended to use the development mode (non dist version) for developing your App(s). This way you can just reload the App page whenever you change the code base. No need for source-maps and a very smooth debugging experience.
You ideally want to start with changing the view/MainContainer.mjs file.
Once you get to a point where you want to test your changes inside the dist versions, take a look at: package.json Scripts.
Take a look into the new Learning Section
Feel free to use one of these options (or both):
Slack Channel Invite Link
Discord Chat Invite Link
- Use npx neo-app
- Clone or fork the neo.mjs workspace (if there are any issues with npx neo-app)
- In case you want to get the neomjs/neo repository running locally, please take a look at the neo.mjs Getting Started Guide. Step 6 creates a new App inside neo/apps
The npx neo-app script is deeply inspired by Create React App.
Copyright (c) 2019 - today, Tobias Uhlig