Setup Guide
A basic setup consists of four parts:

- A GameObject with Network Manager script and Network Initialization script (see below)
- A GameObject with UCNetwork script attached
- An assortment of GameObjects with PhysicalDisplay scripts attached
- A GameObject with HeadConfiguration script attached (And often a VRPNTrack script)
Parts 2-4 involve simply configuring the respective scripts as described in their sections, but Part 1 involves a few more scripts and configuration.
Object 1 in the Basic Setup:

A. Disable “Auto Create Player” on the Network Manager Script
B. Enable “Advanced Configuration”, ensure that “Max Connections” is enough for your setup
C. Configure your Network Initialization script as described
D. For debugging, it is useful to use a NetworkManagerHUD script to manually start a server or client, which is normally done by the NetworkInitialization script based on the machine name Unity is currently running on.
Additional Command Line Options:
Various command line options are available to customize your setup. See them here.
Additional Player Settings – Enabling Active Stereo
To enable active stereo setups in Unity: go to Edit->Project Settings->Player and enable Virtual Reality Supported, add Stereo Display (non head-mounted) to the list of SDKs, and remove the other SDKs.
Setting up UniCAVE to run on a single machine with two displays is relatively straightforward. An example is included with the DualMonitorOneMachine prefab in the Prefabs folder of the UniCAVE plugin.

The prefab contains the following components:


The Network Manager simply needs to be setup with a MachineName matching your local machine. This same MachineName will be used for both PhysicalDisplays.

The CAVE object simply serves as an organizational object that holds the necessary UCNetwork component.

The Head Configuration component needs to be given a reference to a Camera prefab. These Cameras will be spawned for each PhysicalDisplay when entering play mode.


For two monitors, we need two PhysicalDisplays. In this case, no PhysicalDisplayManager is needed. Instead, each PhysicalDisplay has its 'UseSpecificDisplay` option checked. The left display is set to 0 (for Display 1) and the right display is set to 1 (for Display 2).
To ensure a seamless image, the resolution, size, and position of the displays have to be entered as well. In this case, the two monitors are different resolutions and sizes. Simply measure your displays and enter those values (in meters) into the appropriate boxes: Width and Height for the physical dimensions of your display, WindowBounds X and Y for the pixel offsets of each display in Windows, and WindowBounds W and H for the horizontal and vertical resolution of each display in pixels.

Note: your project must be using DirectX in order to support identifying displays by their number. Make sure this is the selected Graphics API in Project Settings->Player->Other Settings->Rendering. If you are not using the correct API, Unity will display an error message in the console.

Here's what my setup looks like in the Scene view.
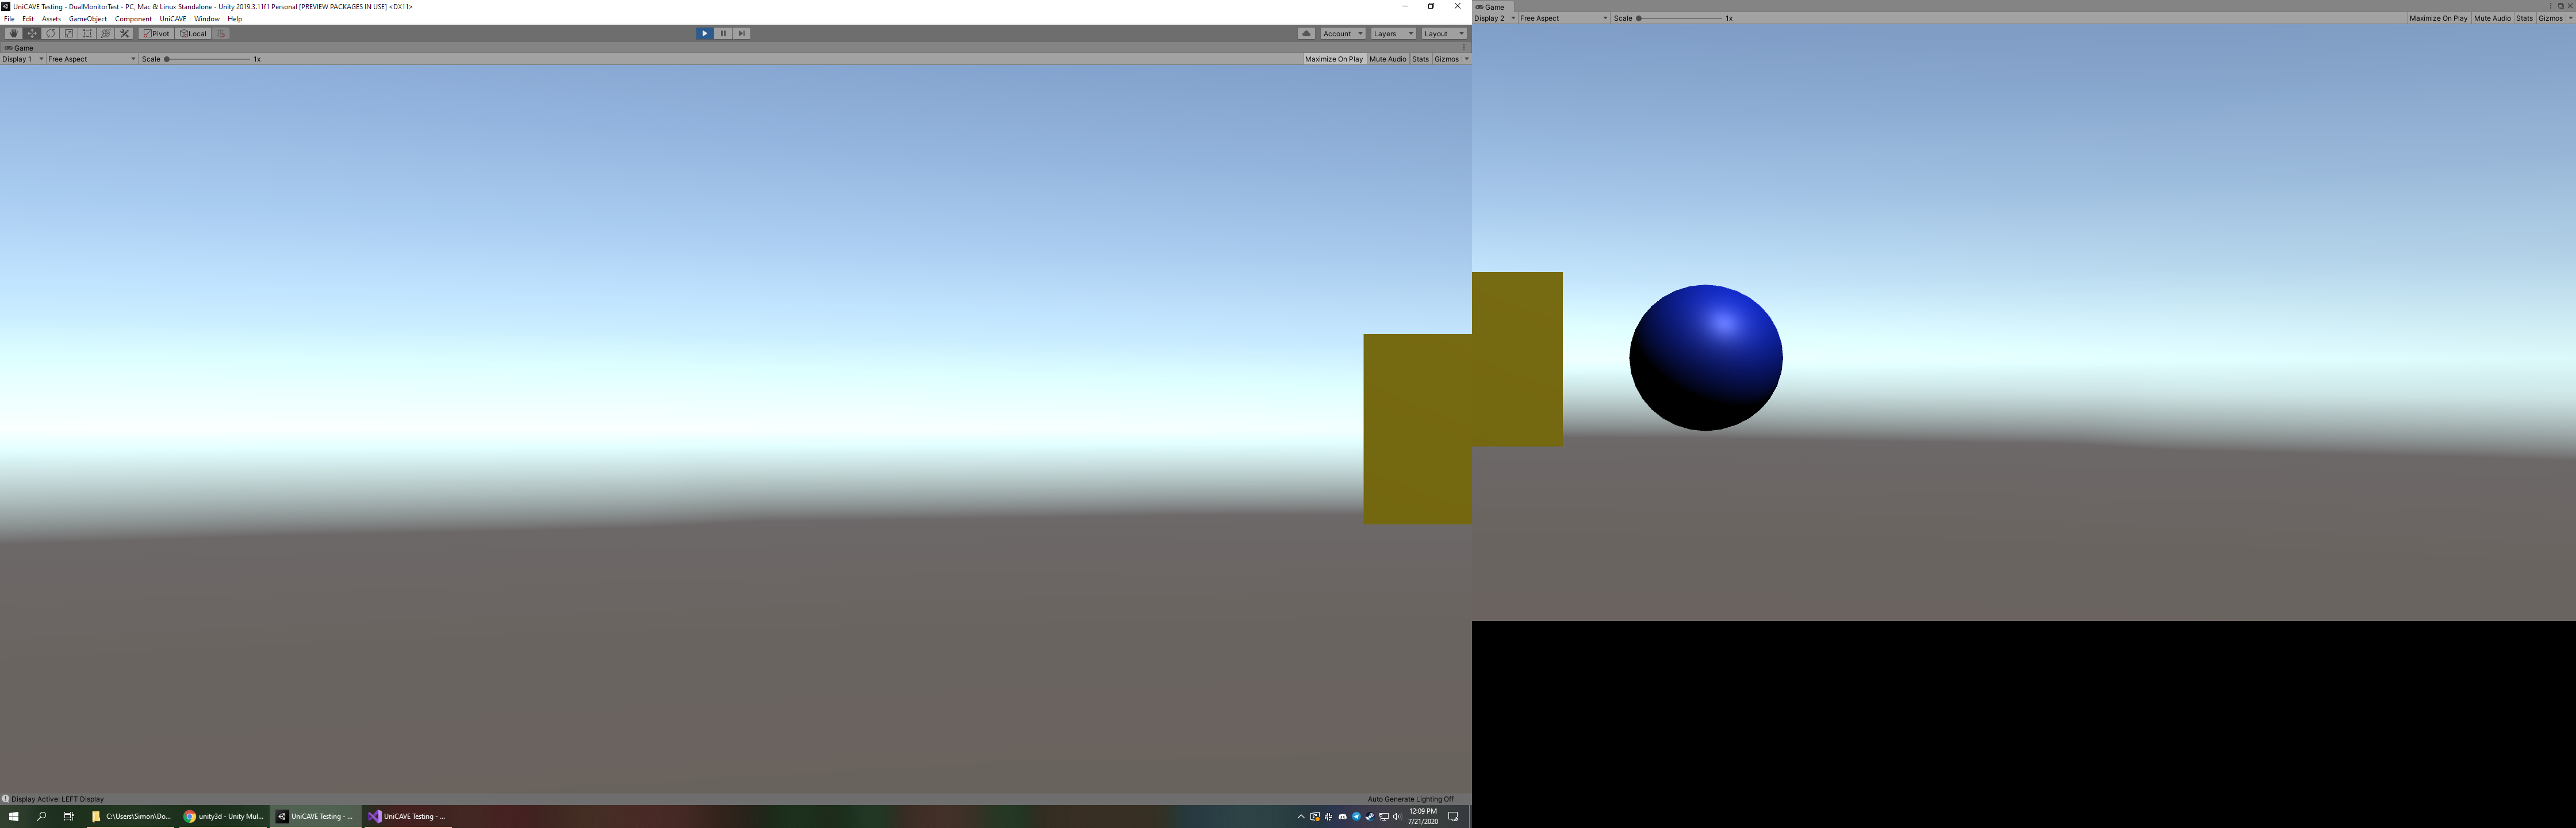
You can test the positioning of your displays in the Editor by entering playmode and opening multiple Game tabs. Simply maximize a tab in each display and set the Display number (in the upper left corner) to match each PhysicalDisplay. This won't be entirely accurate because Unity's menu bar takes up some space, but it's a good way to check you've entered the right values.
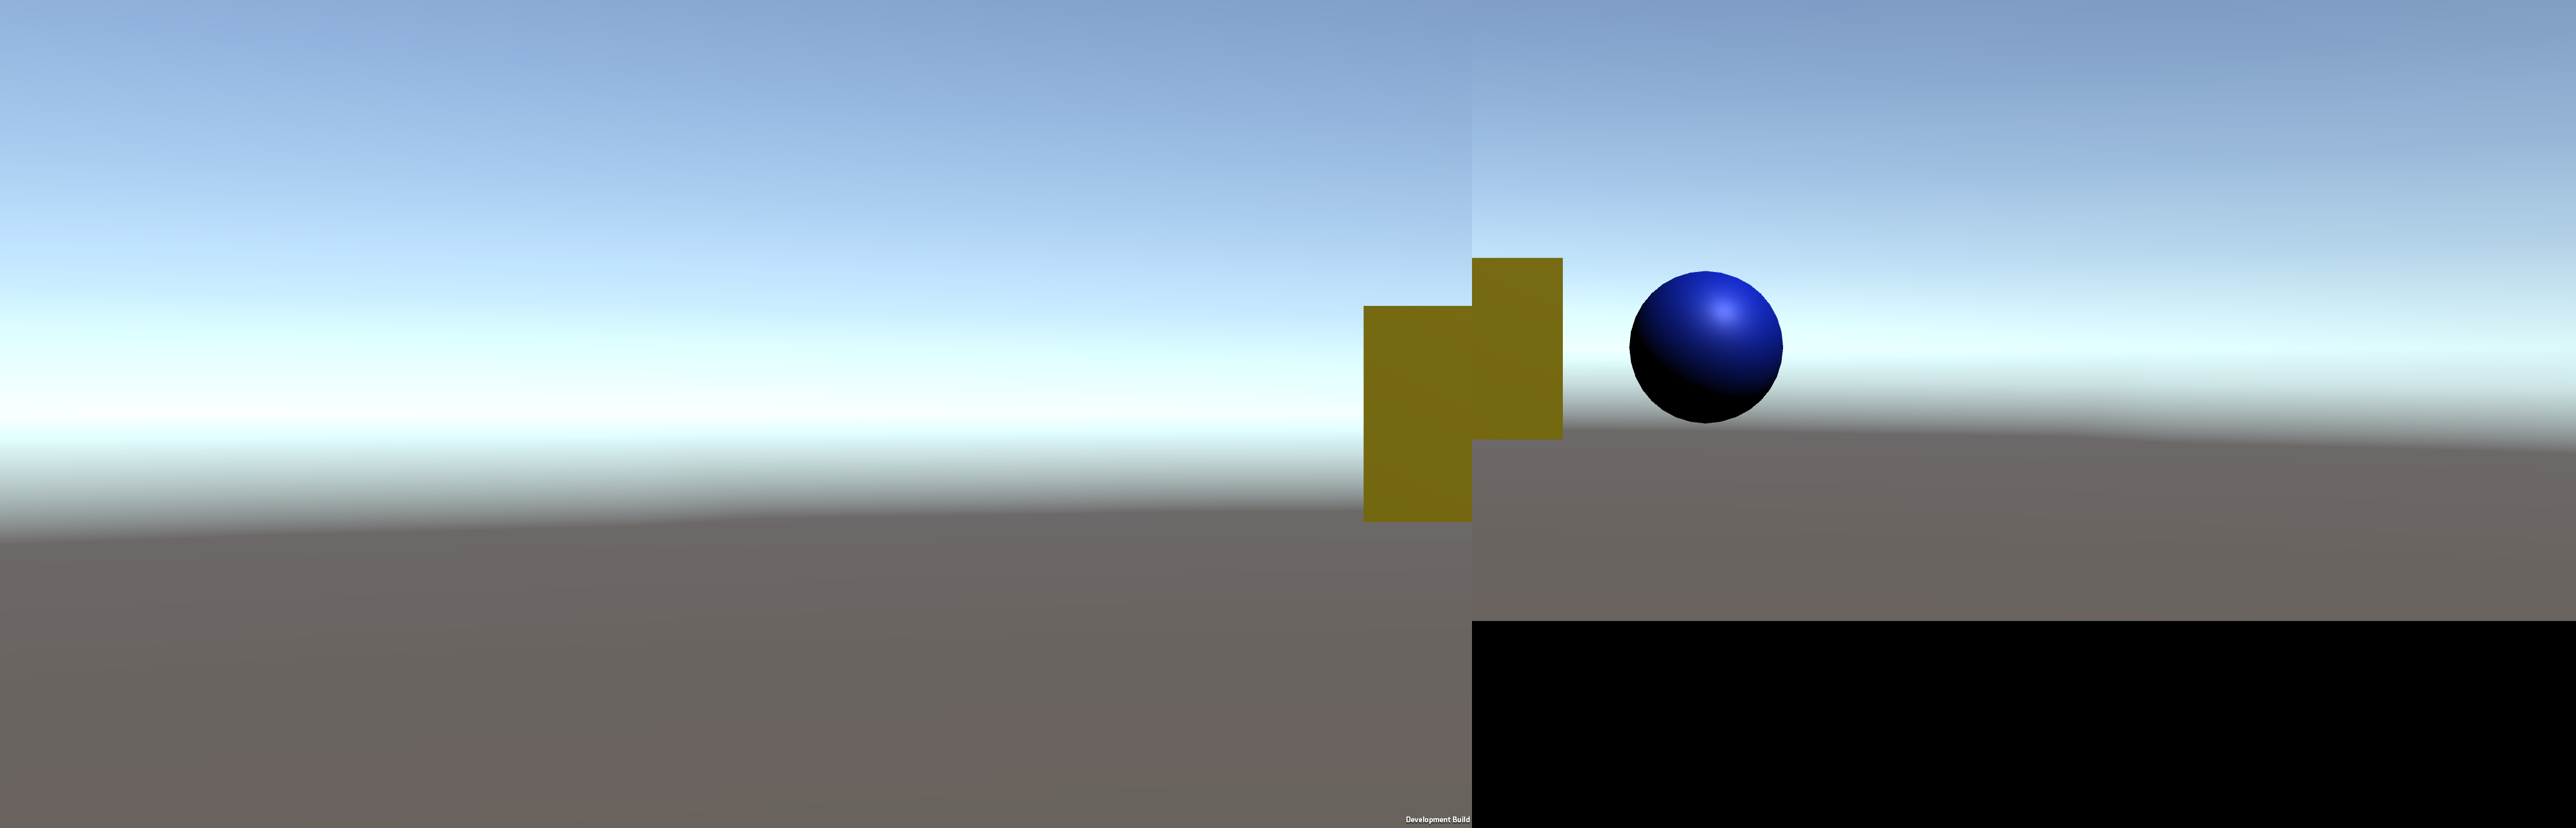
When ready, make a build as a final test. If everything is setup correctly, both displays should run in fullscreen and display a seamless image. It looks offset in the screenshot, but due to the different resolutions and physical dimensions of my setup, the final display is seamless.